Configure SCIM with Okta
This guide walks you through configuring SCIM provisioning with Okta for Testomat.io. With SCIM enabled, Okta will automatically provision and de-provision users and groups in Testomat.io based on assignments in your Okta organization.
Prerequisites
Section titled “Prerequisites”Before configuring SCIM with Okta, ensure you have:
- A Testomat.io company on an enterprise plan
- SSO configured in Testomat.io with Okta
- SCIM provisioning enabled in Testomat.io (see SCIM provisioning overview)
- SCIM Base URL and Bearer Token from Testomat.io (available in Company Settings → Domains after enabling SCIM)
- Administrator access to your Okta organization
Configure SCIM in Okta
Section titled “Configure SCIM in Okta”This section shows how to connect Okta to Testomat.io using SCIM 2.0 so that users can be created and updated from Okta.
Step 1: Create a SCIM 2.0 Test Application
Section titled “Step 1: Create a SCIM 2.0 Test Application”-
Log in to Okta as an Administrator.
-
Navigate to Applications > Applications in the Okta admin console.
-
Click Browse App Catalog.
-
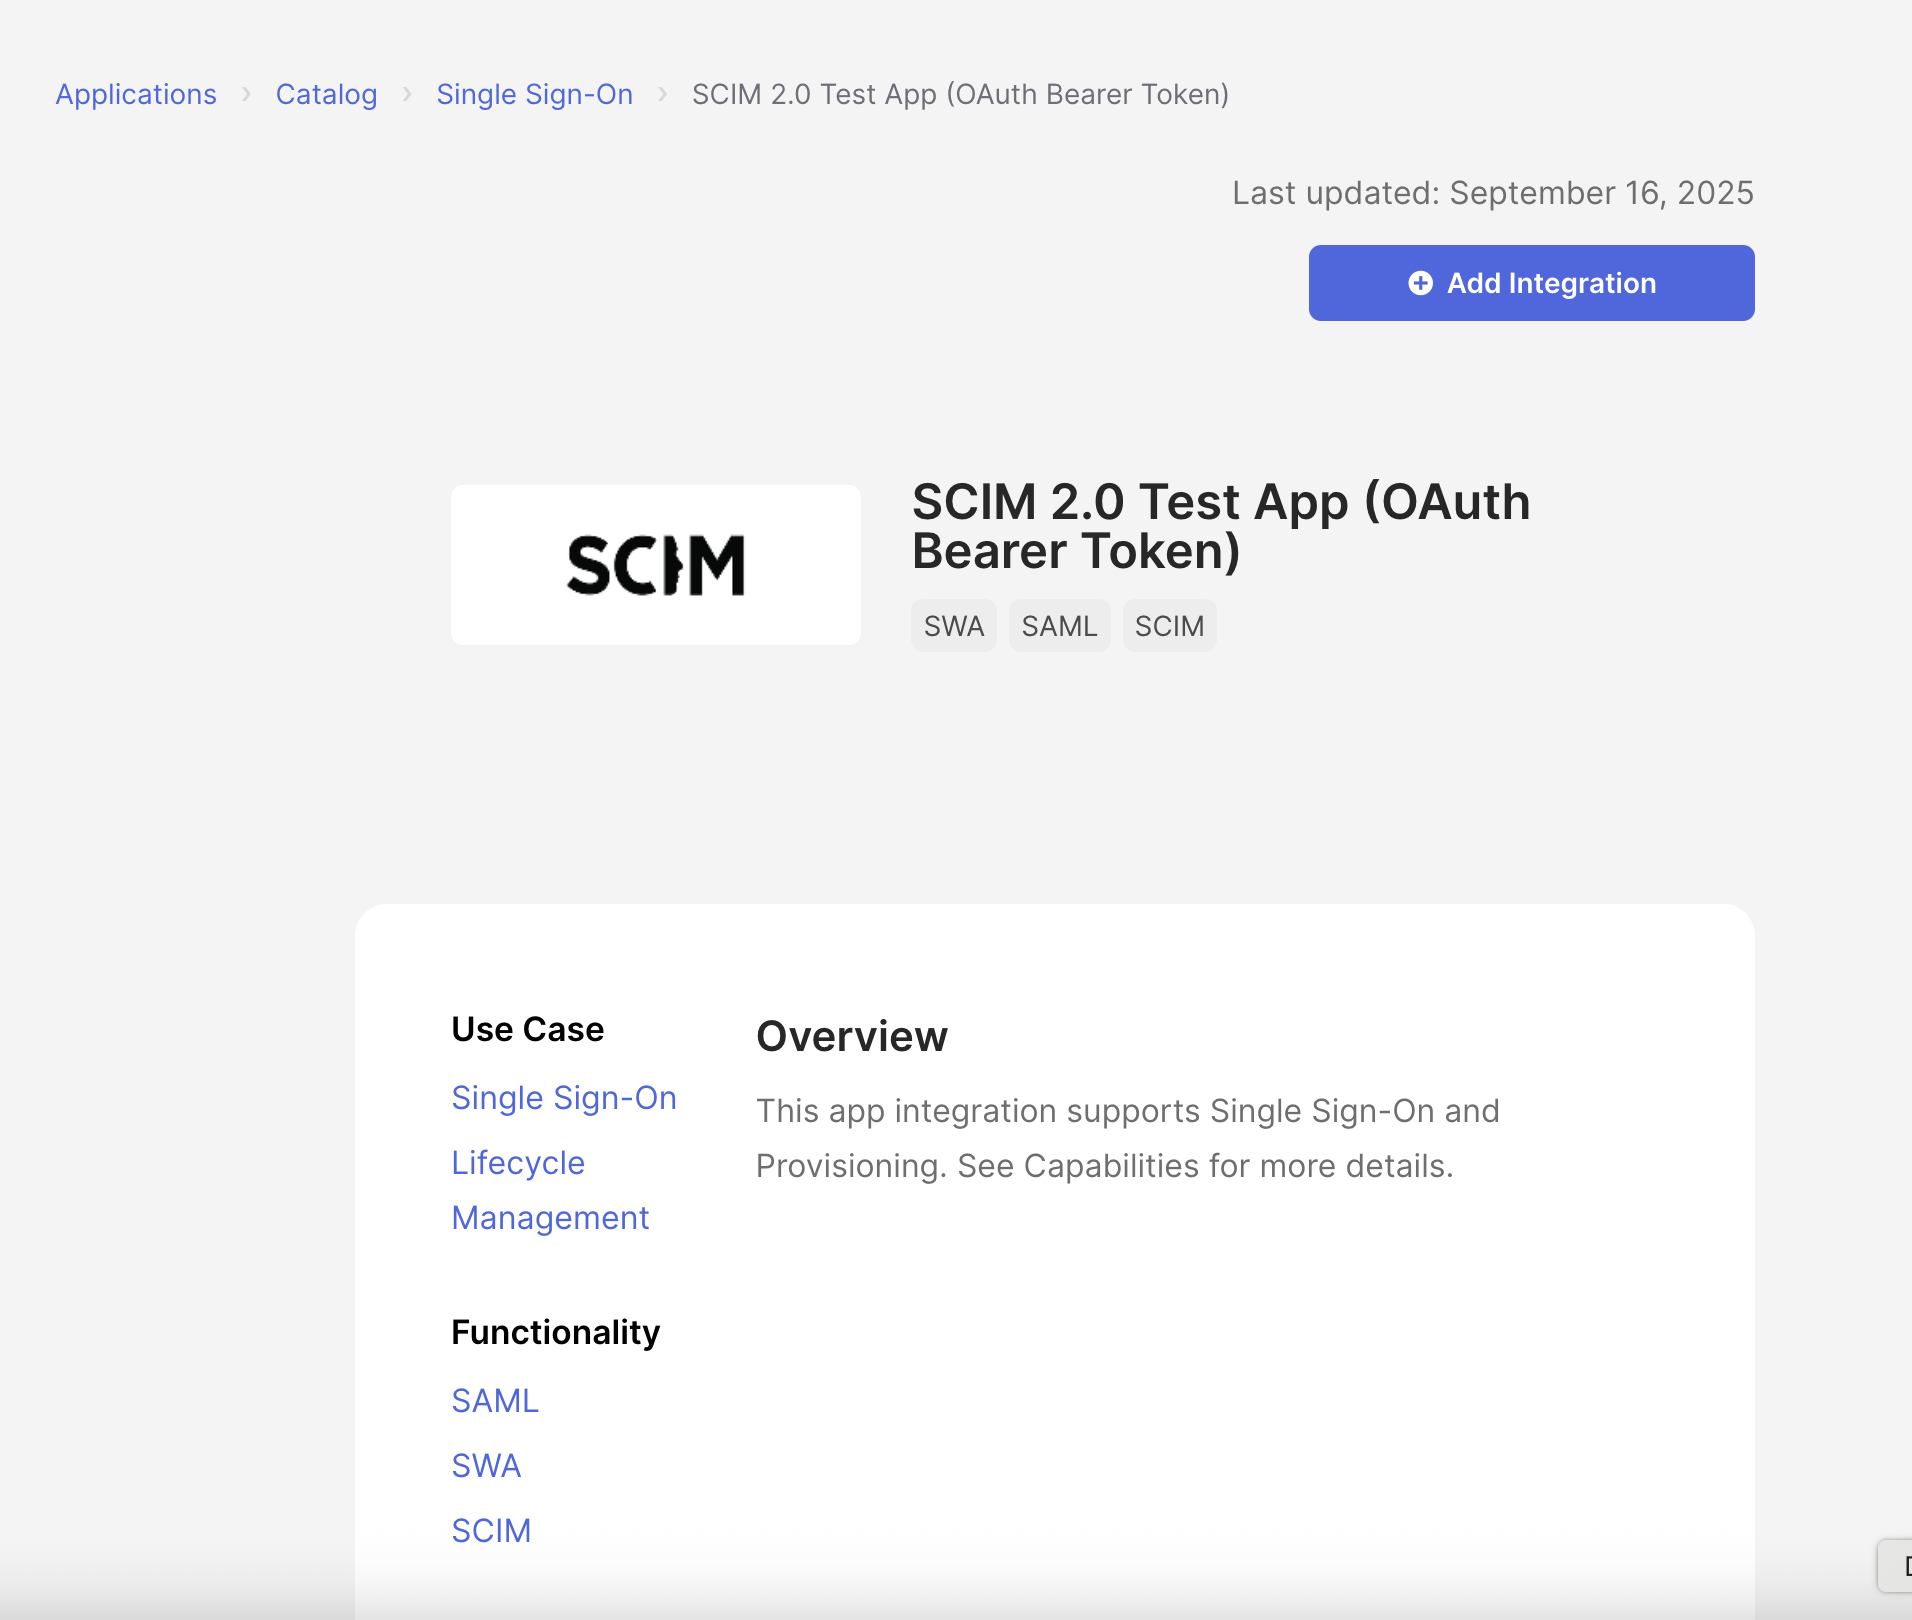
Search for “SCIM 2.0 Test App (OAuth Bearer Token)”.
- Click Add Integration to add the application to your Okta organization.
-
Configure the application settings:
- Application label: Enter “Testomat.io” or a descriptive name
- Application visibility: Choose whether to show the app icon to users
- Click Next to proceed to next tab Sign-In Options
-
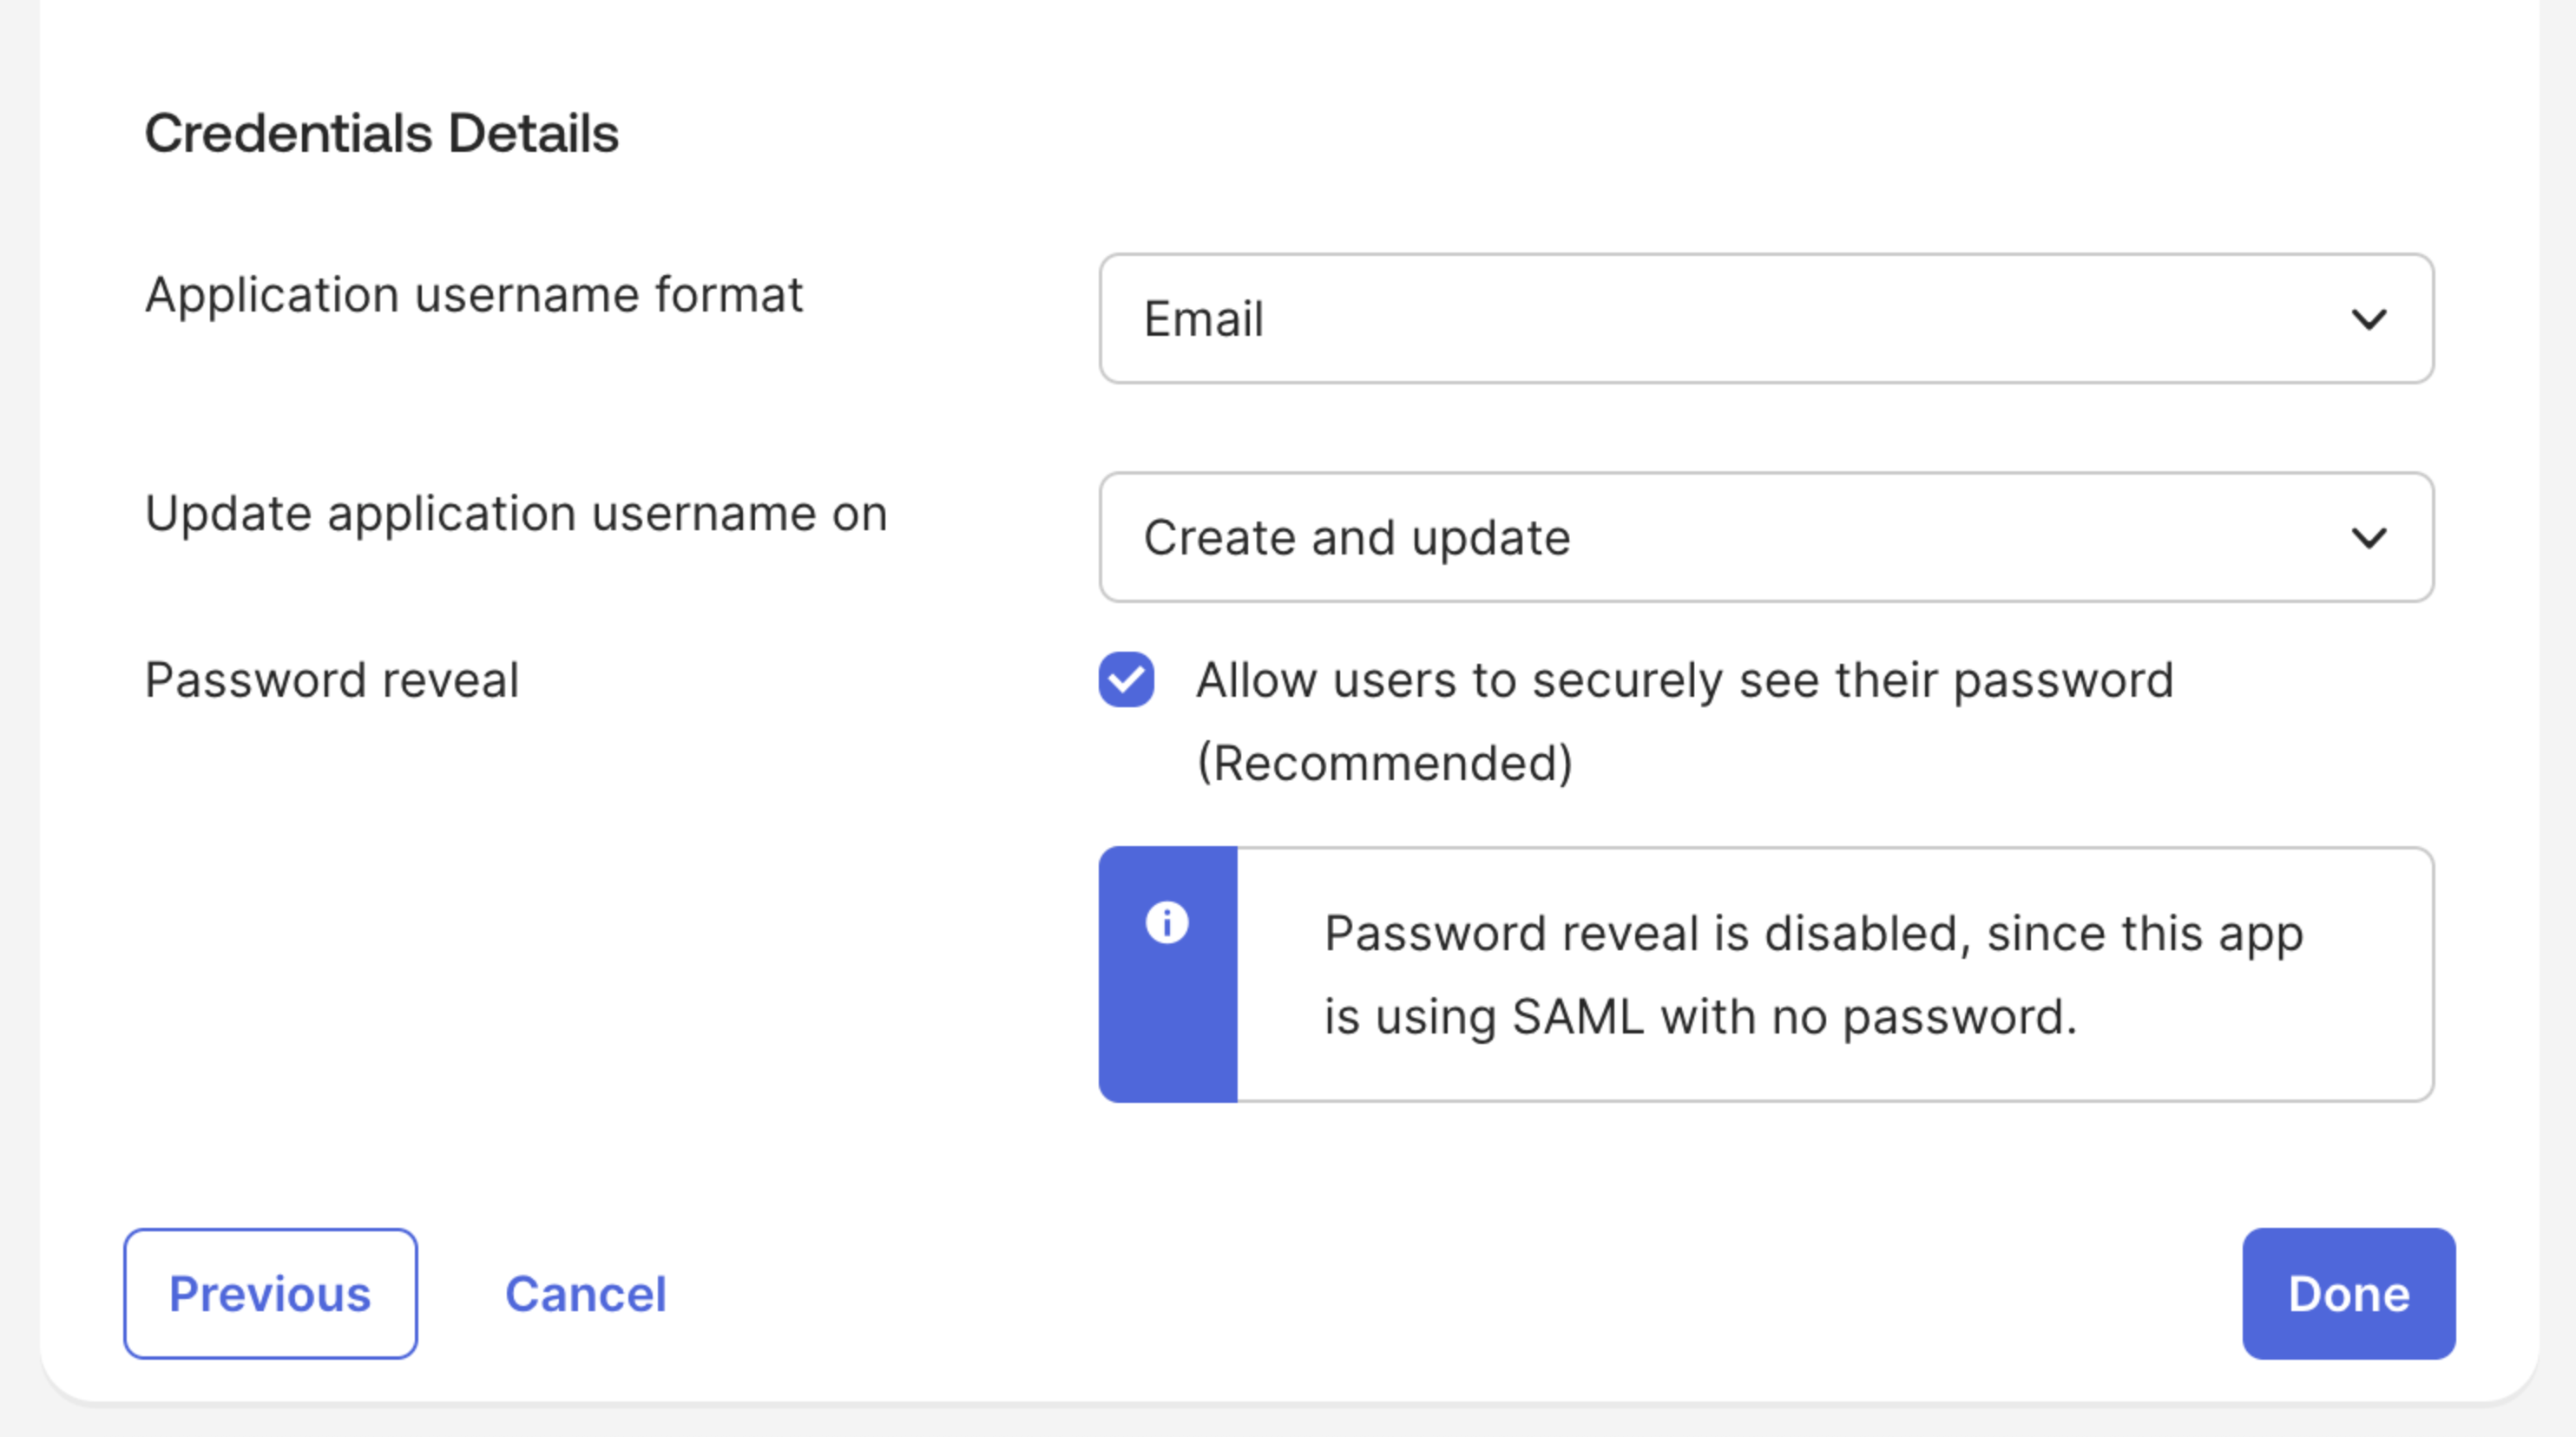
In Sign-In Options scroll to the section Credentials Details and set Application username format to: “Email”. Everything else leave as on the screen, after that you can proceed further ans click Done.
-
In Sign-In Options, scroll to Credentials Details and set Application username format to Email. Leave the other settings as shown on the screenshot (password reveal stays disabled because the app uses SAML). Click Done.
Step 2: Configure API Integration Settings
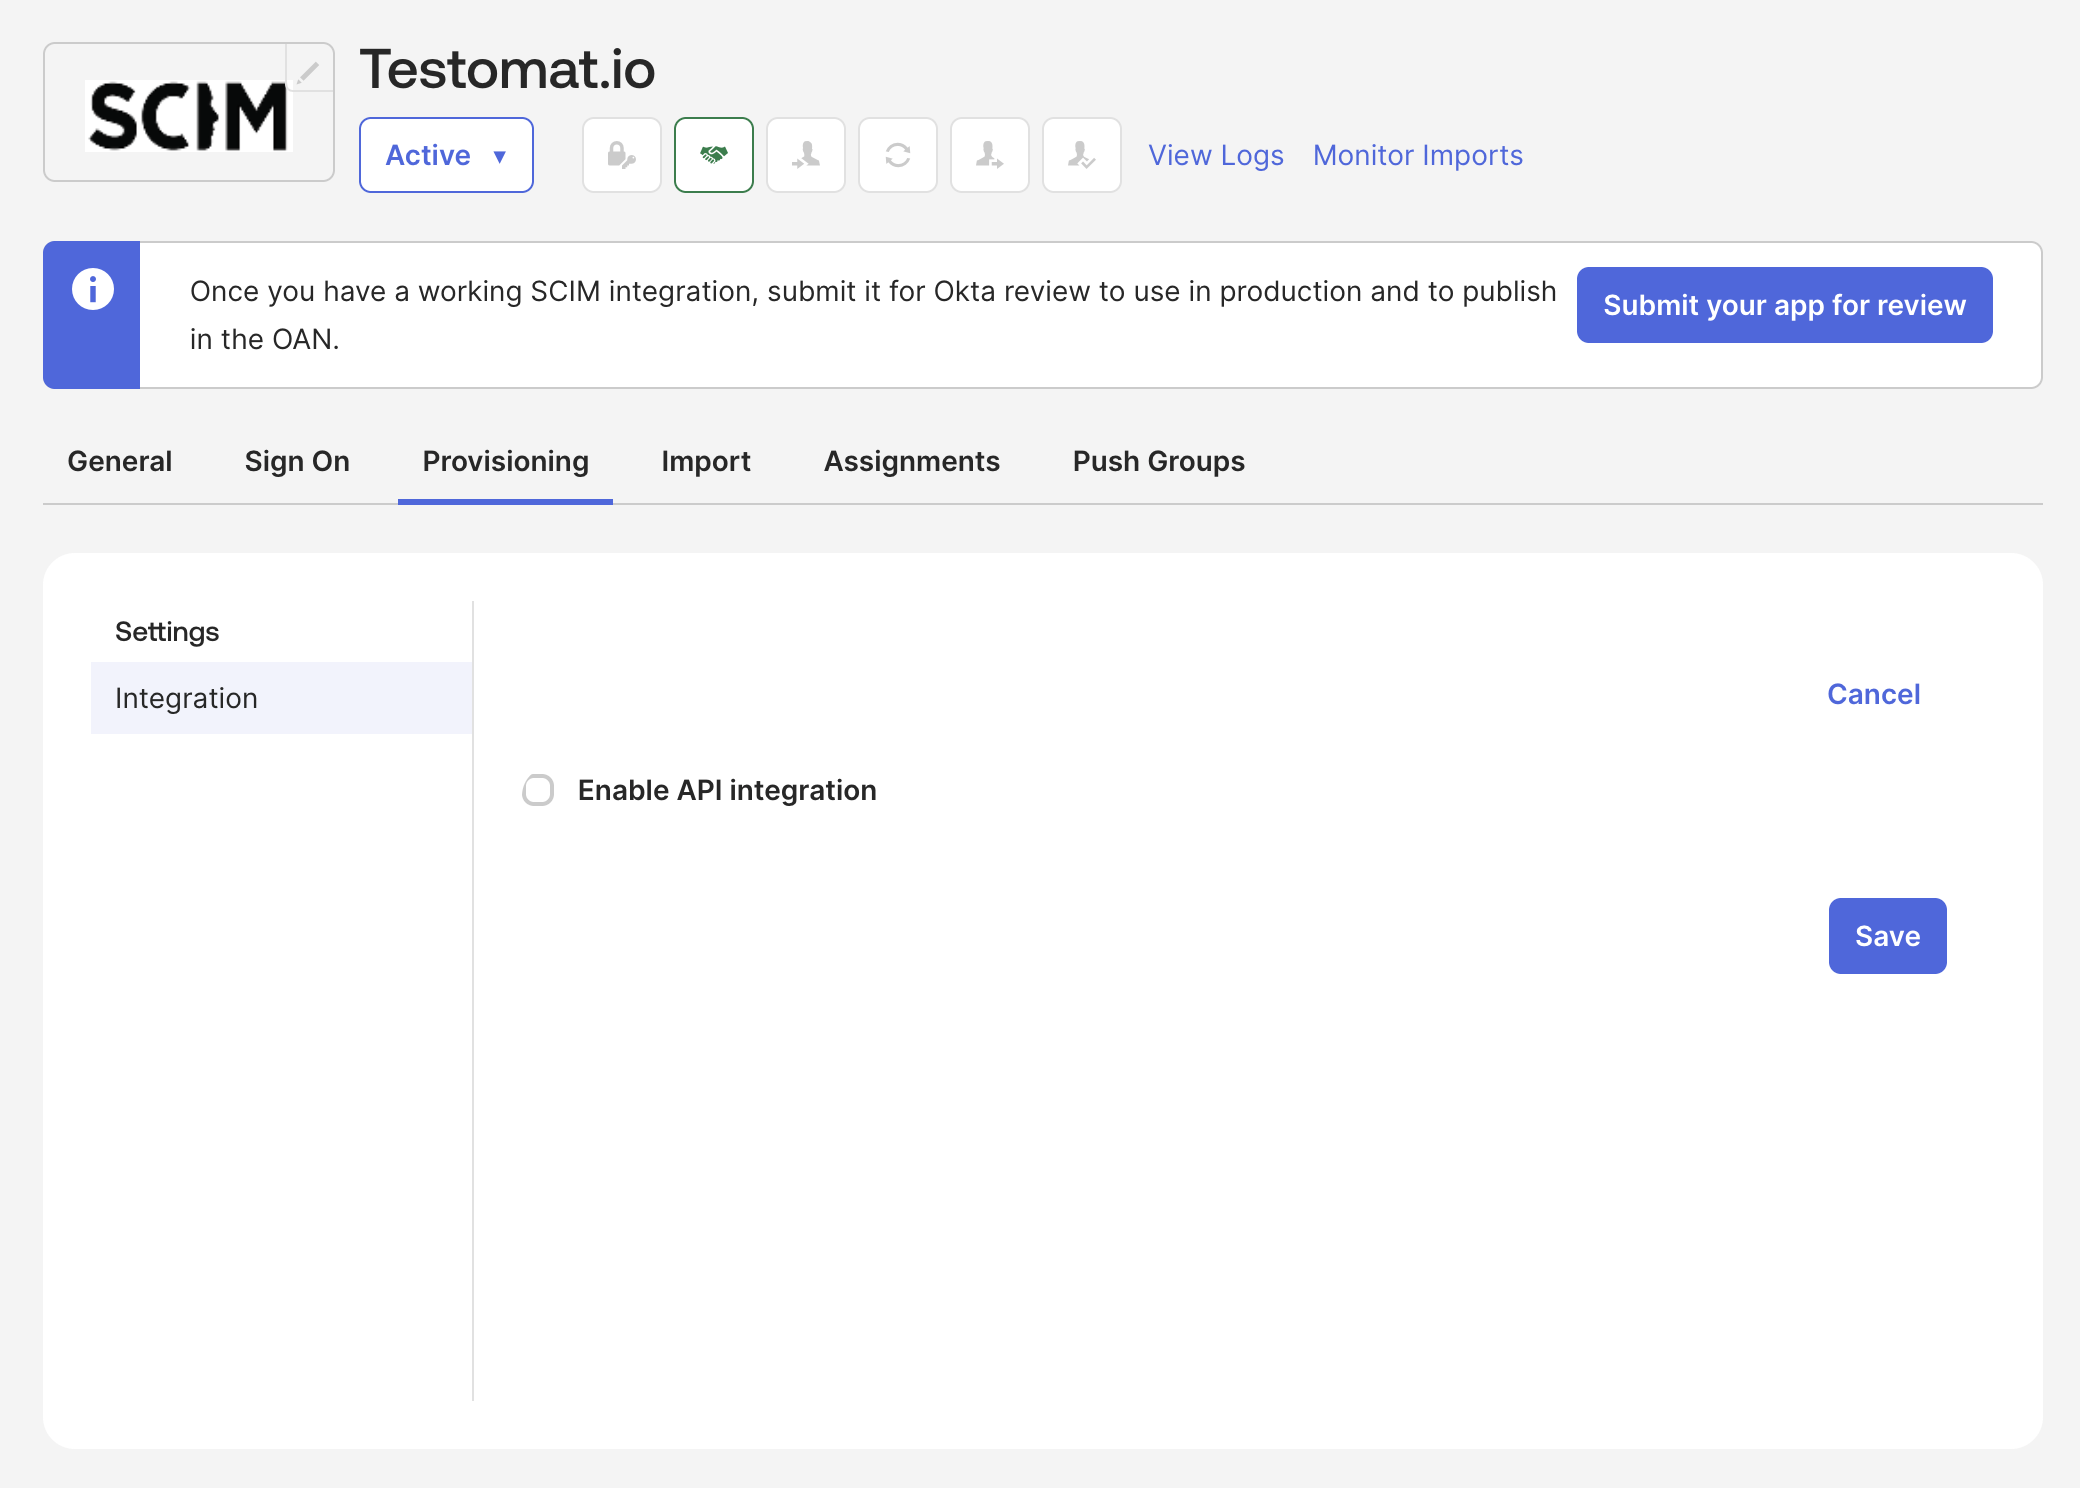
Section titled “Step 2: Configure API Integration Settings”- In the application configuration page, click the Provisioning tab.
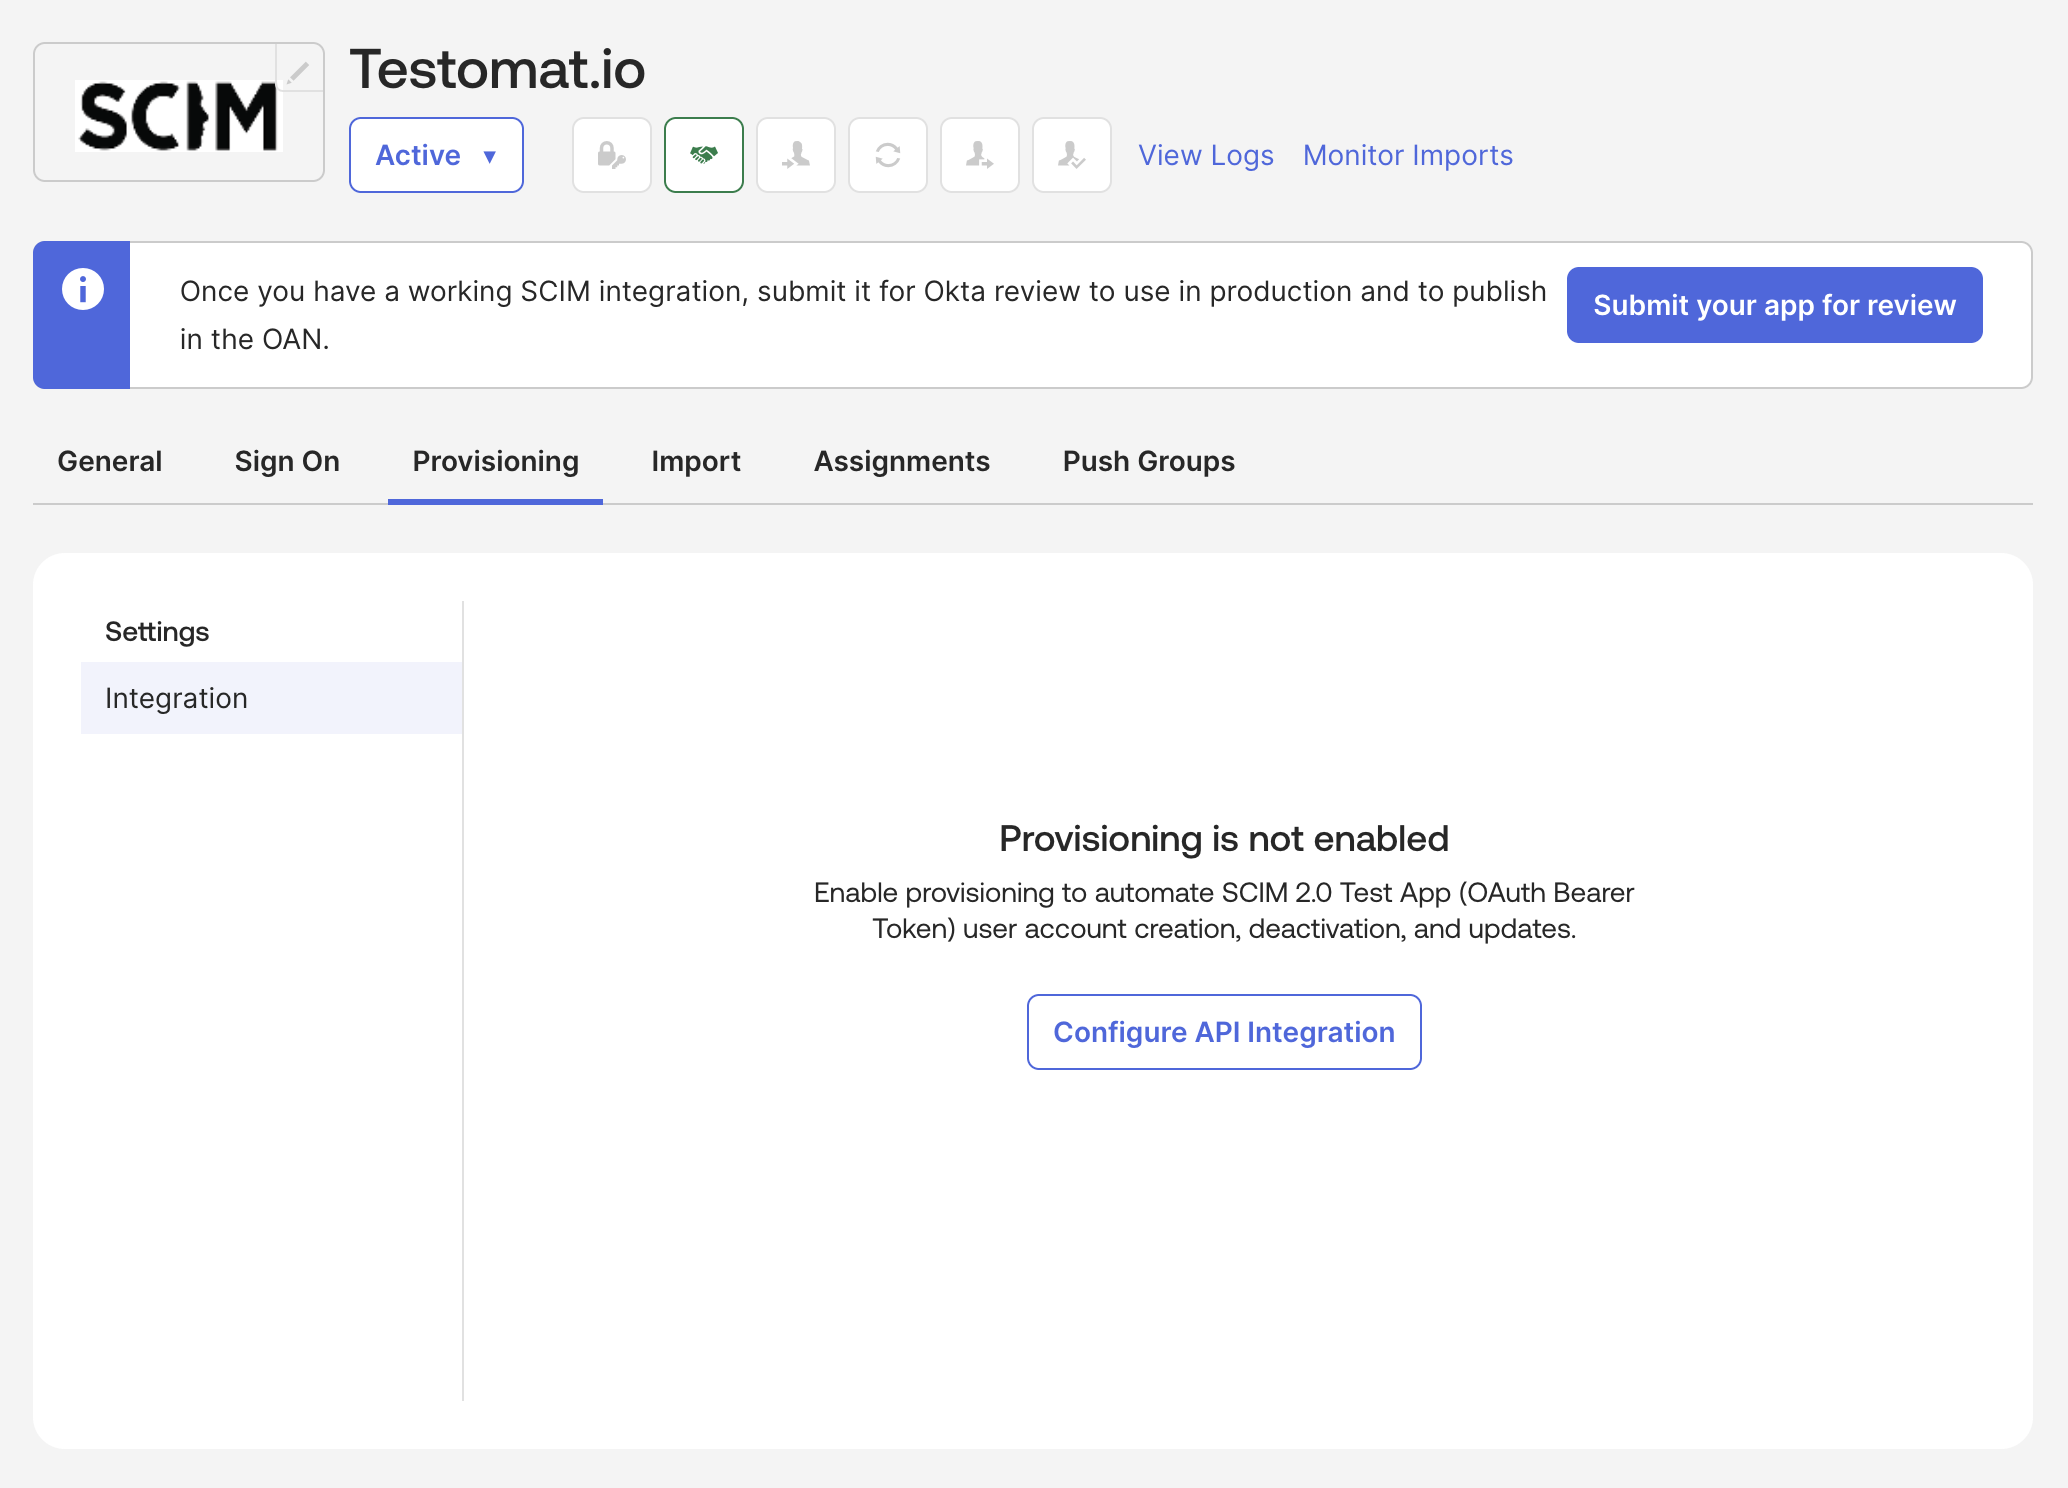
- Click Configure API Integration button.
- Click Enable API Integration checkbox.
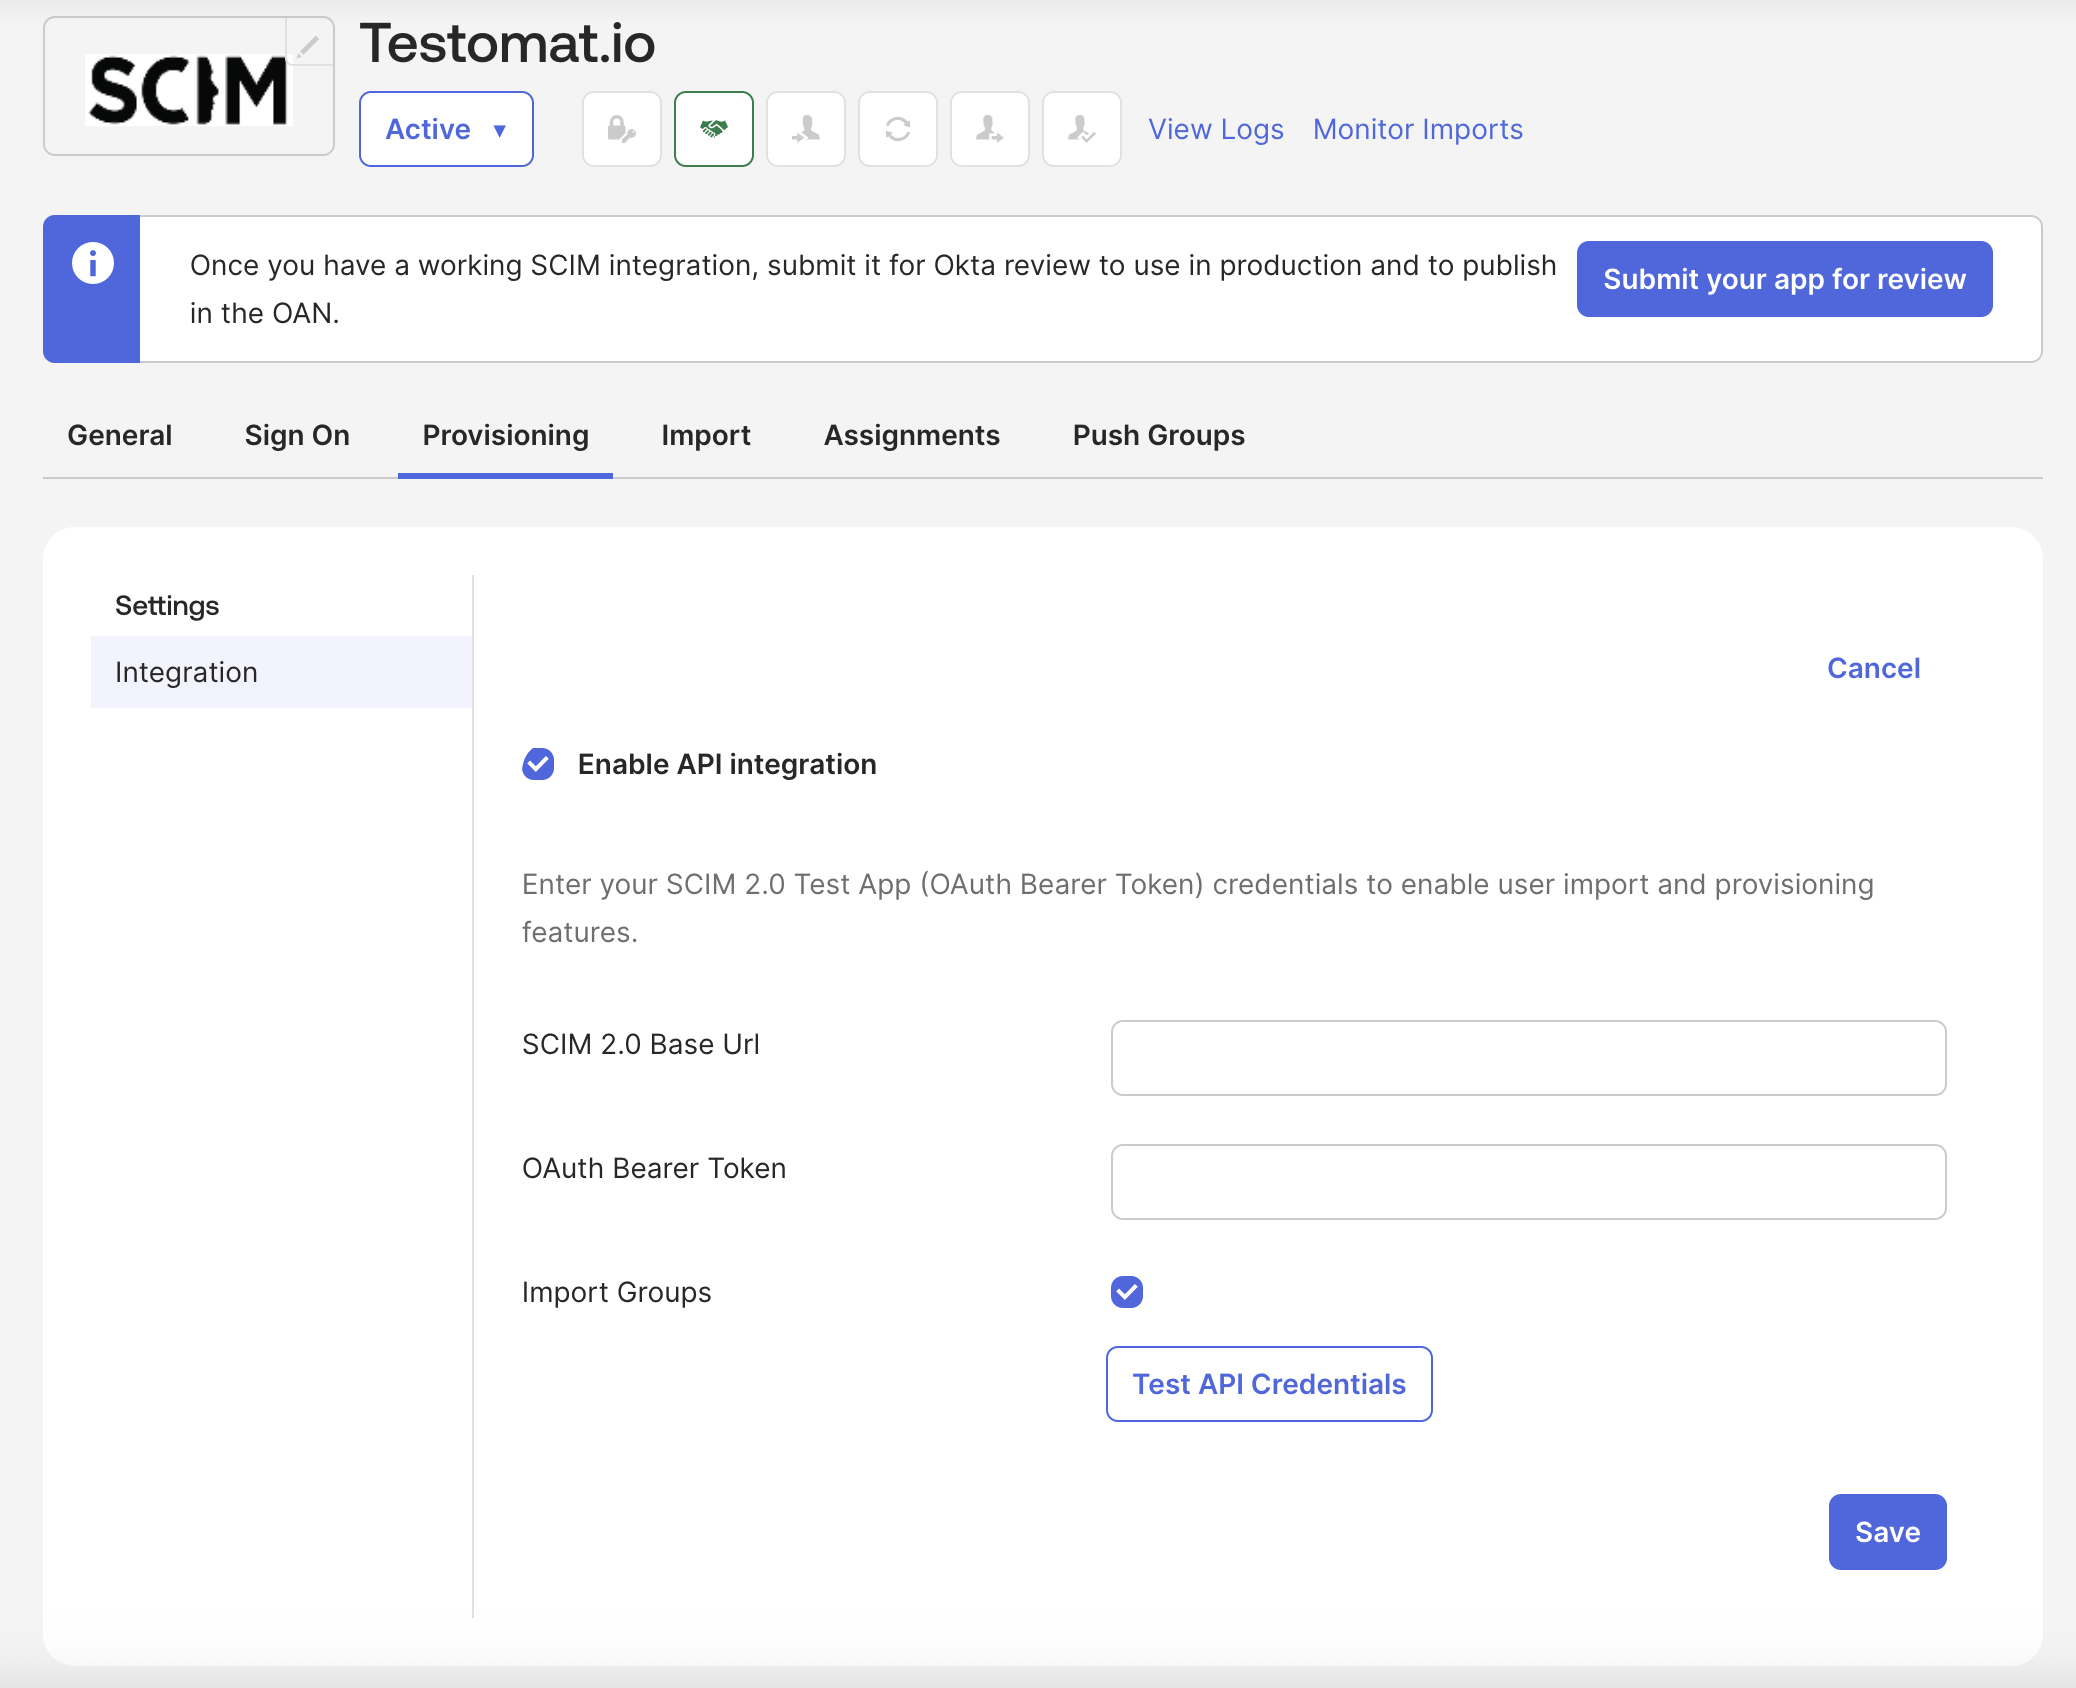
- Configure the SCIM API Integration settings:
- SCIM 2.0 base URL: Enter the SCIM Base URL from Testomat.io (format:
https://app.testomat.io/scim/v2) - OAuth Bearer Token: Enter the SCIM Bearer Token from Testomat.io
- Import Groups Leave it as shown on the screenshot (checked)
- SCIM 2.0 base URL: Enter the SCIM Base URL from Testomat.io (format:
- Click Test API Credentials to test the Testomat SCIM credentials entered above.
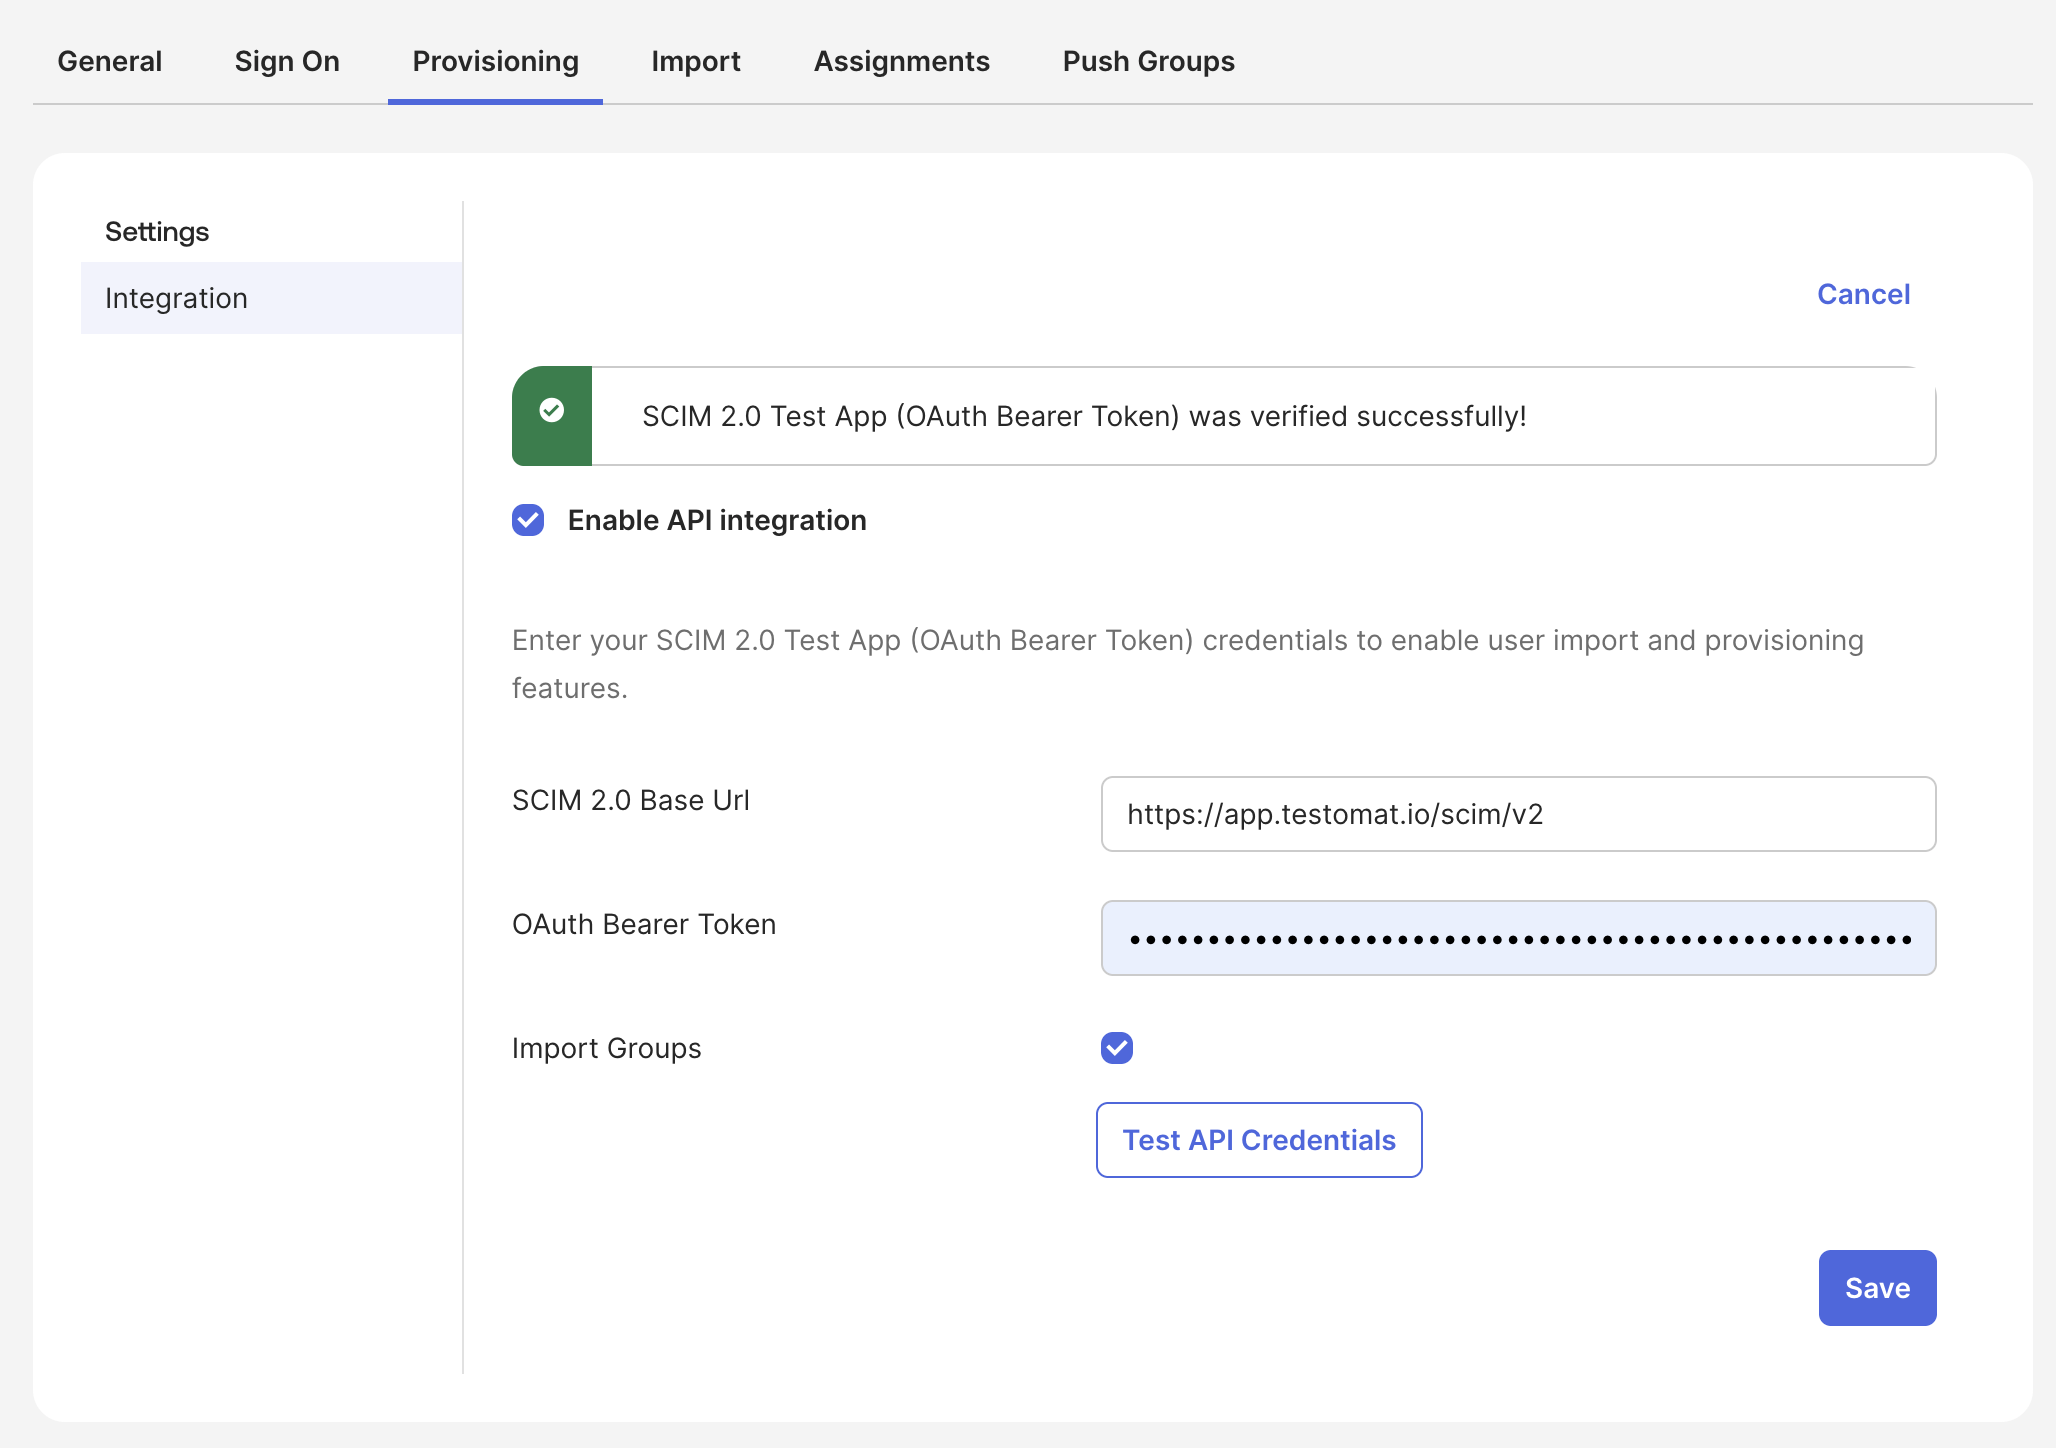
- Click Save to save the authentication settings.
Step 3: Configure Provisioning Options
Section titled “Step 3: Configure Provisioning Options”-
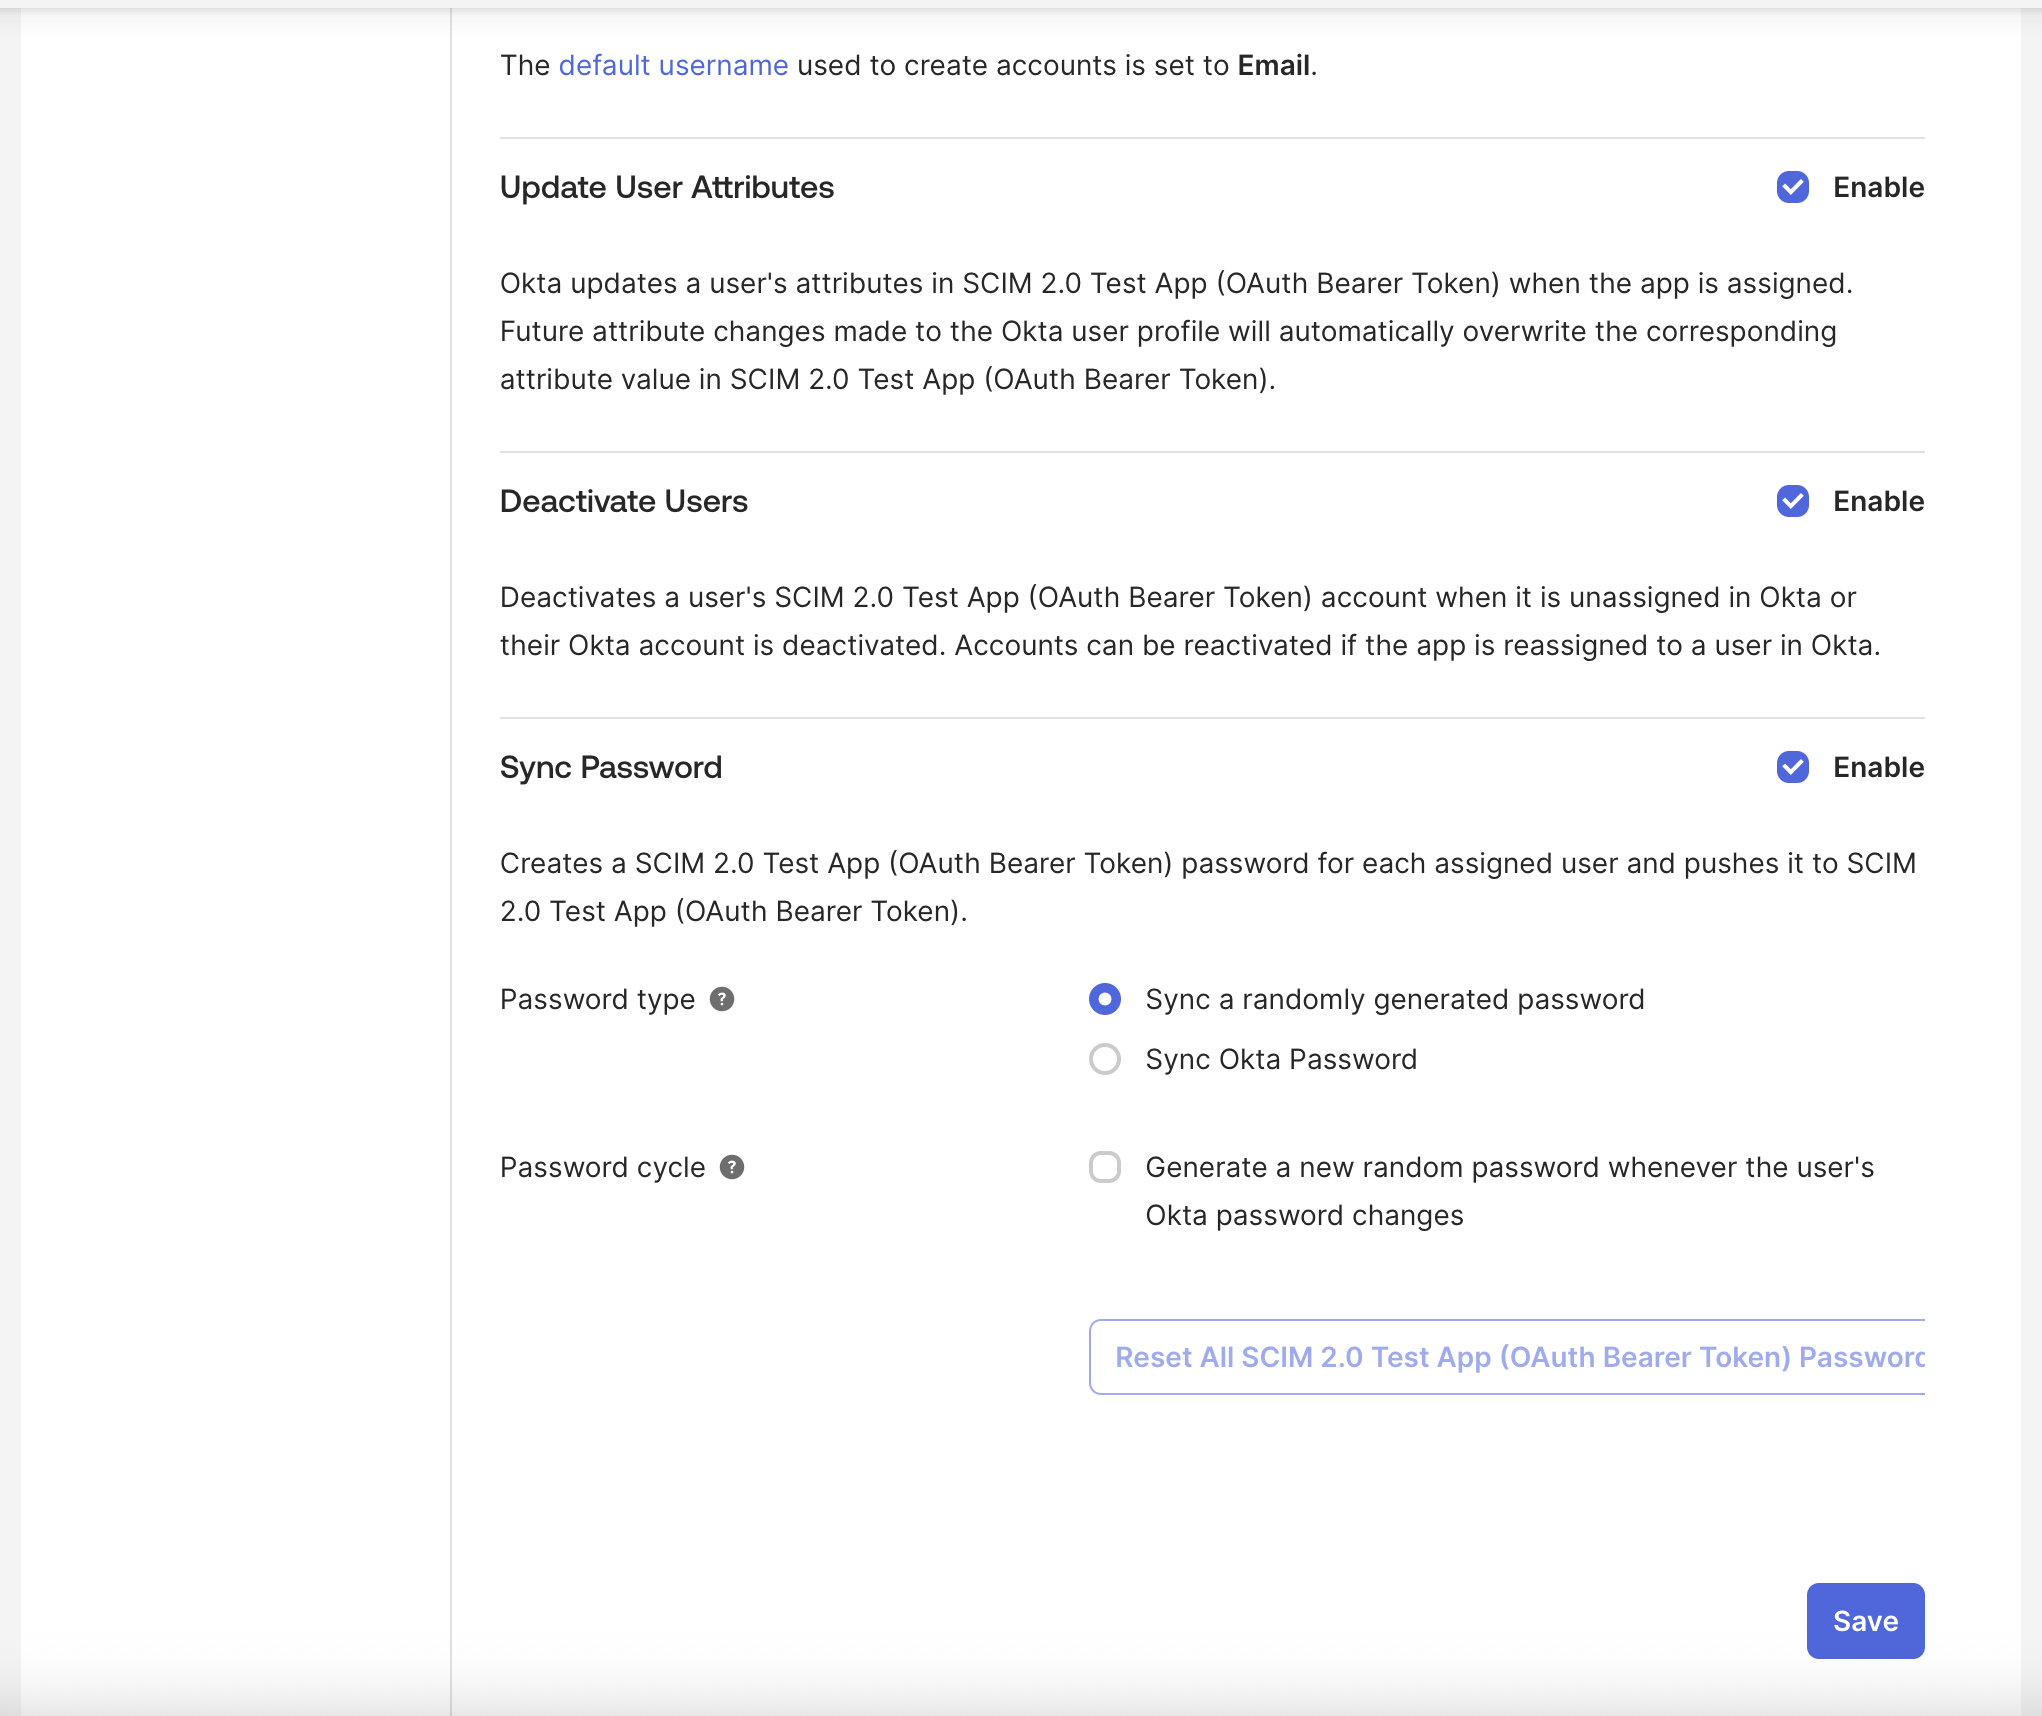
Still in the Provisioning tab, click on Edit and configure the provisioning options:
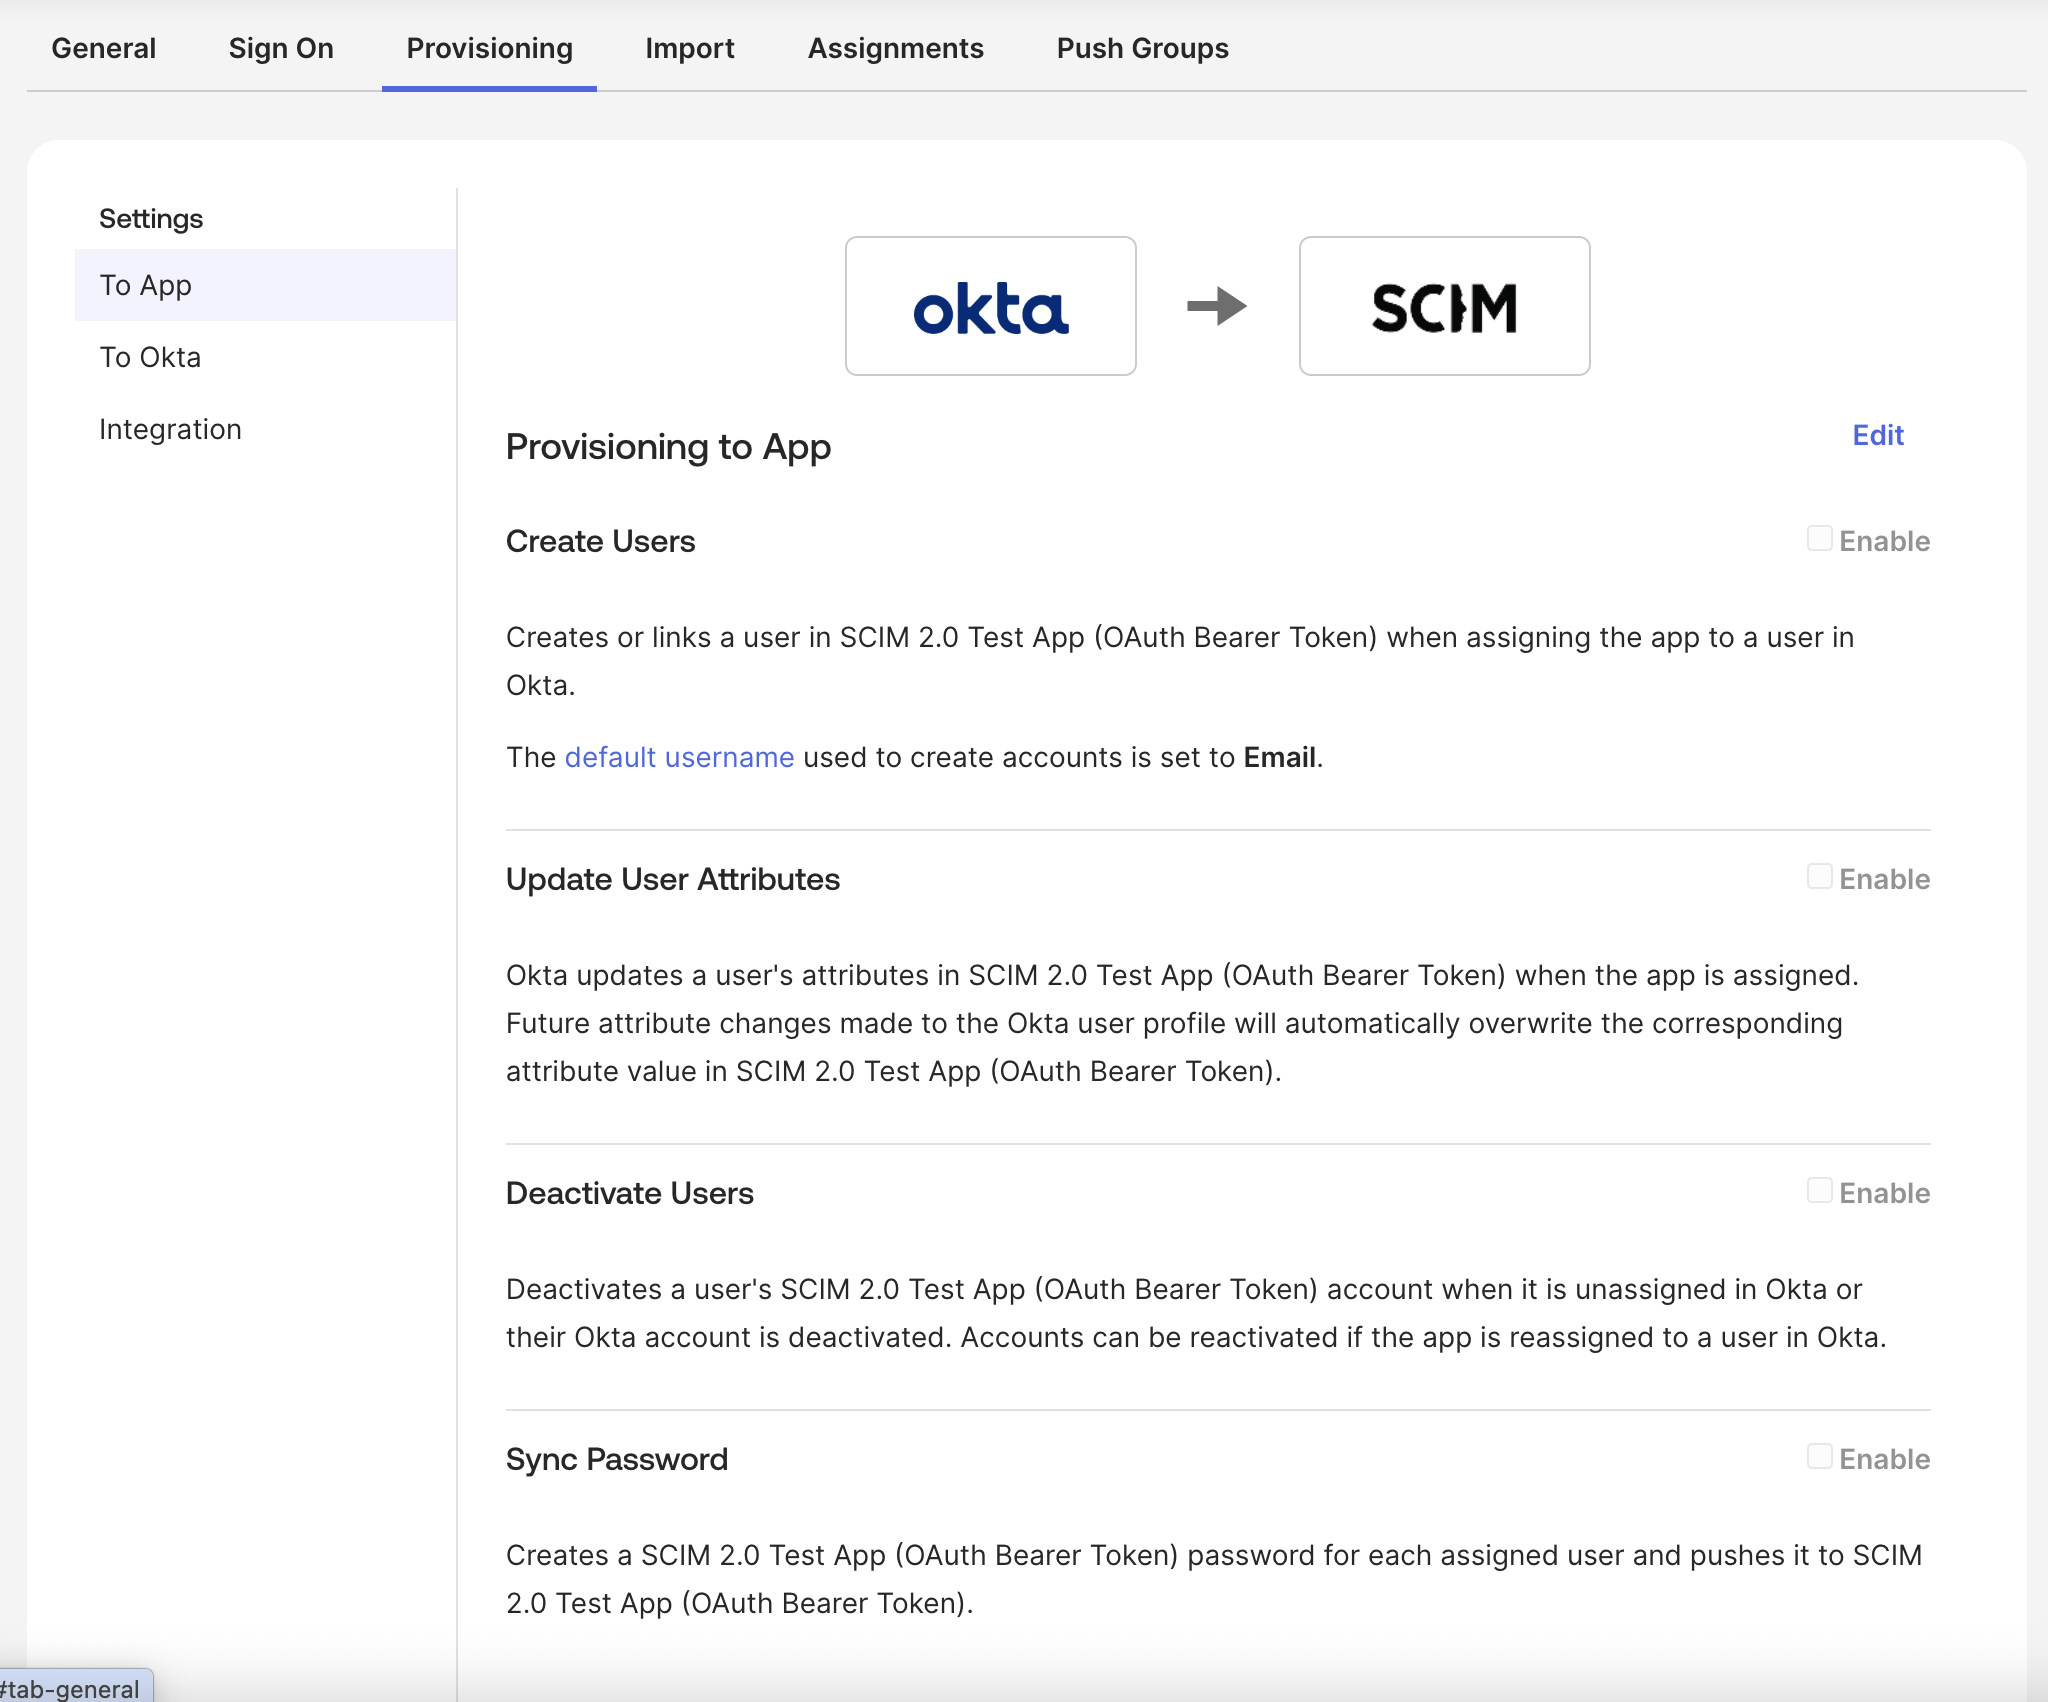
To App section:
- ✓ Enable Create Users
- ✓ Enable Update User Attributes
- ✓ Enable Deactivate Users
- Optionally enable Sync Okta Password (if supported). Sync Password settings are left to your own.

To Okta section (optional):
- Enable Import Users if you want to import existing Testomat.io users into Okta
- Enable Import New Users to automatically import new users
- Enable Import Profile Updates to sync profile changes
-
Click Save to save the provisioning options.
Step 4: Configure Attribute Mappings
Section titled “Step 4: Configure Attribute Mappings”-
In the application configuration page, click the Attribute Mappings tab.
-
Configure the attribute mappings for users:
User attributes:
userName→user.email(this maps Okta email to SCIM userName)name.formatted→user.firstName + " " + user.lastNameoruser.displayNameactive→user.status(maps Okta user status to SCIM active status)emails[0].value→user.email
Testomat extension attributes (if supported in your Okta configuration):
urn:ietf:params:scim:schemas:extension:testomat:2.0:User.testomat_roles→ Map to Okta group memberships or custom attributes- You can map Okta groups to Testomat roles:
- Groups containing “manager” →
["manager"] - Groups containing “billing” →
["billing"] - Groups containing “read-only” →
["read"] - Default →
["qa"]
- Groups containing “manager” →
- You can map Okta groups to Testomat roles:
-
Click Save to save the attribute mappings.
Step 5: Configure Group Mappings (Optional)
Section titled “Step 5: Configure Group Mappings (Optional)”If you want to provision groups (teams) from Okta to Testomat.io:
-
In the application configuration page, click the Push Groups tab.
-
Select the Okta groups you want to push to Testomat.io.
-
Configure group attribute mappings:
displayName→ Group name in Oktamembers→ Automatically mapped from Okta group membership
-
Click Save to save the group mappings.
Step 6: Assign Users and Groups
Section titled “Step 6: Assign Users and Groups”-
In the application configuration page, click the Assignments tab.
-
Click Assign to assign users or groups to the application.
-
Select users or groups you want to provision to Testomat.io.
-
Click Assign to complete the assignment.
-
Optionally, configure assignment-specific settings:
- User name format: Choose how usernames are formatted
- Application username: Override if needed
Verify SCIM Provisioning
Section titled “Verify SCIM Provisioning”After activating SCIM provisioning, verify that it’s working correctly:
-
Check user provisioning:
- Assign a new user to the Testomat.io application in Okta
- Wait a few minutes for synchronization
- Verify the user appears in Testomat.io under Company Settings → Users
-
Check user updates:
- Update a user’s name or email in Okta
- Wait for synchronization
- Verify the changes are reflected in Testomat.io
-
Check user deactivation:
- Deactivate a user in Okta or remove them from the application assignment
- Wait for synchronization
- Verify the user is deactivated in Testomat.io
-
Check group provisioning (if enabled):
- Create or update a group in Okta that’s assigned to the application
- Wait for synchronization
- Verify the group (team) appears in Testomat.io
Troubleshooting
Section titled “Troubleshooting”If SCIM provisioning is not working correctly:
- Verify authentication: Test the API connection in the Provisioning tab
- Check Okta logs: Review the System Log in Okta for SCIM-related errors
- Verify SCIM credentials: Ensure the SCIM Base URL and Bearer Token are correct in Okta
- Check attribute mappings: Verify that attribute mappings are correctly configured
- Review synchronization schedule: Okta may have a delay between changes and synchronization
- Verify SSO configuration: Ensure SSO is properly configured before SCIM provisioning