Labels and Custom Fields
How to Add Labels & Custom Fields
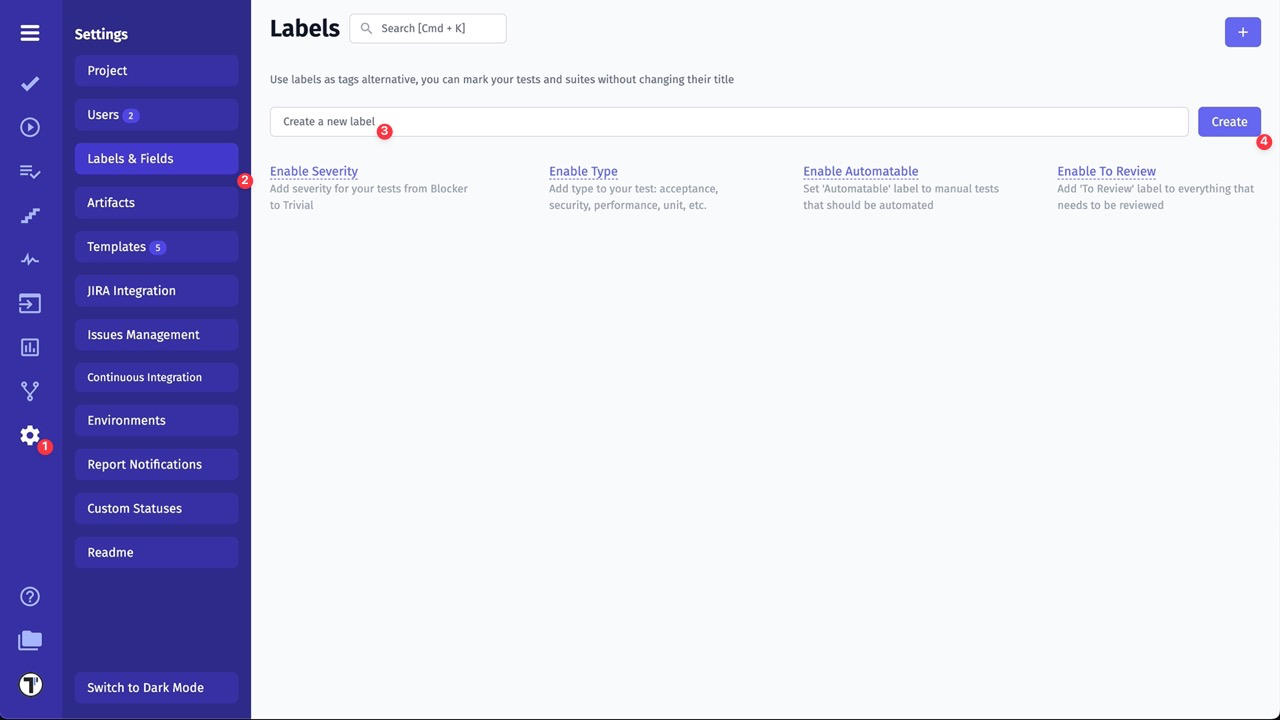
Section titled “How to Add Labels & Custom Fields”Labels can be easily added in Project Settings
- Go to Settings.
- Select Labels & Fields.
- Enter a title for the label.
- Click Create button.
How to Setup a Label
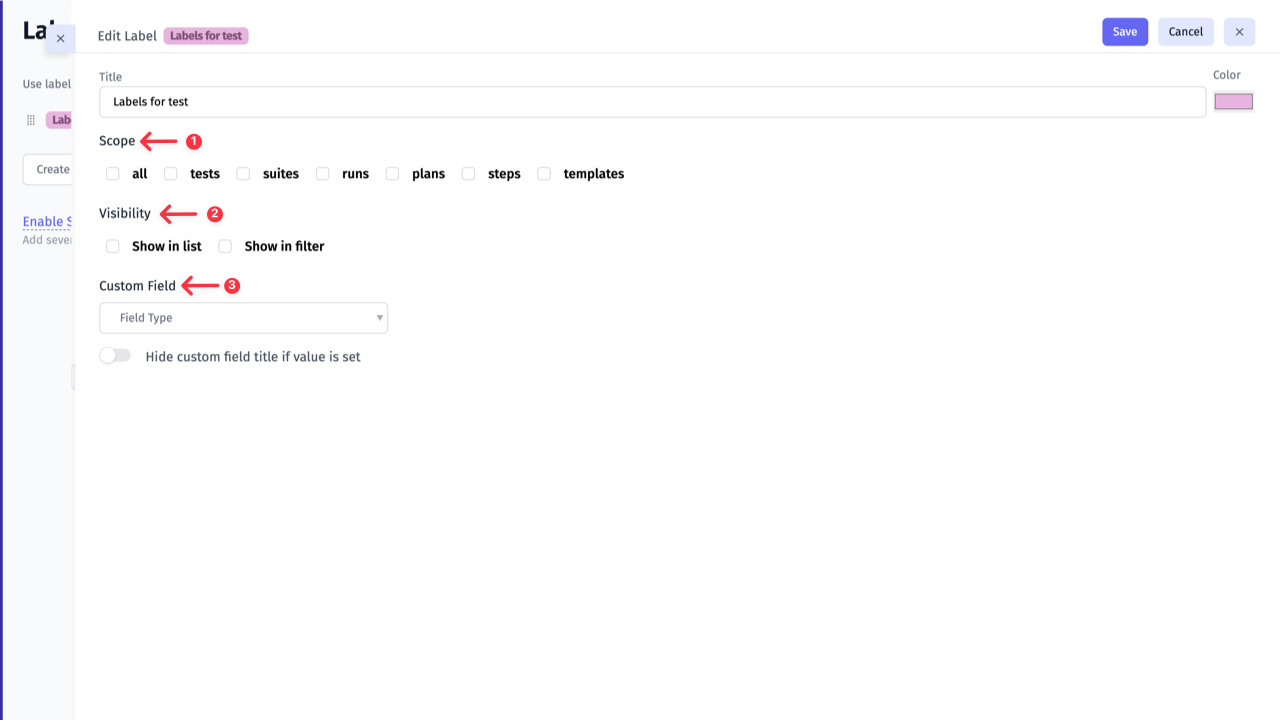
Section titled “How to Setup a Label”Before setting up Labels & Custom Fields we need to learn about Scope and Visibility parameters.
Scope defines what pages you want to apply the Label & Custom Field. Here you can define on what pages you want to use it. You can apply it to tests, suites, runs, plans, steps and templates.
Visibility defines how a Label & Custom Field should be shown in UI.
- Filter visibility will show a Label or Custom Field in the Filter Bar, so you can sort your items quickly.
- List visibility will show a Label or Custom Field in the tests tree, a list of runs, plans, or steps.

Now it’s time to set up your label!
- Scope - pick entities you want this label to be applied.
- Visibility - labels can be shown in the Filter bar, in the list of entities, or in both views.
- Custom Field - expand label capability to a custom field.
How to Setup a Custom Field
Section titled “How to Setup a Custom Field”There are such Field Types in Custom Fields: List, Number, and String. Let’s take a look at each type.
Custom Field: List
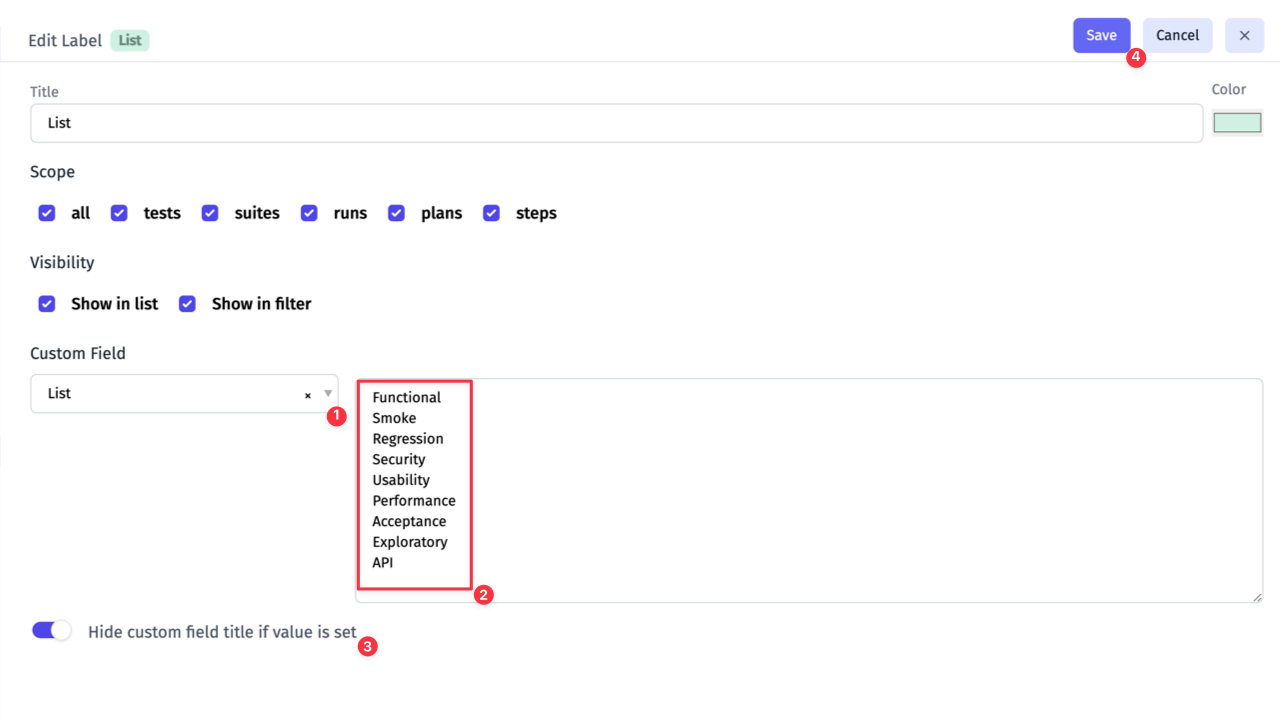
Section titled “Custom Field: List”Custom Field with List type allows creating a list of your choice. You can put there any values to meet your testing needs.
- Select a List type of Custom Field.
- Add a new item per line.
- Toggle Hide custom field title if value is set if you don’t want to show Custom Field title.
- Click Save button.
Custom Field: Number
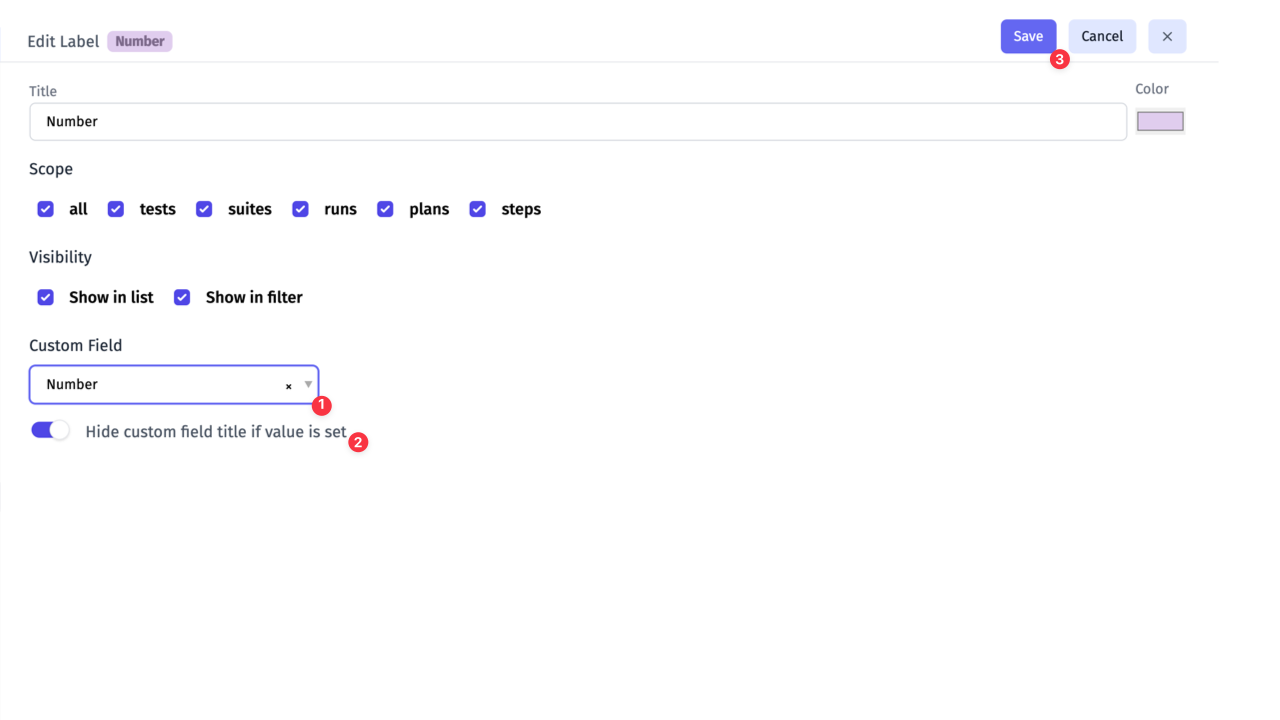
Section titled “Custom Field: Number”- Select a Number type of Custom Field.
- Toggle Hide custom field title if value is set if you don’t want to show Custom Field title.
- Click Save button.
Custom Field: String
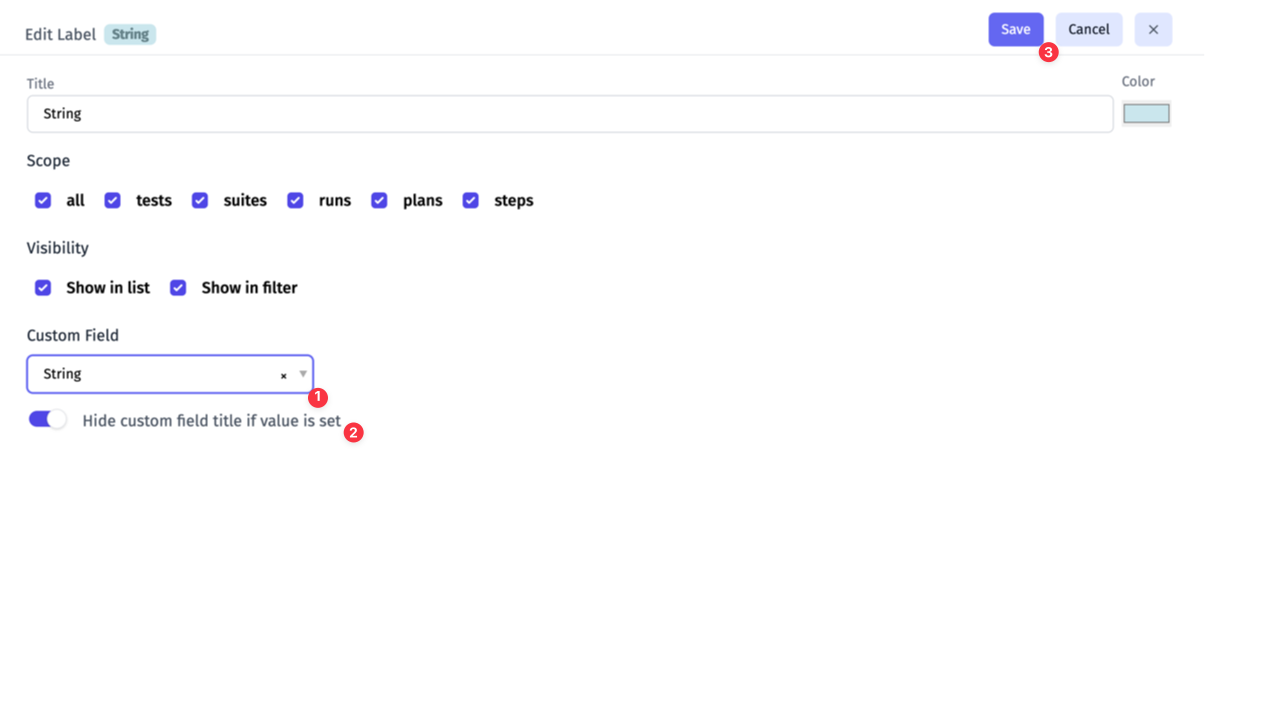
Section titled “Custom Field: String”- Select a String type of Custom Field.
- Toggle Hide custom field title if value is set if you don’t want to show Custom Field title.
- Click Save button.
How to Assign Labels & Custom Fields
Section titled “How to Assign Labels & Custom Fields”- Add labels on the entity level
- Open a Suite/ Test.
- Click Extra button.
- Click Labels.
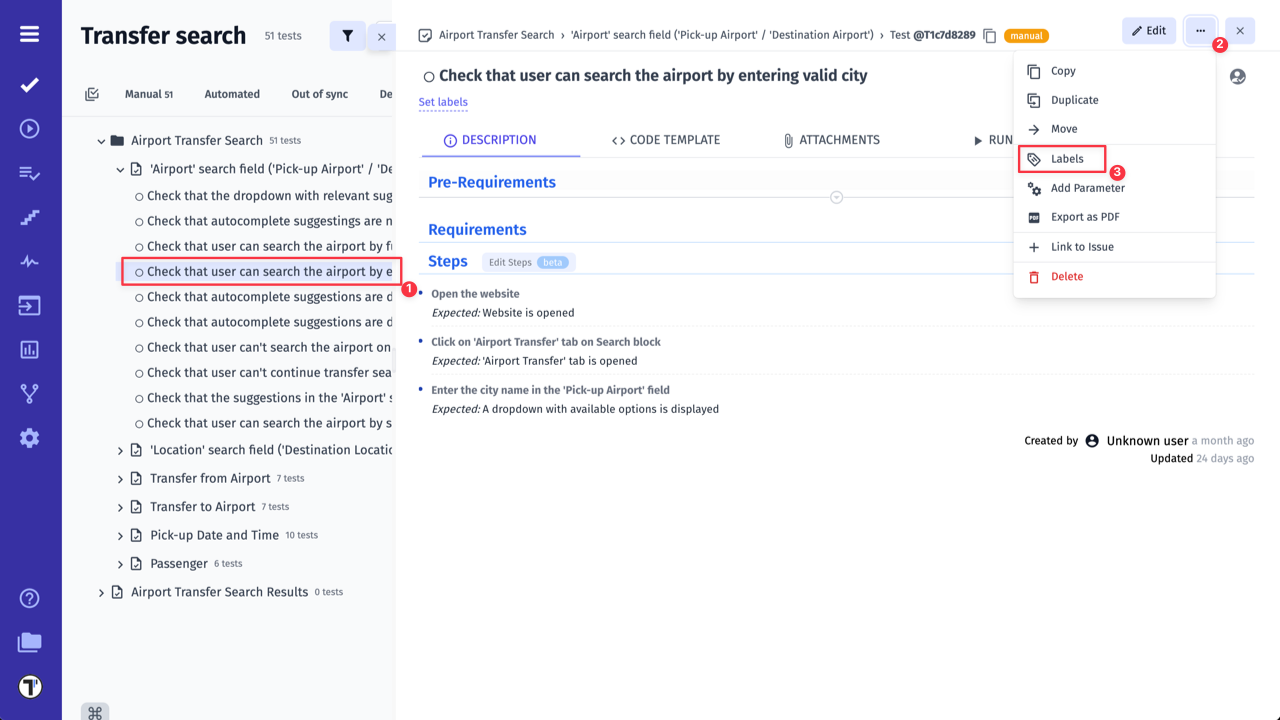
- Select Labels.
- Click Add Custom Field.
- Select Custom Fields.
- Click Save button.
OR:
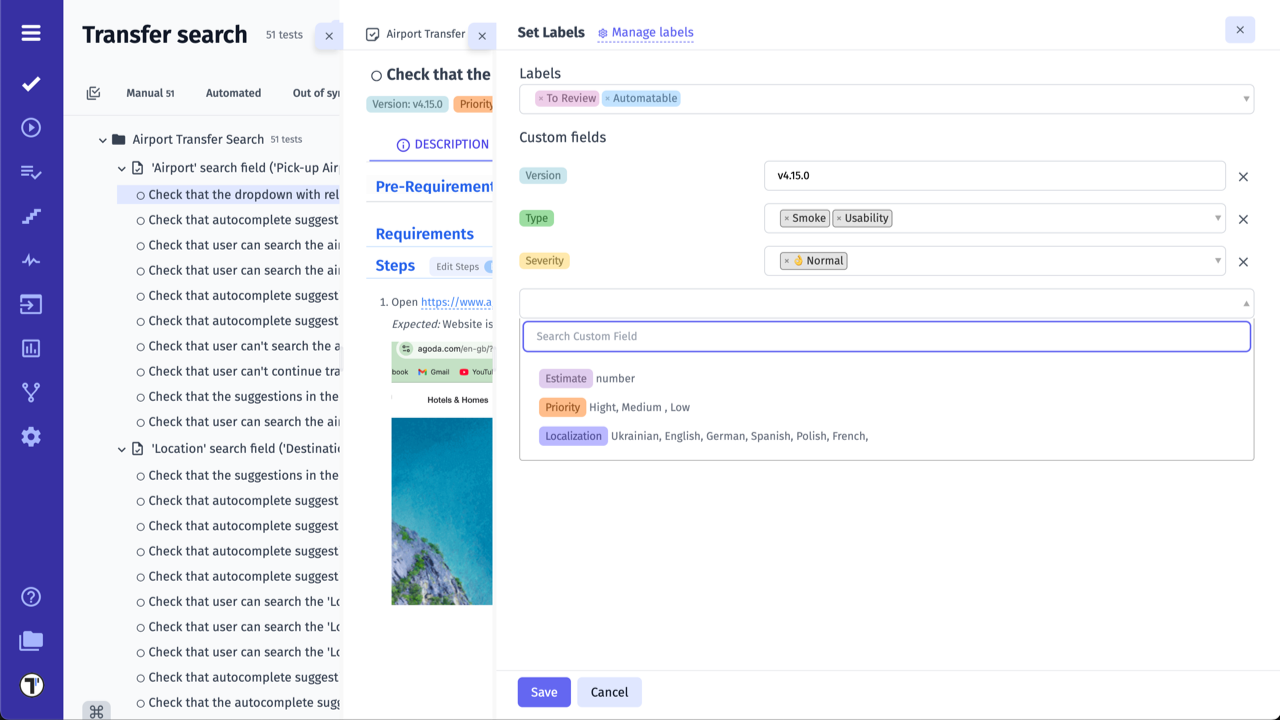
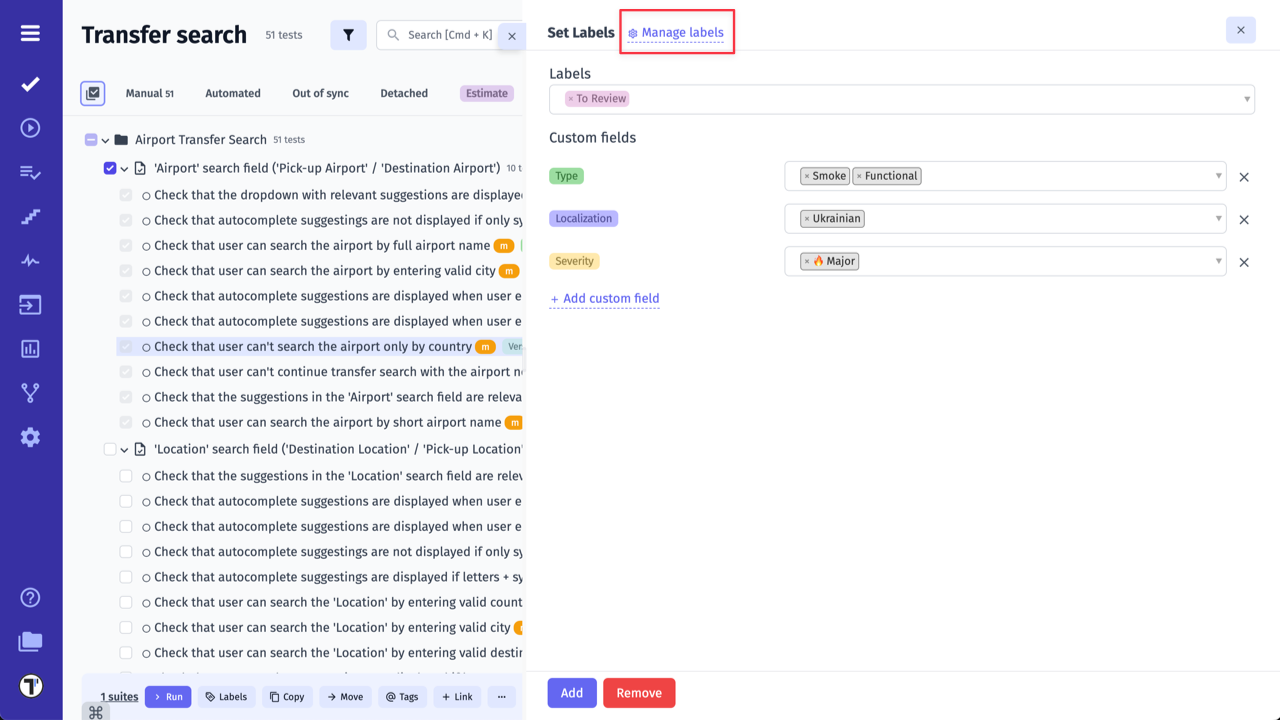
- Open a Suite/ Test.
- Click Set Labels button the title name.
- Select Labels & Custom Fields.
- Click Save button.
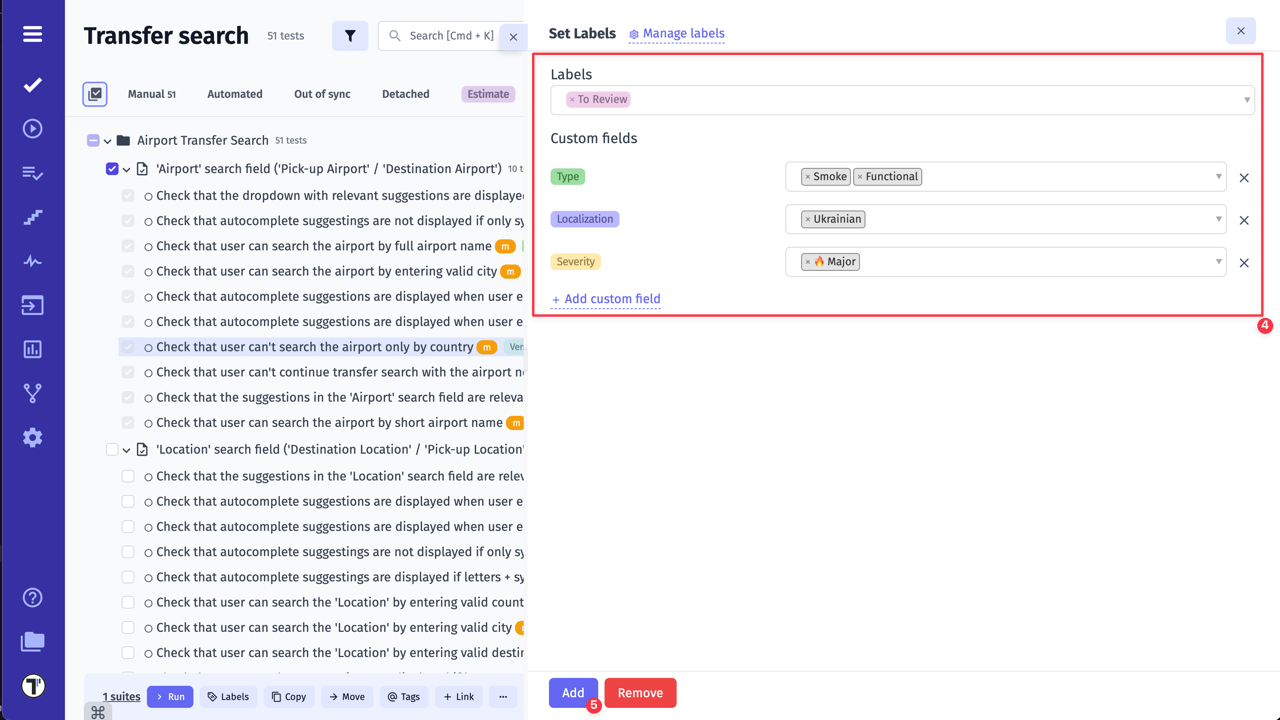
- Mass-assign labels using our multiselection mode
- Enable multiselection mode.
- Select Tests/ Suites.
- Click Labels button.
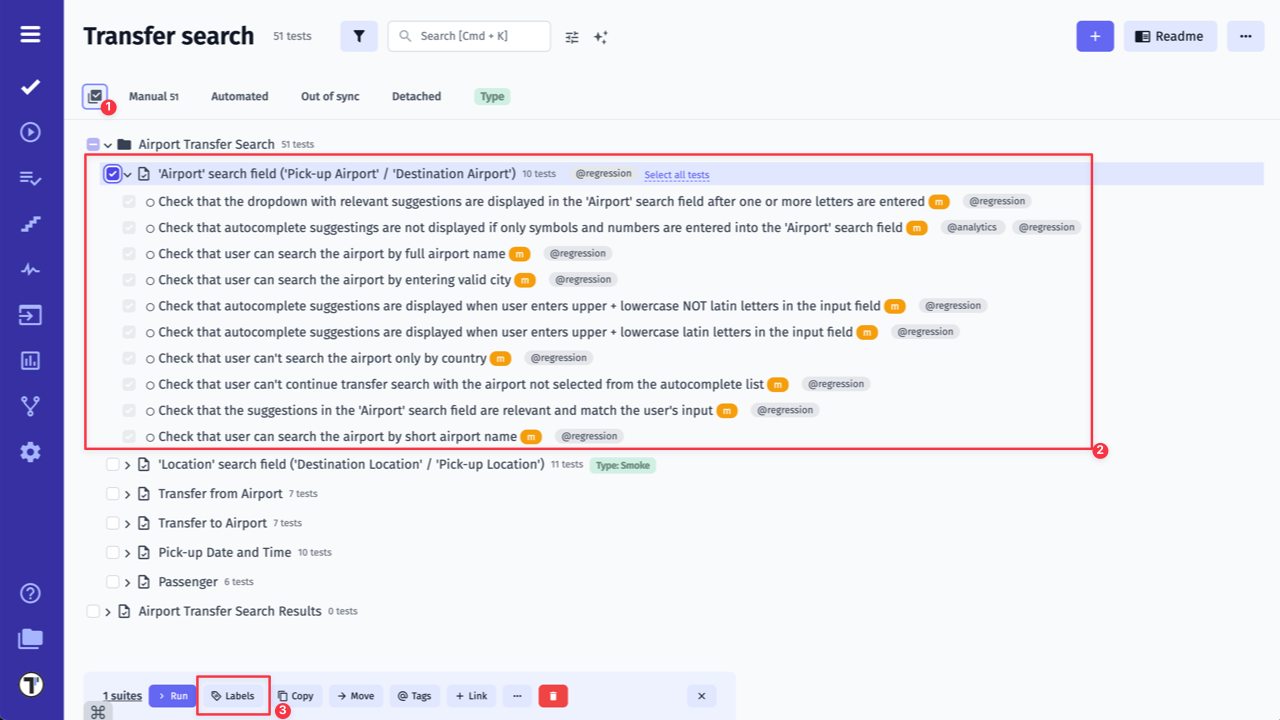
- Select Labels & Custom Fields.
- Click Add.
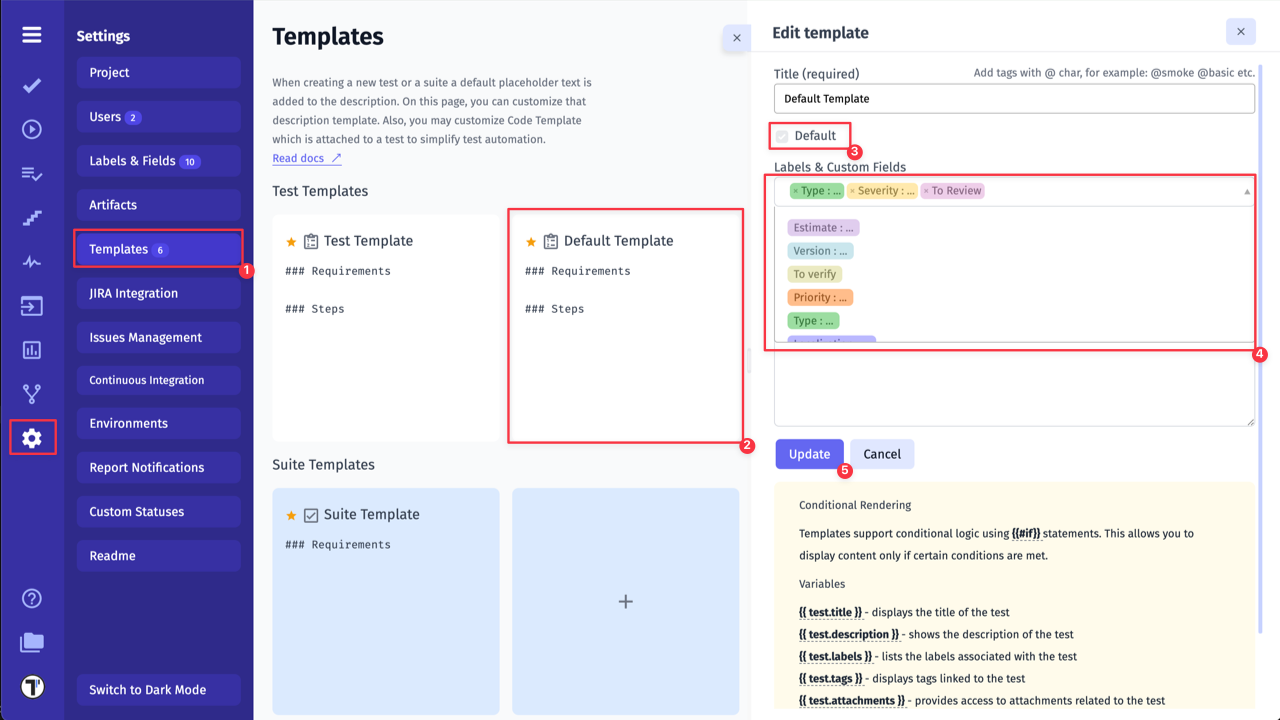
How to Set Up Labels and Custom Fields as Required
Section titled “How to Set Up Labels and Custom Fields as Required”If you want to have some Custom Fields as required by default when creating Test Cases or Suites, create a Template with those Custom Fields and set it up as the default:
- Go to Settings -> Templates.
- Open an existing Template or create a new one.
- Enable Default option.
- Select Custom Fields you want to make required.
- Click Update button.
- Go to Tests.
- Click ’+’ to create new Test Case.
- Add values to Custom fields via Set Labels page.
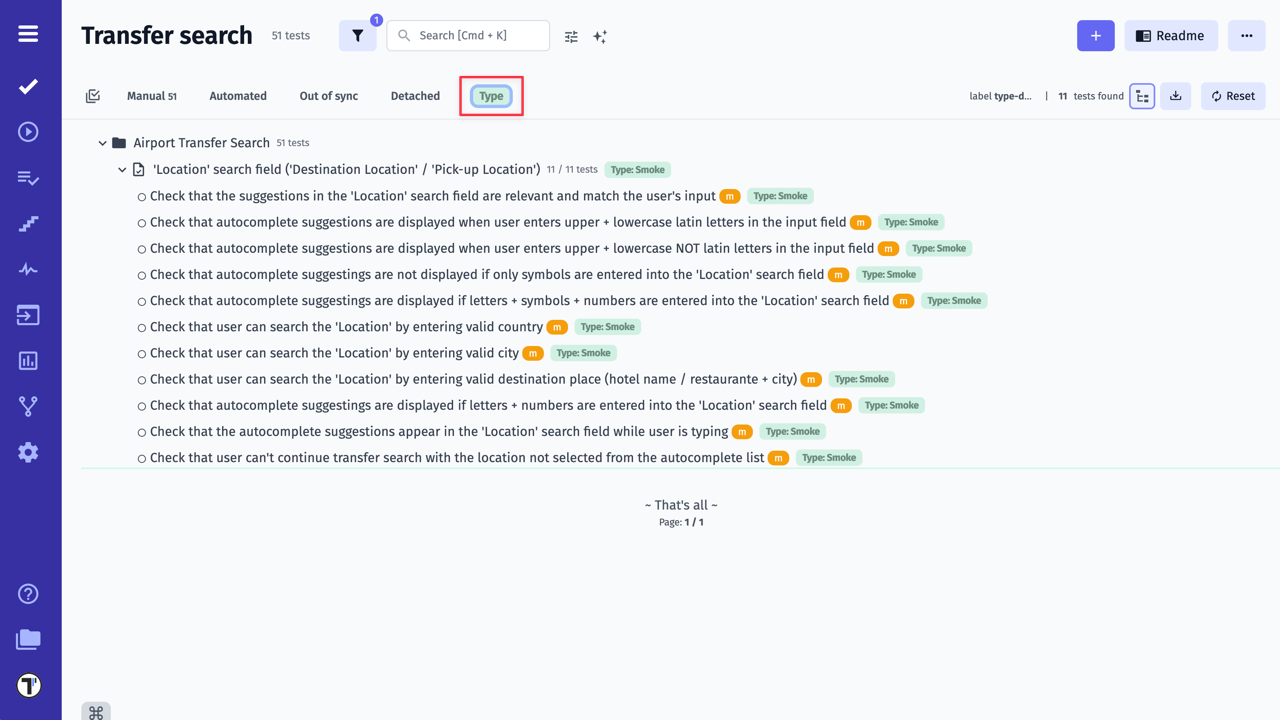
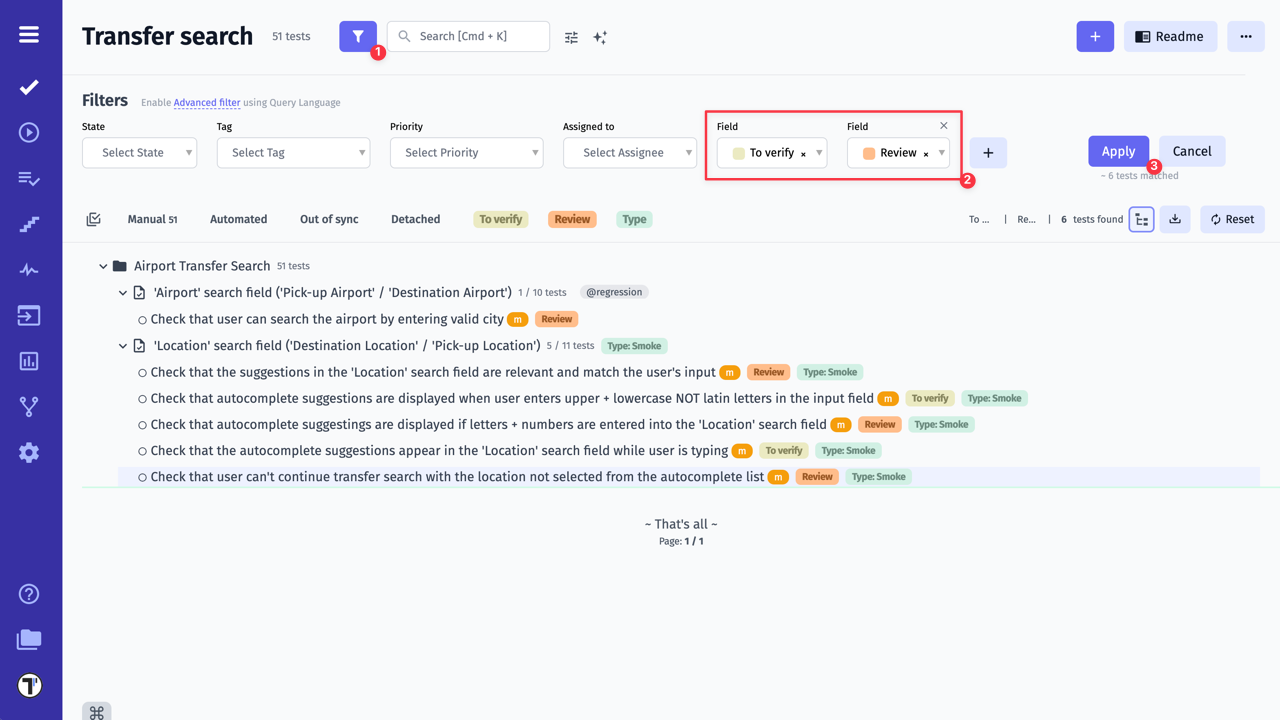
How to Filter by Labels and Custom Fields
Section titled “How to Filter by Labels and Custom Fields”You can click the Label on the Filter Bar
Or enable Filters, pick fields and values then click Apply
Multiple Values for Custom Fields
Section titled “Multiple Values for Custom Fields”There might be cases where you need to assign the same label with different values to the same test case or suite.
To address this, Testomat.io enhanced the flexibility of Custom Fields by allowing multiple values to be assigned to test cases, suites, steps, etc.
Lets see how this works:
- Open Test Case or Suite.
- Click Extra button.
- Click Labels.
- Select Custom Field with multiple values.
- Choose values from the displayed list for List Custom Field (or type a few values, separated by ”,” for Custom Field String).
Testomat.io also allows you to filter your test cases by one or a few Custom Field values.
Permissions for Labels and Custom Fields
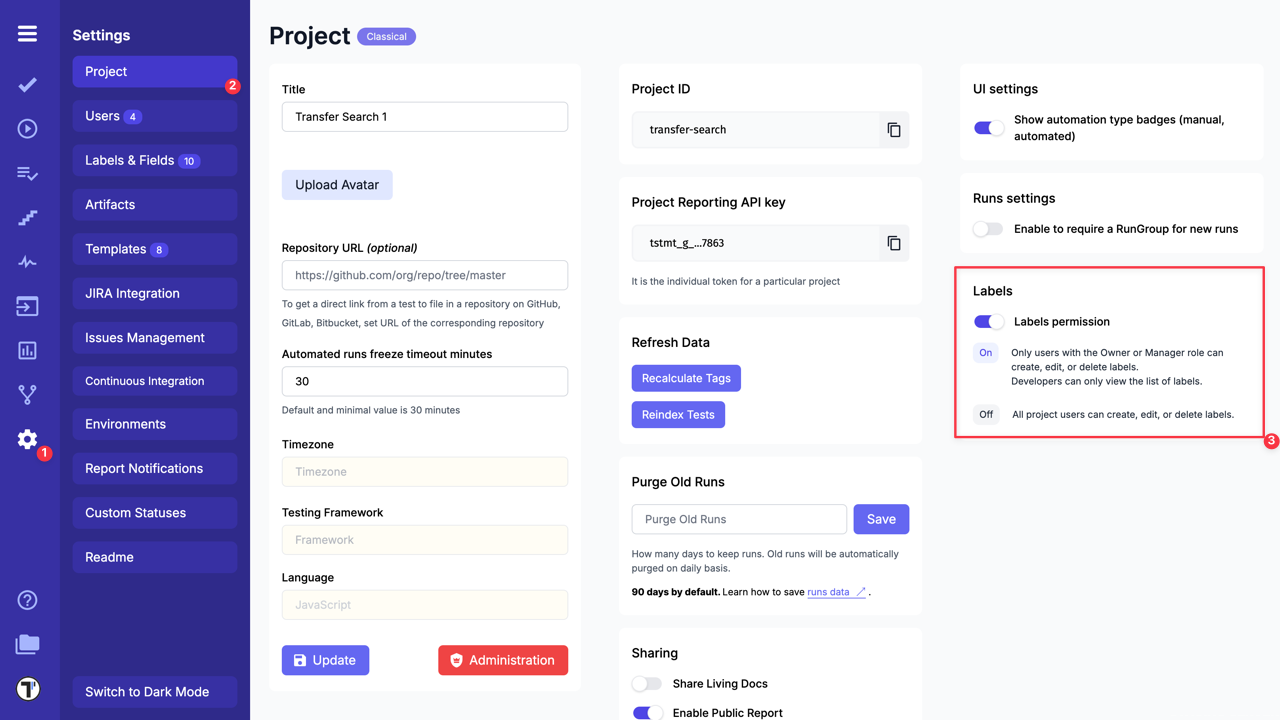
Section titled “Permissions for Labels and Custom Fields”To manage Labels and Custom Fields at the Project level, Testomat.io introduces ‘Labels Permission’ feature, which allows you to have a better control over metadata, maintain consistency, and prevent unauthorized modifications of Labels and Custom Fields.
By default, this permission is disabled, allowing all users to create, edit, or delete Labels and Custom Fields. However, if the Labels Permission is enabled, only users with the Owner or Manager roles can create, edit, or delete Labels and Custom Fields. Team members with lower access levels can still use existing Labels and Custom Fields but will not be able to alter them.
This feature improves project organization, enhances security, and streamlines collaboration by ensuring structured and standardized test management.
To enable Labels Permission on Project level:
- Open your project and go to Settings.
- Select Project.
- Enable Labels permission.