

MCP - Connect AI Assistant
Welcome!
In this tutorial, you will learn how you can connect Claude, Cursor, or OpenCode to your Testomat.io project through the MCP Server. After that, your assistant reads your tests, searches them, and manages runs for you, without you opening the app.
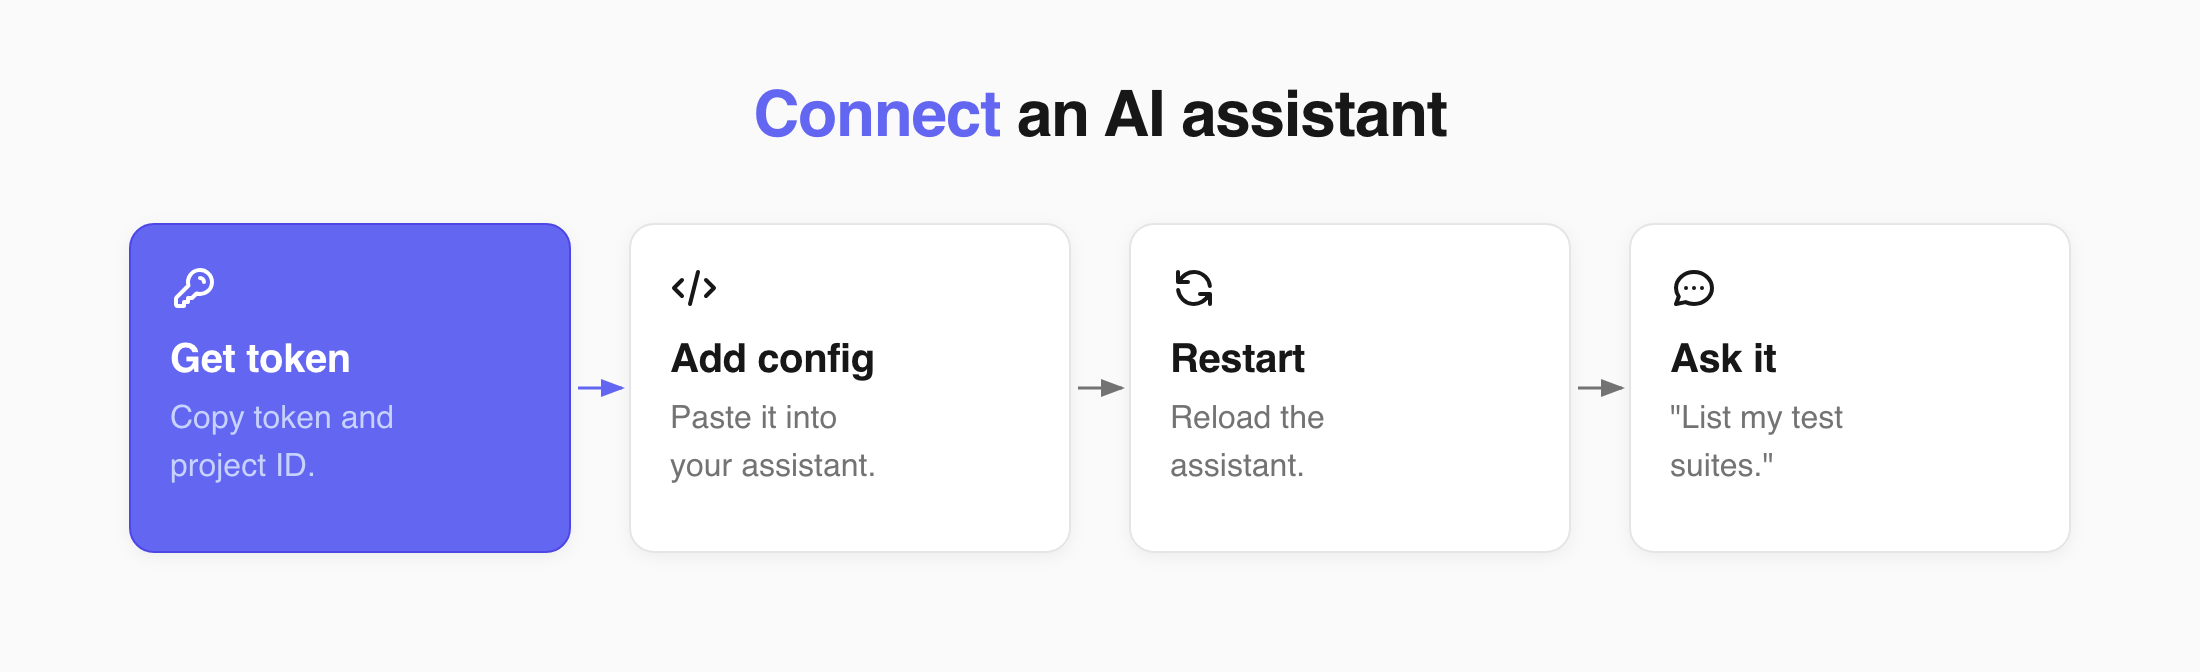
Before you start:
- Node.js 18+ installed on your computer
- A project in Testomat.io
- Claude Desktop, Cursor, or OpenCode installed
Get your token and project ID
Your assistant needs two values from your project.
- Open your project in Testomat.io.
- Go to Settings.
- Open the API Key page.
- Copy the project token. It starts with
tstmt_. - Copy the project ID from the same page.
Use a project token, not a general one. A general token opens every project you have access to. See API Access.
Add the config to your assistant
Section titled “Add the config to your assistant”Follow the section for the assistant you use, and skip the other two.
Your token gives the assistant full access to the project, and anyone who can prompt the assistant can reach that data.
Treat your token like a password. If you use the project-level .cursor/mcp.json, add this file to .gitignore before saving the token.
Alternatively, use the global ~/.cursor/mcp.json so the token is stored outside the project repository. Never commit or share a config file containing your token.
If you use Cursor
Section titled “If you use Cursor”- Open the file
.cursor/mcp.jsonin your project. Create it if it isn’t there. - Paste this config:
{ "mcpServers": { "testomatio": { "type": "stdio", "command": "npx", "args": ["-y", "@testomatio/mcp@latest", "--token", "<TOKEN>", "--project", "<PROJECT_ID>"], "env": { "TESTOMATIO_BASE_URL": "https://app.testomat.io" } } }}- Replace
<TOKEN>and<PROJECT_ID>with the values you copied. - Save the file.
- Restart Cursor.
To use the same connection in all your projects, edit ~/.cursor/mcp.json instead.
If you use Claude Desktop
Section titled “If you use Claude Desktop”- Open your Claude config file. Create it if it isn’t there.
- On macOS:
~/Library/Application Support/Claude/claude_desktop_config.json - On Windows:
%APPDATA%\Claude\claude_desktop_config.json
- On macOS:
- Paste this config:
{ "mcpServers": { "testomatio": { "command": "npx", "args": ["-y", "@testomatio/mcp@latest", "--token", "<TOKEN>", "--project", "<PROJECT_ID>"], "env": { "TESTOMATIO_BASE_URL": "https://app.testomat.io" } } }}- Replace
<TOKEN>and<PROJECT_ID>with the values you copied. - Save the file.
- Restart Claude Desktop.
If you use OpenCode
Section titled “If you use OpenCode”- Open the file
opencode.jsonin your project root. Create it if it isn’t there. - Paste this config:
{ "$schema": "https://opencode.ai/config.json", "mcp": { "testomat": { "type": "local", "command": ["npx", "-y", "@testomatio/mcp@latest", "--token", "<TOKEN>", "--project", "<PROJECT_ID>"], "enabled": true, "environment": { "TESTOMATIO_BASE_URL": "https://app.testomat.io" } } }}- Replace
<TOKEN>and<PROJECT_ID>with the values you copied. - Save the file.
- Restart OpenCode.
To use the same connection in all your projects, edit ~/.config/opencode/opencode.json instead.
Check that it worked
Section titled “Check that it worked”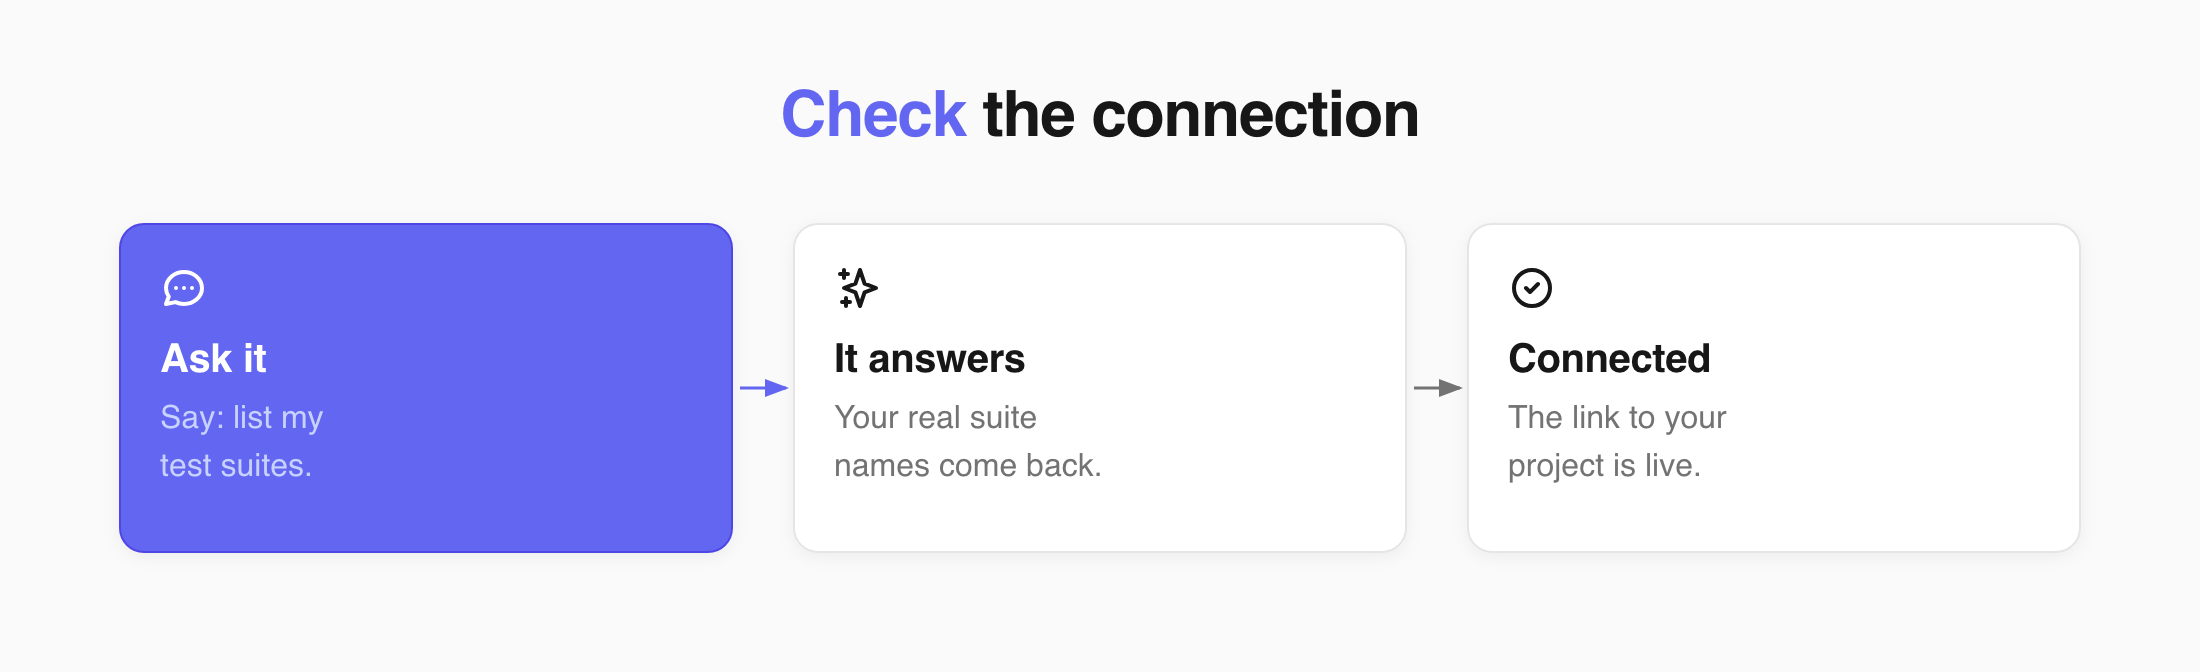
Ask your assistant: list my test suites. If it answers with the real suite names from your project, the connection is live.
What you can do
Section titled “What you can do”Once connected, your assistant works with your project through Public API v2. It can:
- Create, read, update, and delete tests, suites, plans, and runs.
- Read your tags and milestones.
- Manage issues and link them to tests, suites, or runs.
- Upload attachments and requirements in tests, suites, or runs.
- Search tests and runs with TQL
- Launch, finish, and rerun a run.
If this doesn’t work
Section titled “If this doesn’t work”- The assistant answers from general knowledge instead of your project data - the config did not load. Check that the file path and the file name are correct, then restart the assistant.
- You get an access or “denied” error - the token or project ID is wrong, or the token was revoked. Copy both again from the API Key page.
- You get an HTTPS or certificate error on a company network - if your Node.js version supports it, add
"NODE_OPTIONS": "--use-system-ca"to theenvblock. Otherwise, export your company root certificate as a PEM file and add"NODE_EXTRA_CA_CERTS": "/path/to/company-root-certificate.pem"instead. Save the config and restart the assistant. - Still not connected - write to support@testomat.io and include the name of your assistant and the error text.
Next Steps
Section titled “Next Steps”- Need to establish a connection with Testomat.io? See API Access for more details.
- Learn how to customize your test syntax at Test Query Language (TQL).
- Read Interacting via API to learn to interact with Testomat.io directly.