

Edit Test Steps
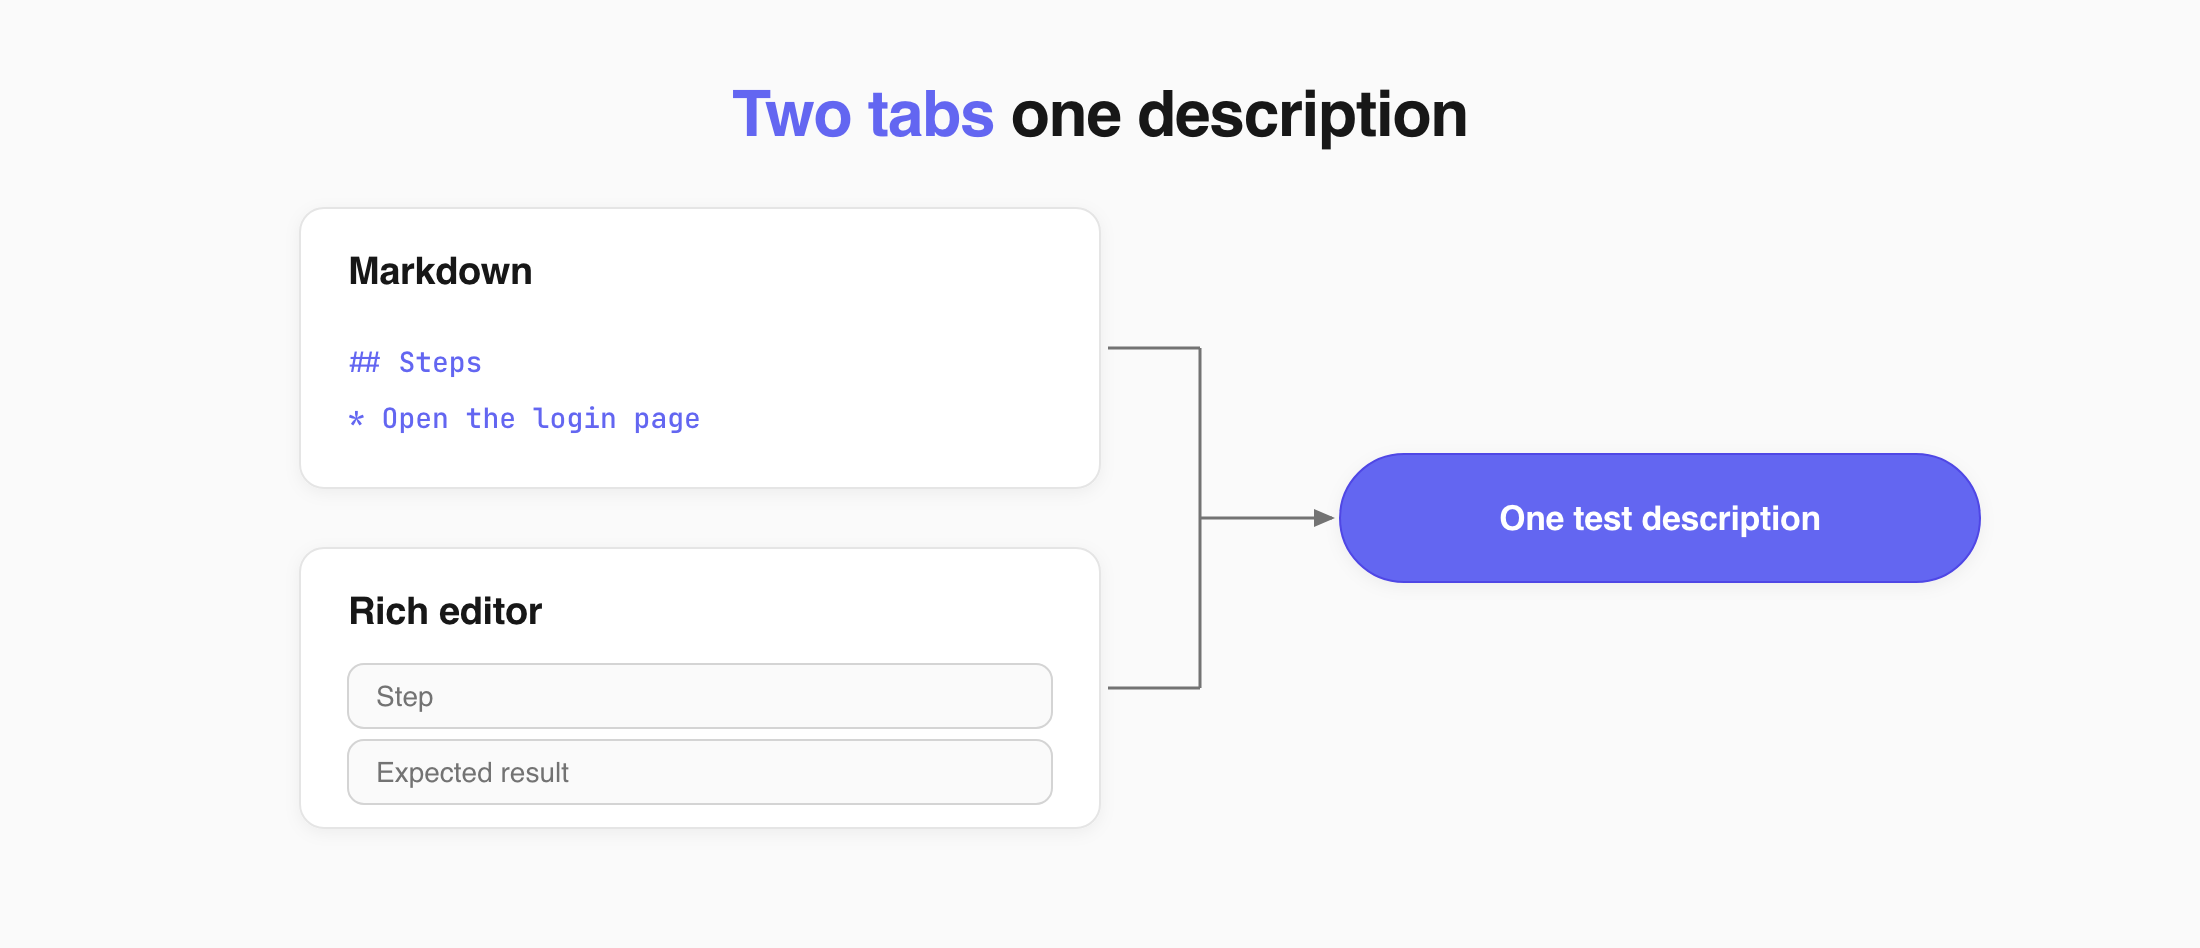
Open a test and click Edit. The editor gives you three tabs, and the one you pick decides how you work with the steps.
Choose a Tab
Section titled “Choose a Tab”| Tab | What you get |
|---|---|
| Markdown | The raw description. Full control over tables, headings, and images |
| Rich editor | Each step and its expected result in its own field. No Markdown to write |
| Preview | The finished test as a tester sees it |
Both tabs edit the same description, so you can switch between them at any time.
Edit the Steps
Section titled “Edit the Steps”- On the Tests page, open a test.
- Click Edit.
- Open the Rich editor tab.
- Change the text of any step or its expected result.
- To add a step, click Add new step.
- Click Save.
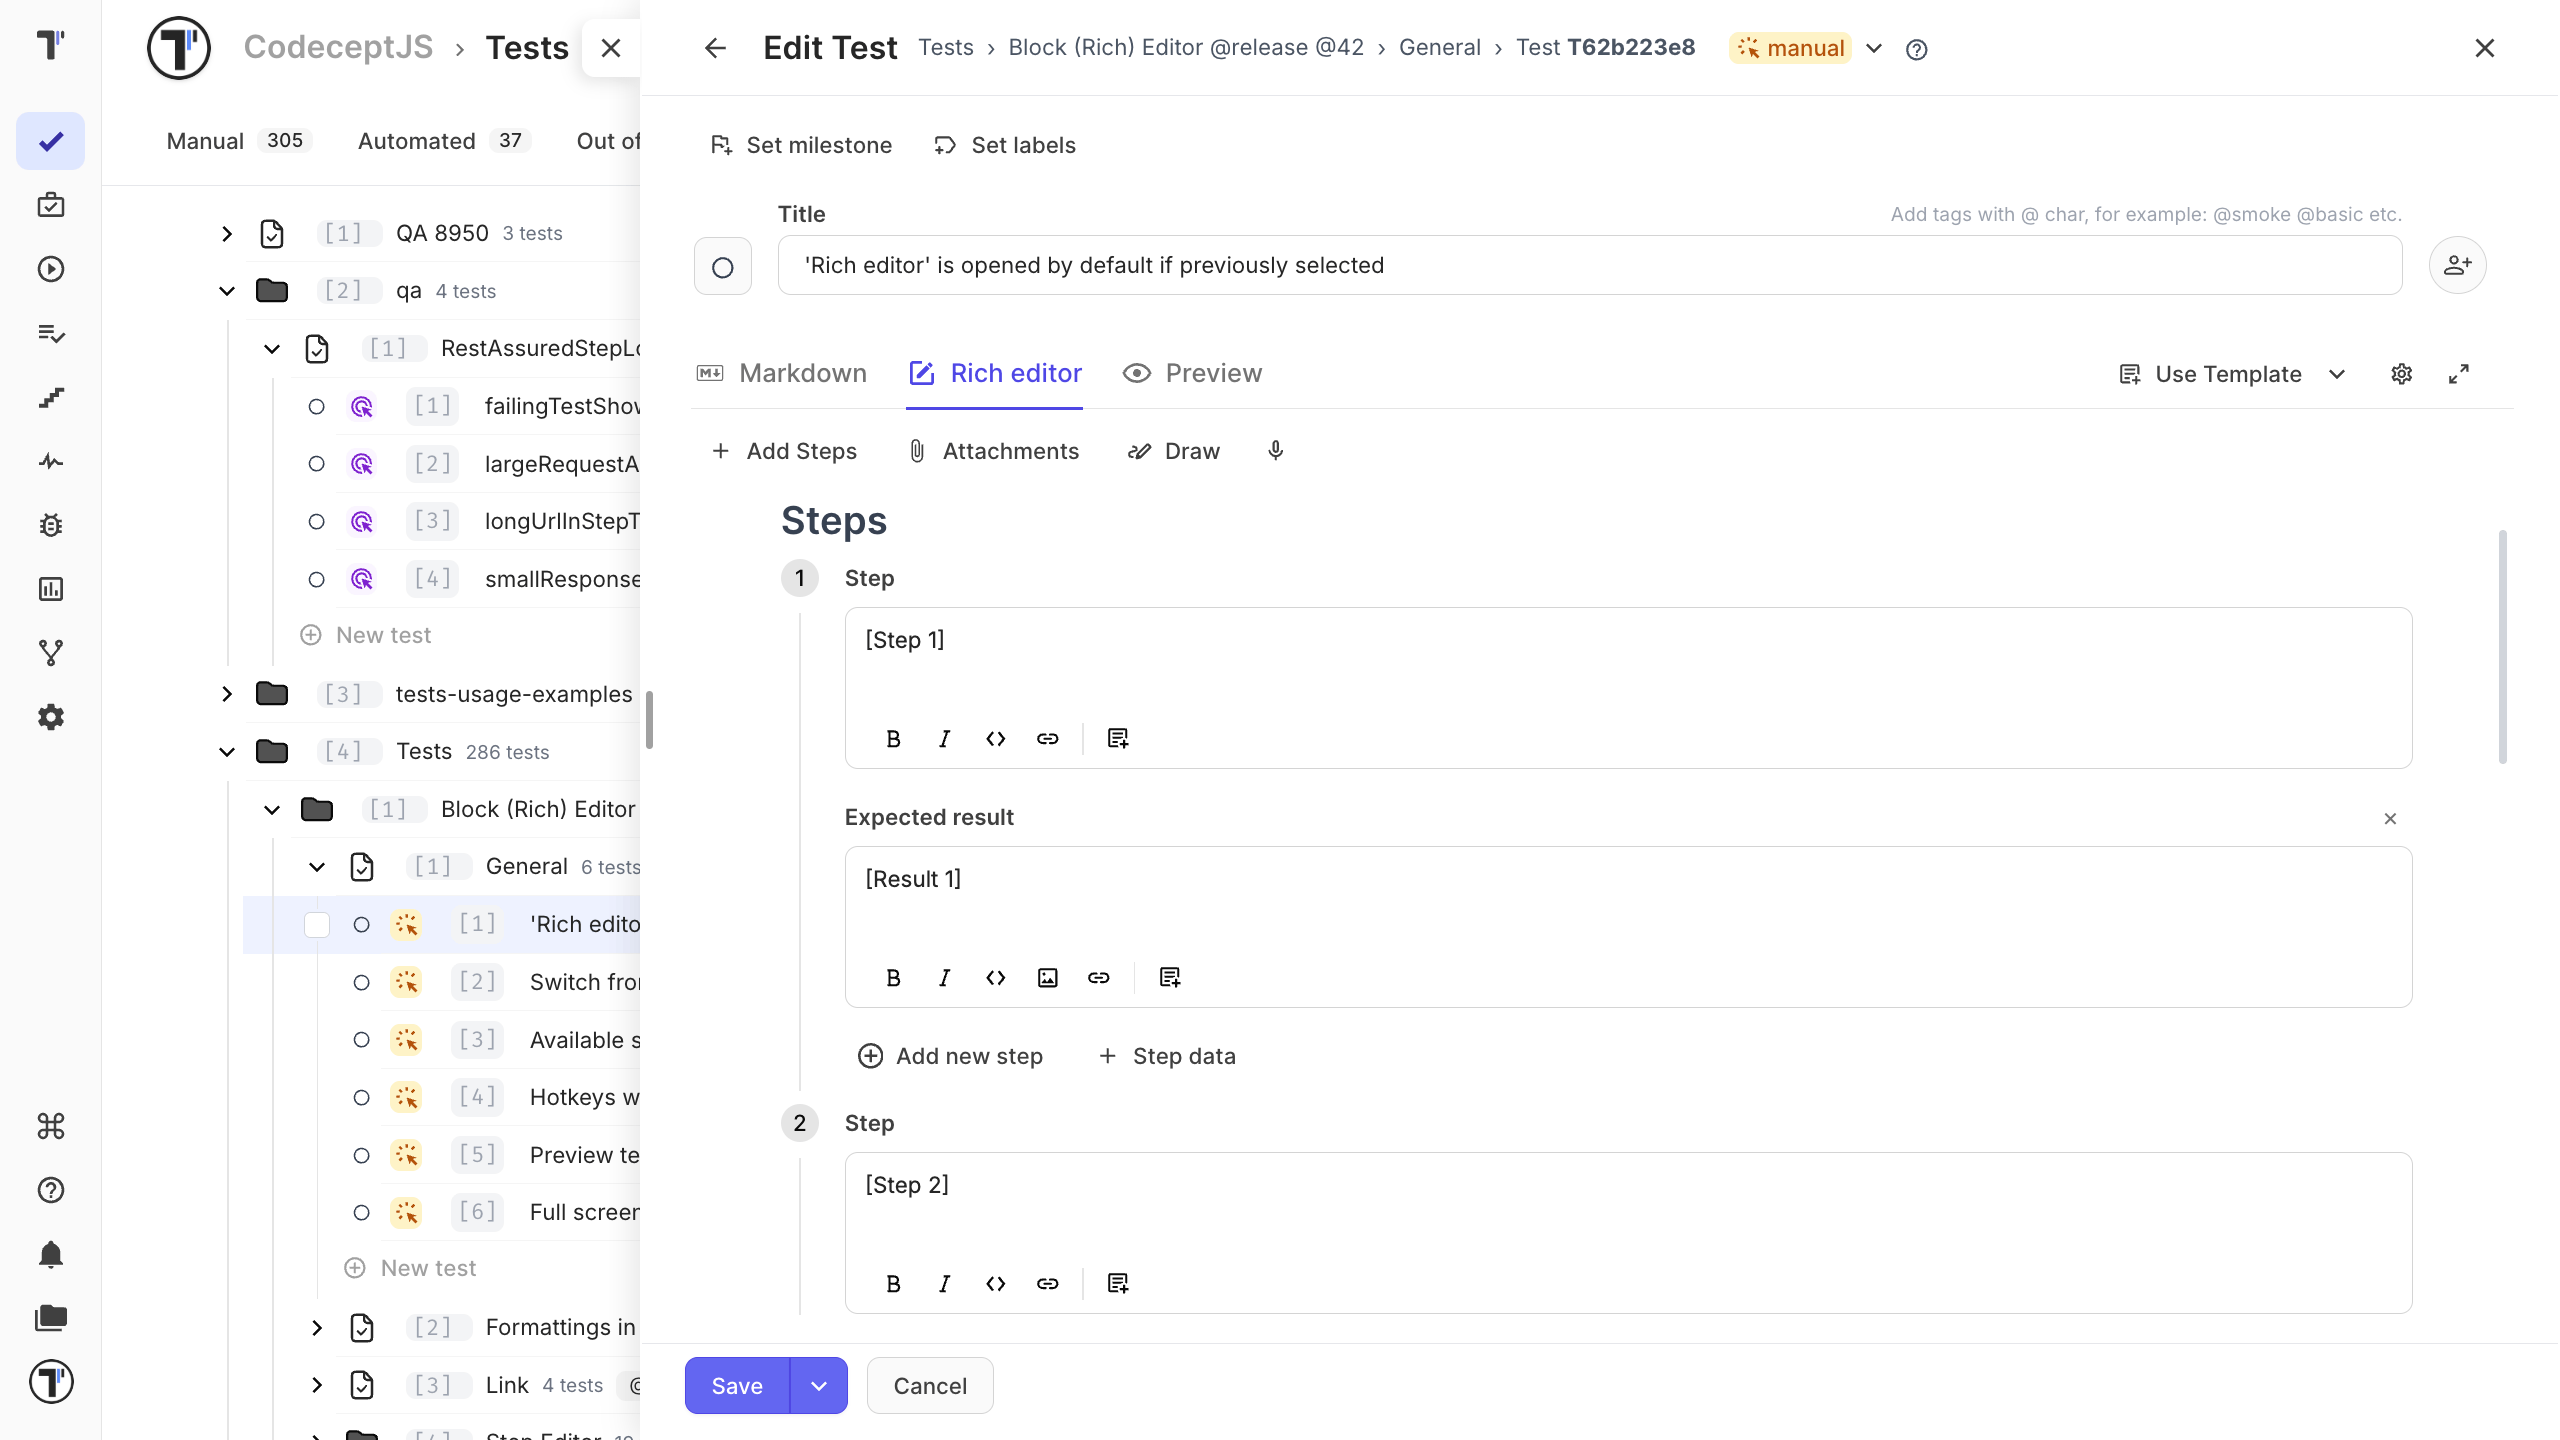
Your changes are saved to the test description and appear under Steps on the test page.
Each field has its own formatting buttons - bold, italic, code, and a link. The expected result also takes an image.
Add Step Data
Section titled “Add Step Data”Step data is a note on the step. Use it for extra context the tester needs, such as the account to sign in with or the values to enter.
- Click Step data under the step.
- Enter the note.
The field takes formatting and images, like the others.
Hide a Field
Section titled “Hide a Field”To hide the Step data or Expected result field, click the × next to its name.
Delete a Step
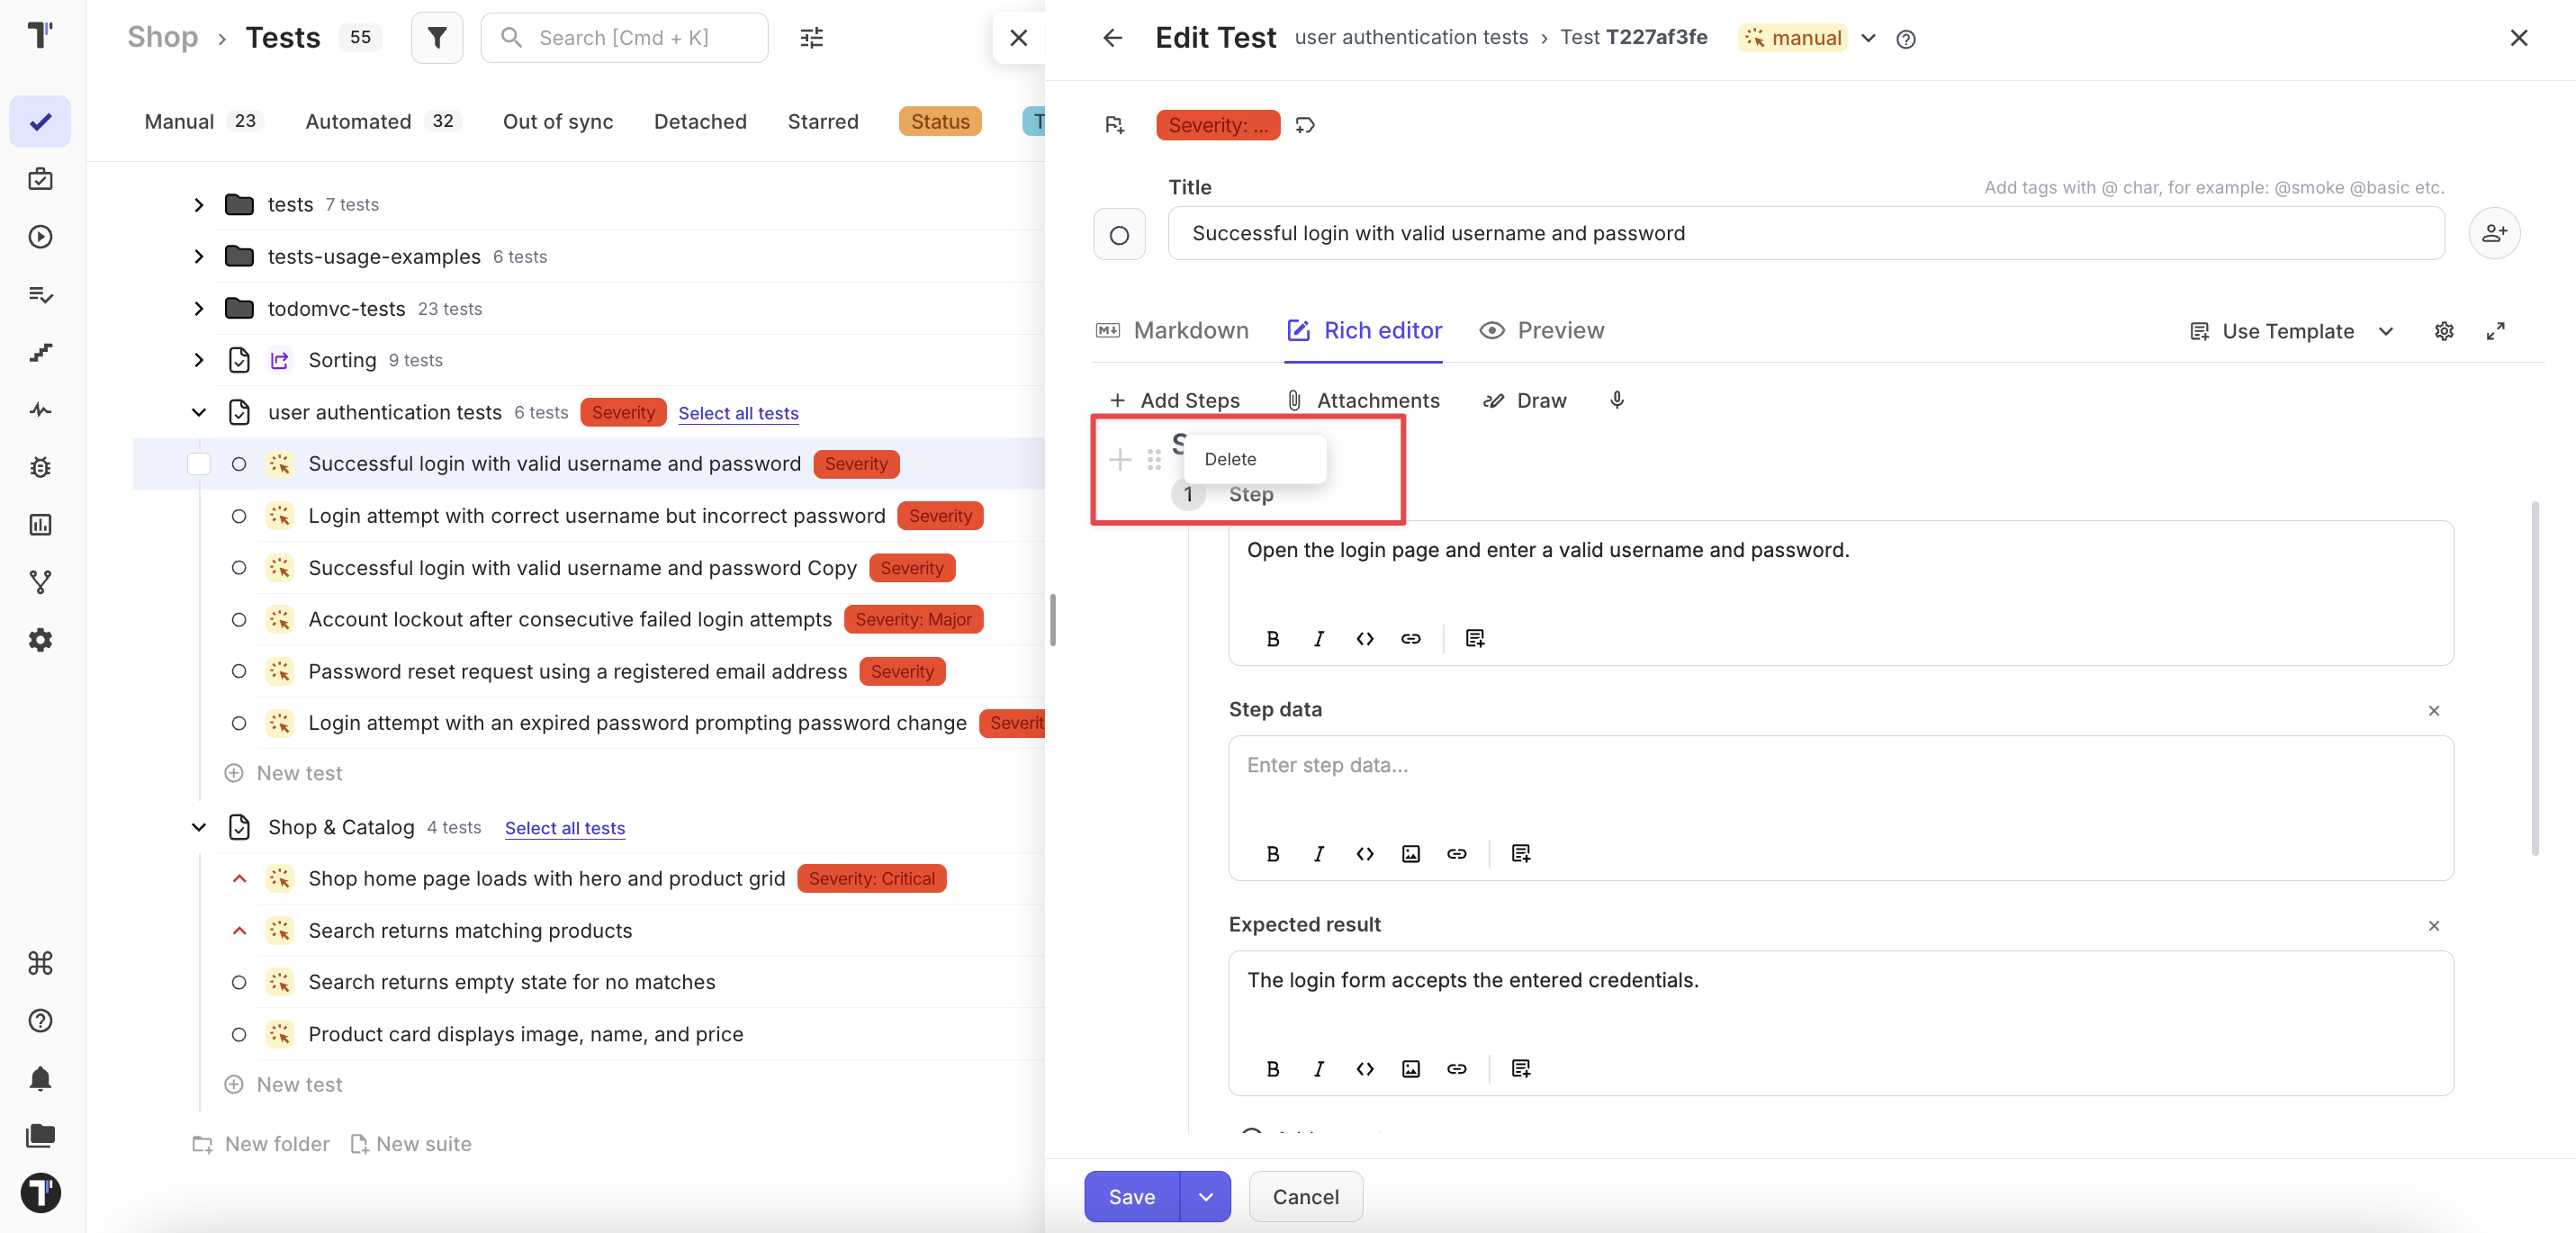
Section titled “Delete a Step”- Click the handle next to the step number.
- Choose Delete.
Reuse a Step
Section titled “Reuse a Step”Add Steps in the toolbar is different from Add new step. It offers the steps already in your project, so you pick one instead of typing it again. See Steps Database.
If This Doesn’t Work
Section titled “If This Doesn’t Work”- No steps in the Rich editor. The test has no
## Stepssection yet. Add one in the Markdown tab — see Test Steps and Expected Results. - The formatting changed after saving. The Rich editor rewrites steps in its own format. If the test used a table, subheadings, or a separate
## Expected Resultssection, edit it in the Markdown tab instead.