

Test Attachments
Add screenshots, logs, sample files to a test. There are two places a file can be added:
| Where | Use it for |
|---|---|
| The Attachments tab | Supporting files |
| The test description | Files the tester needs to see as part of the steps |
Add Attachments to a Test
Section titled “Add Attachments to a Test”- Open the test.
- Click the Attachments tab.
- Click Browse a file, or drag and drop the file into the upload area.
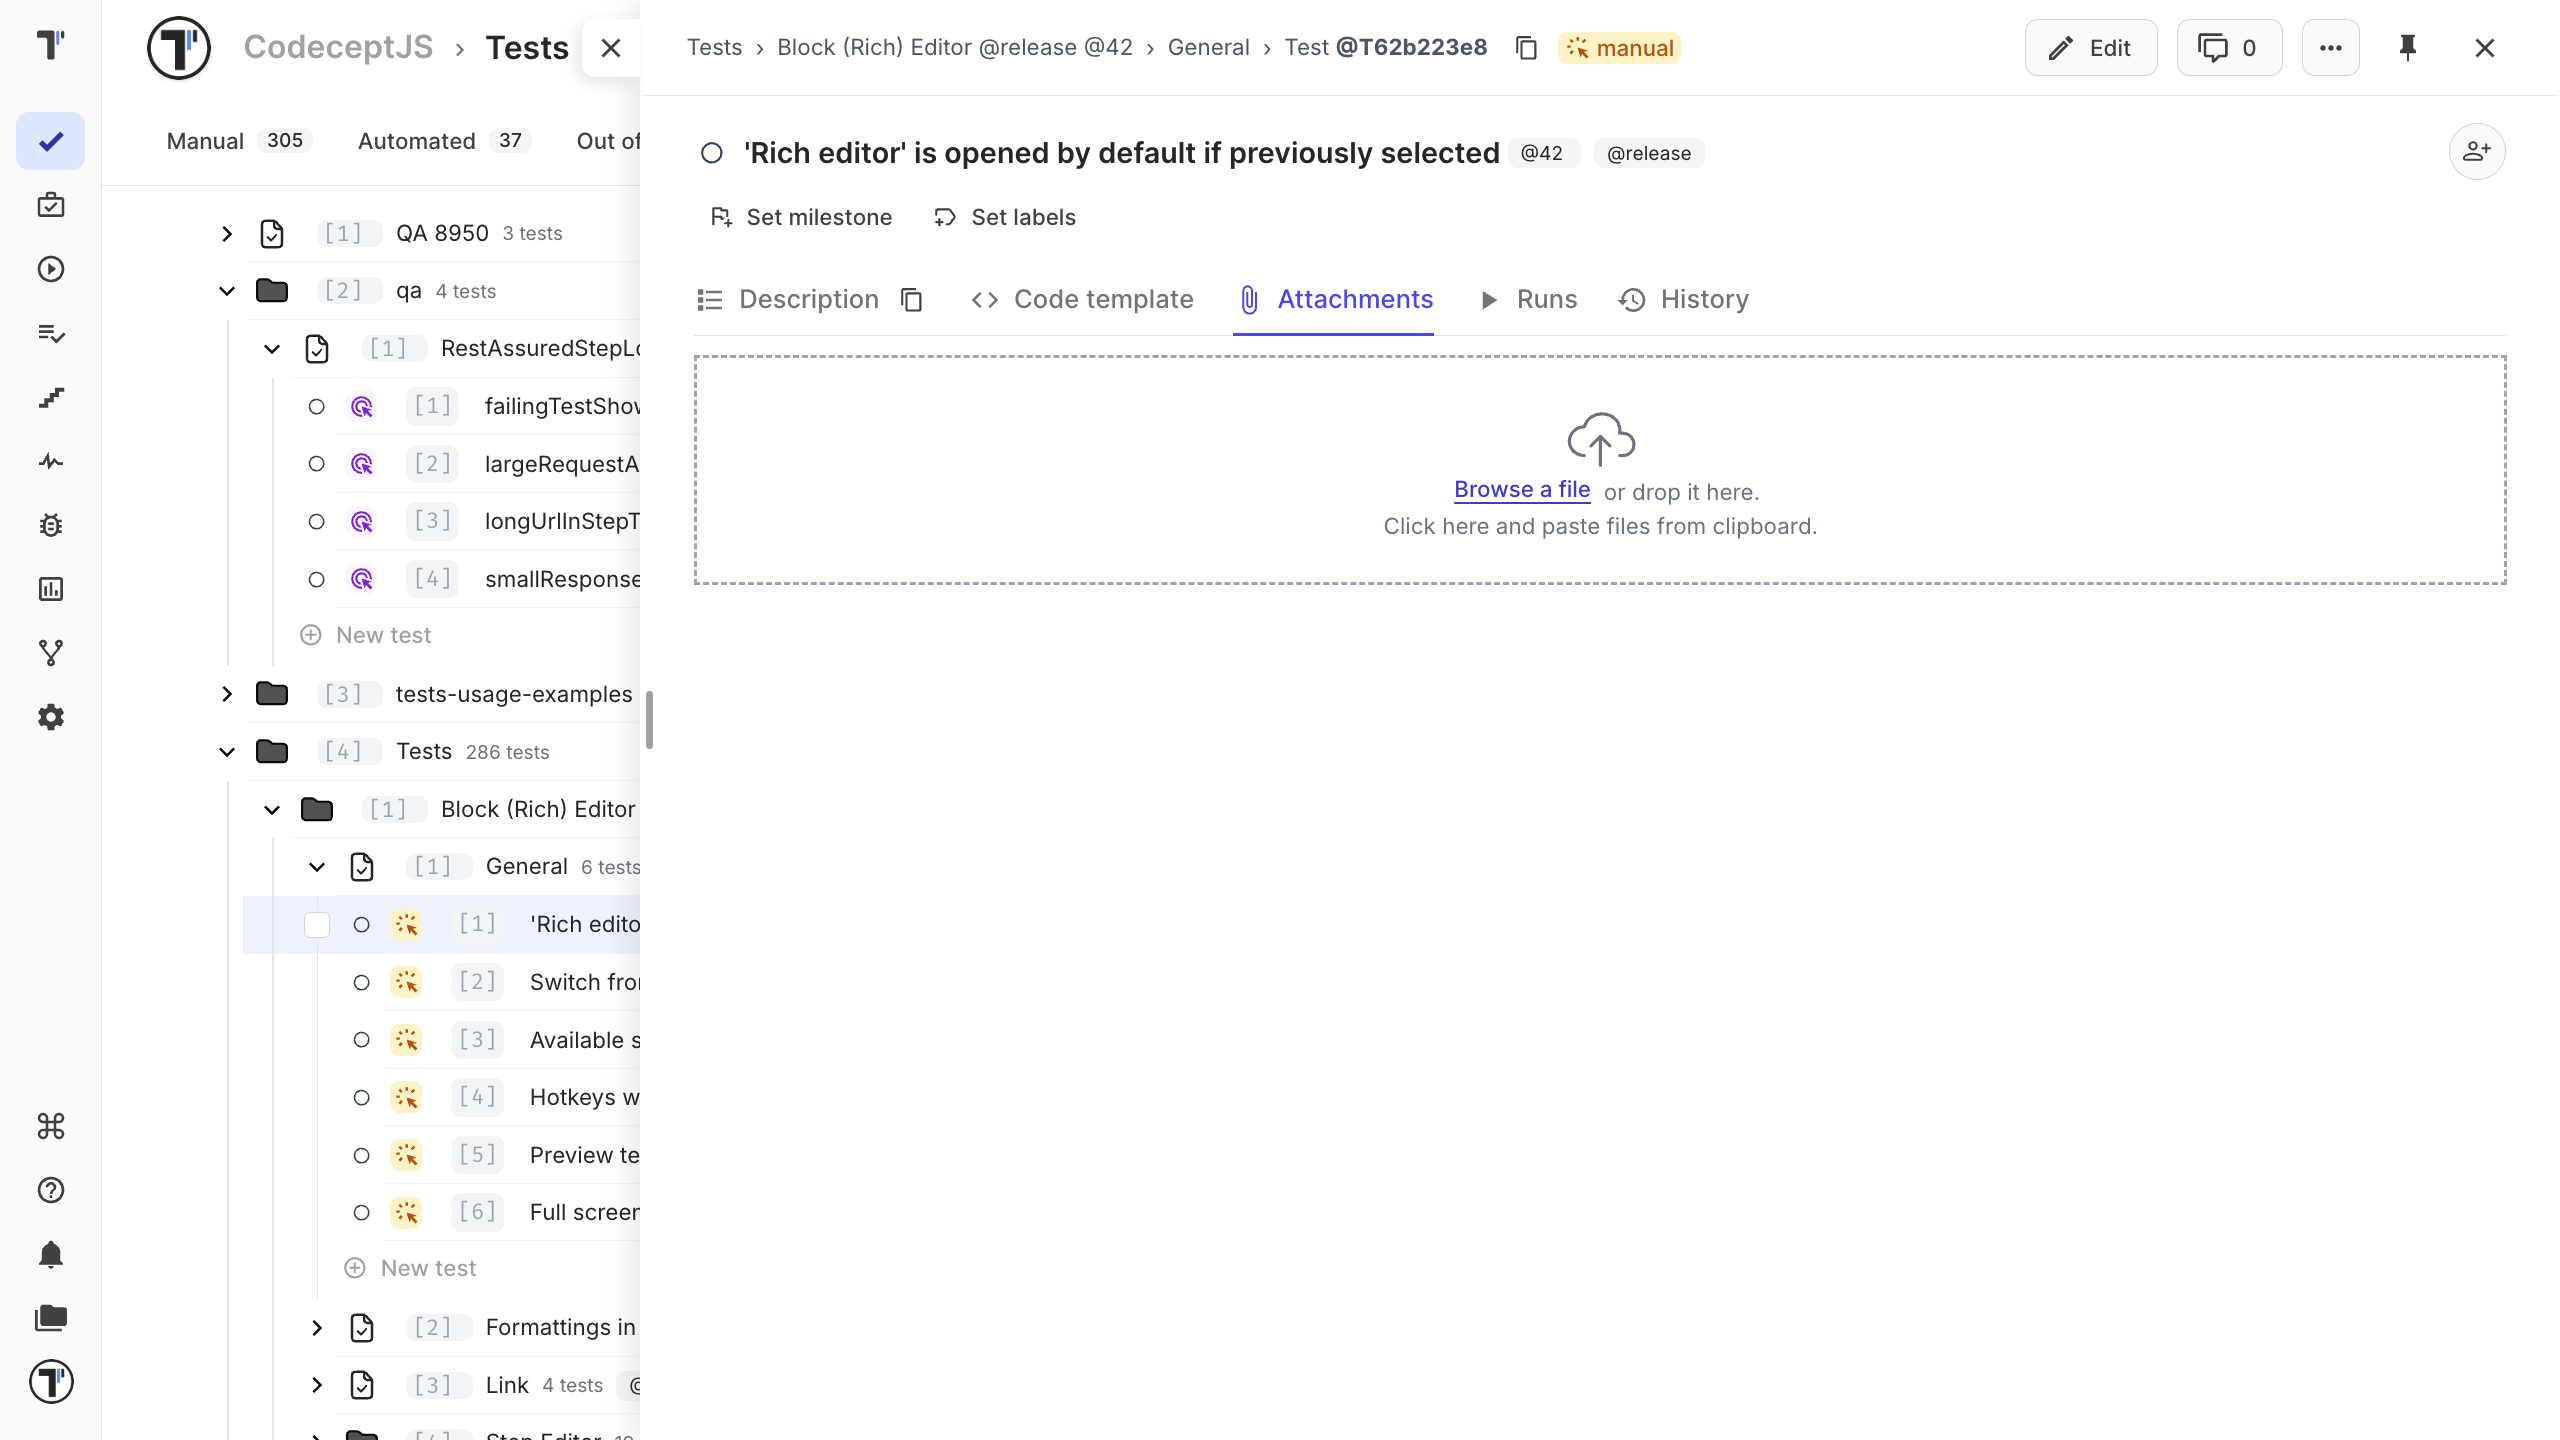
The file appears on the test’s Attachments tab.
Add Attachments to the Description
Section titled “Add Attachments to the Description”Add an image to the description when it belongs to the test instructions.
- Open the test editor.
- Click Attachment.
- Select a file, drag and drop it into the upload area, or paste it from the clipboard.
- Click the uploaded image to add it to the description.
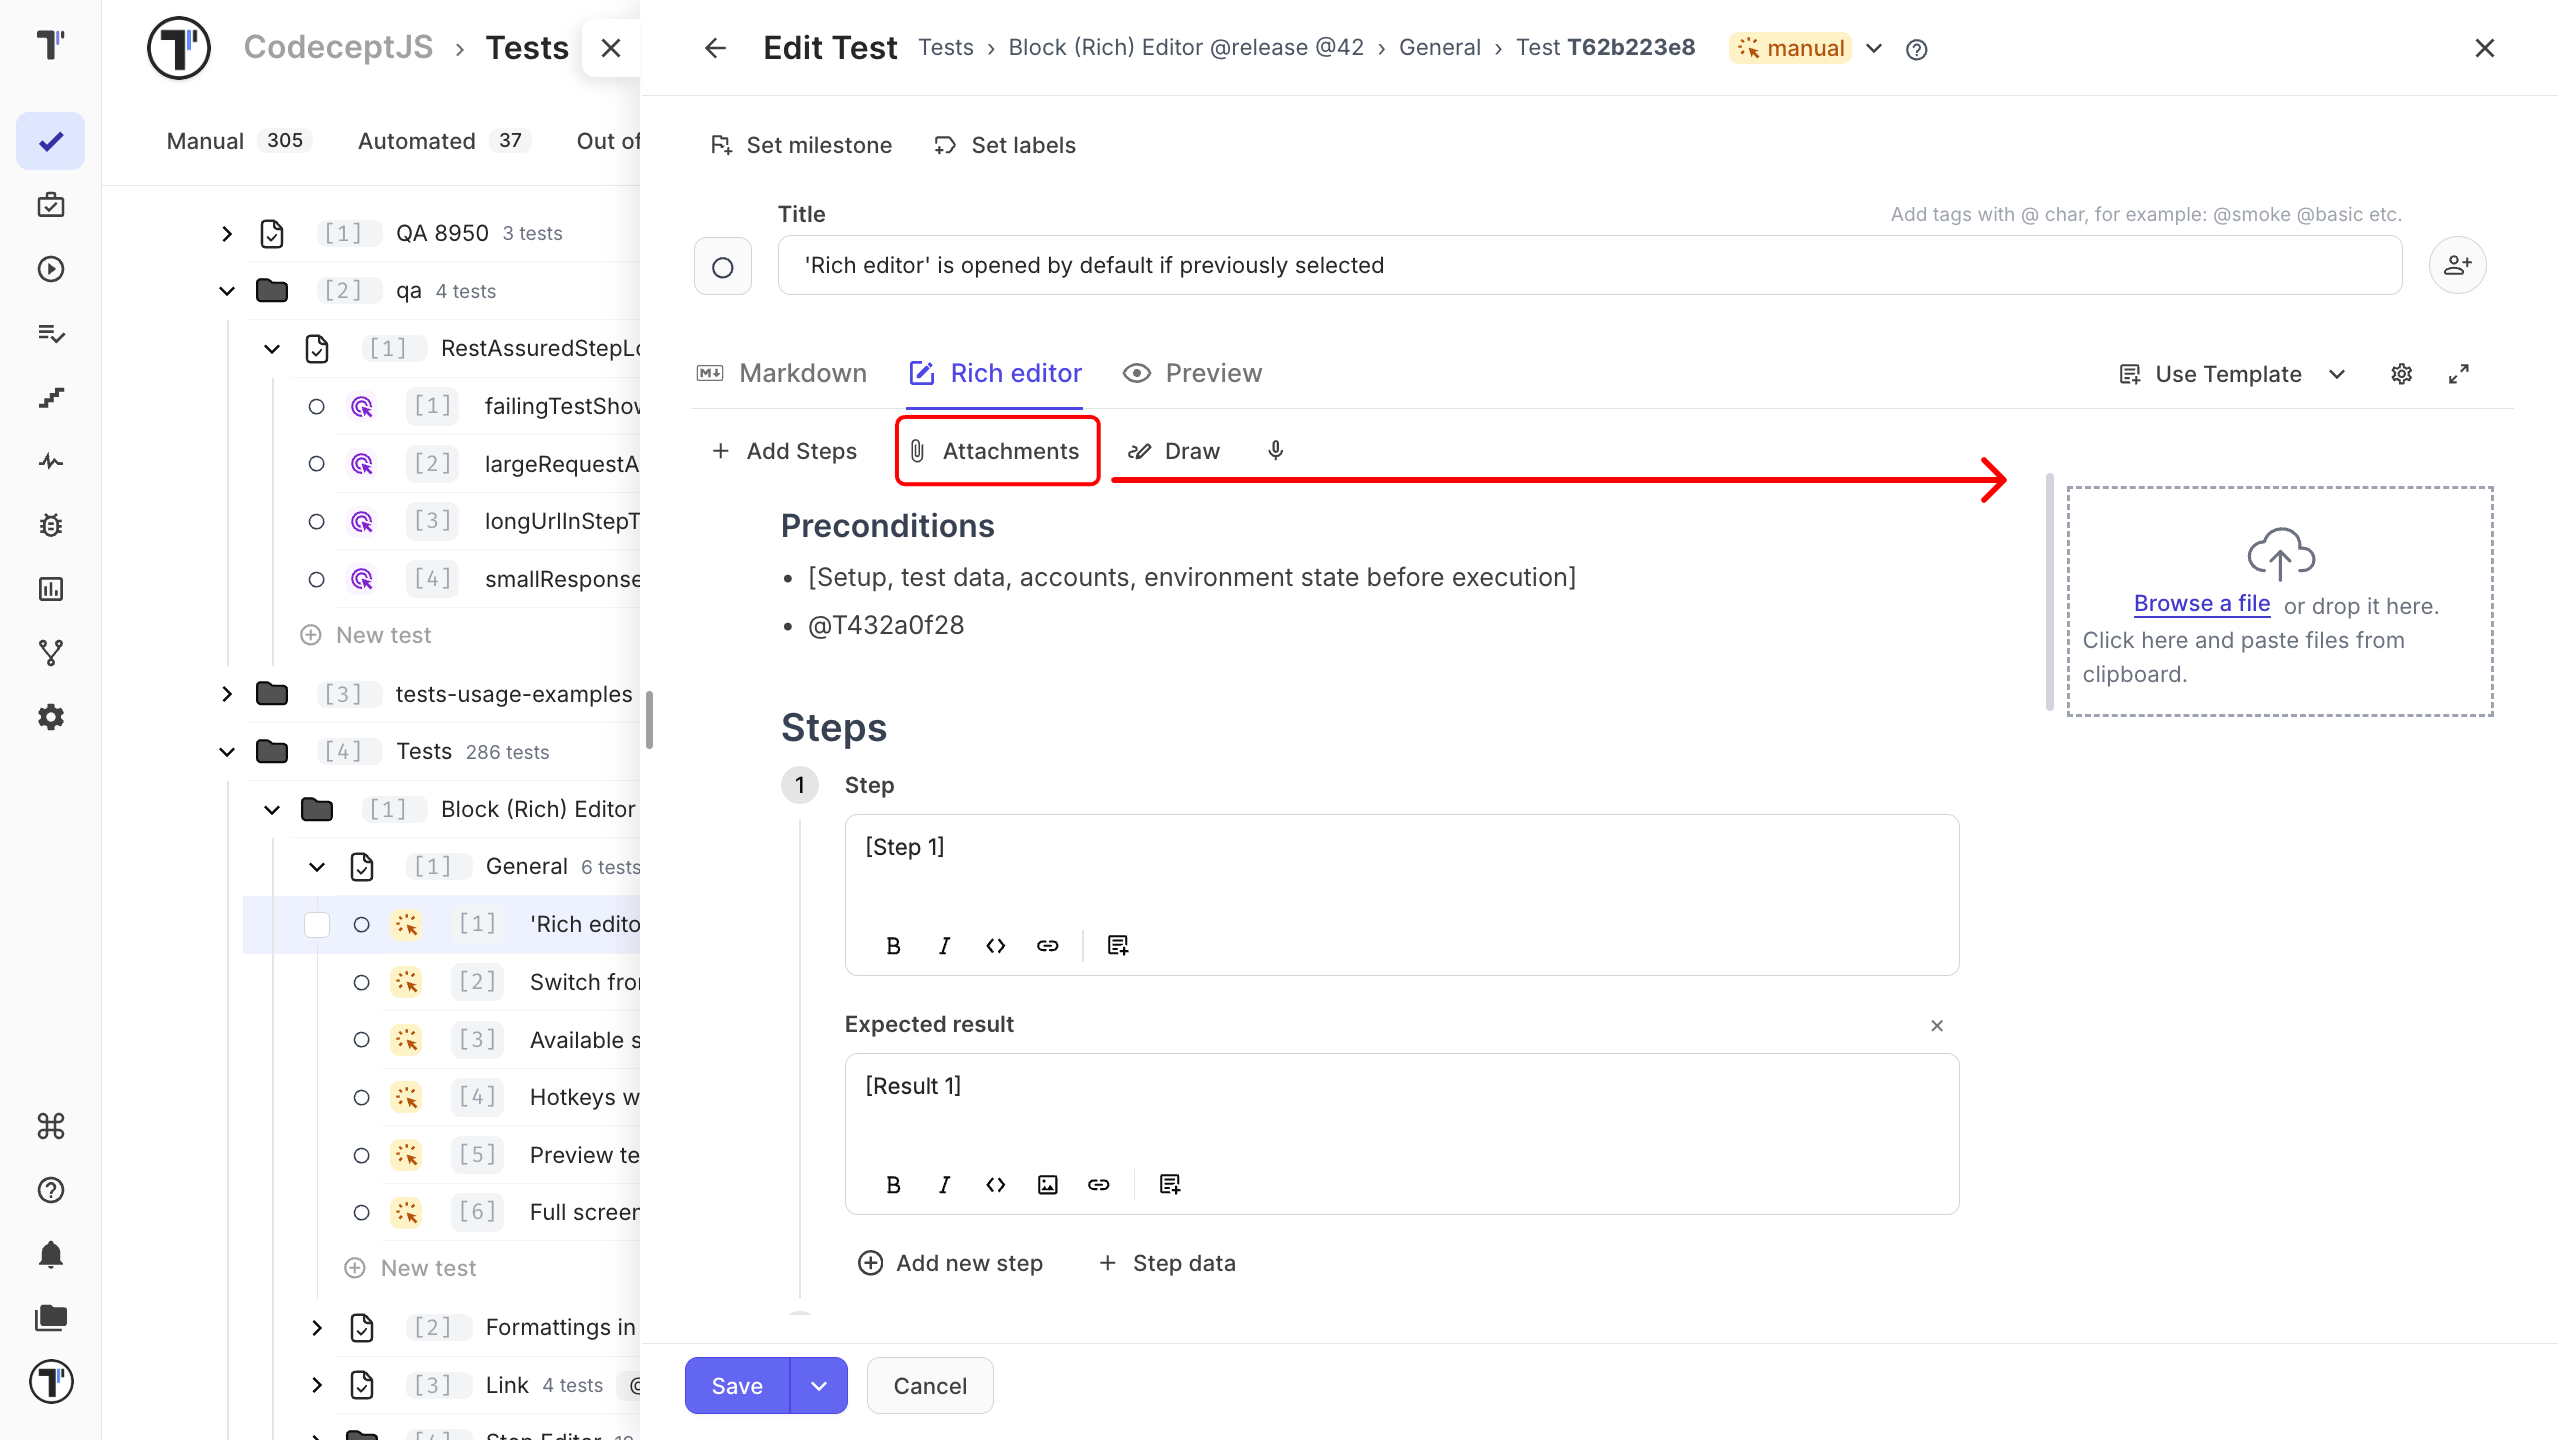
The image now appears in the test description and on the Attachments tab.
Resize an Image
Section titled “Resize an Image”You can change the size of images added to the description.
- Hover over the image.
- Click Large, Small, or Default.
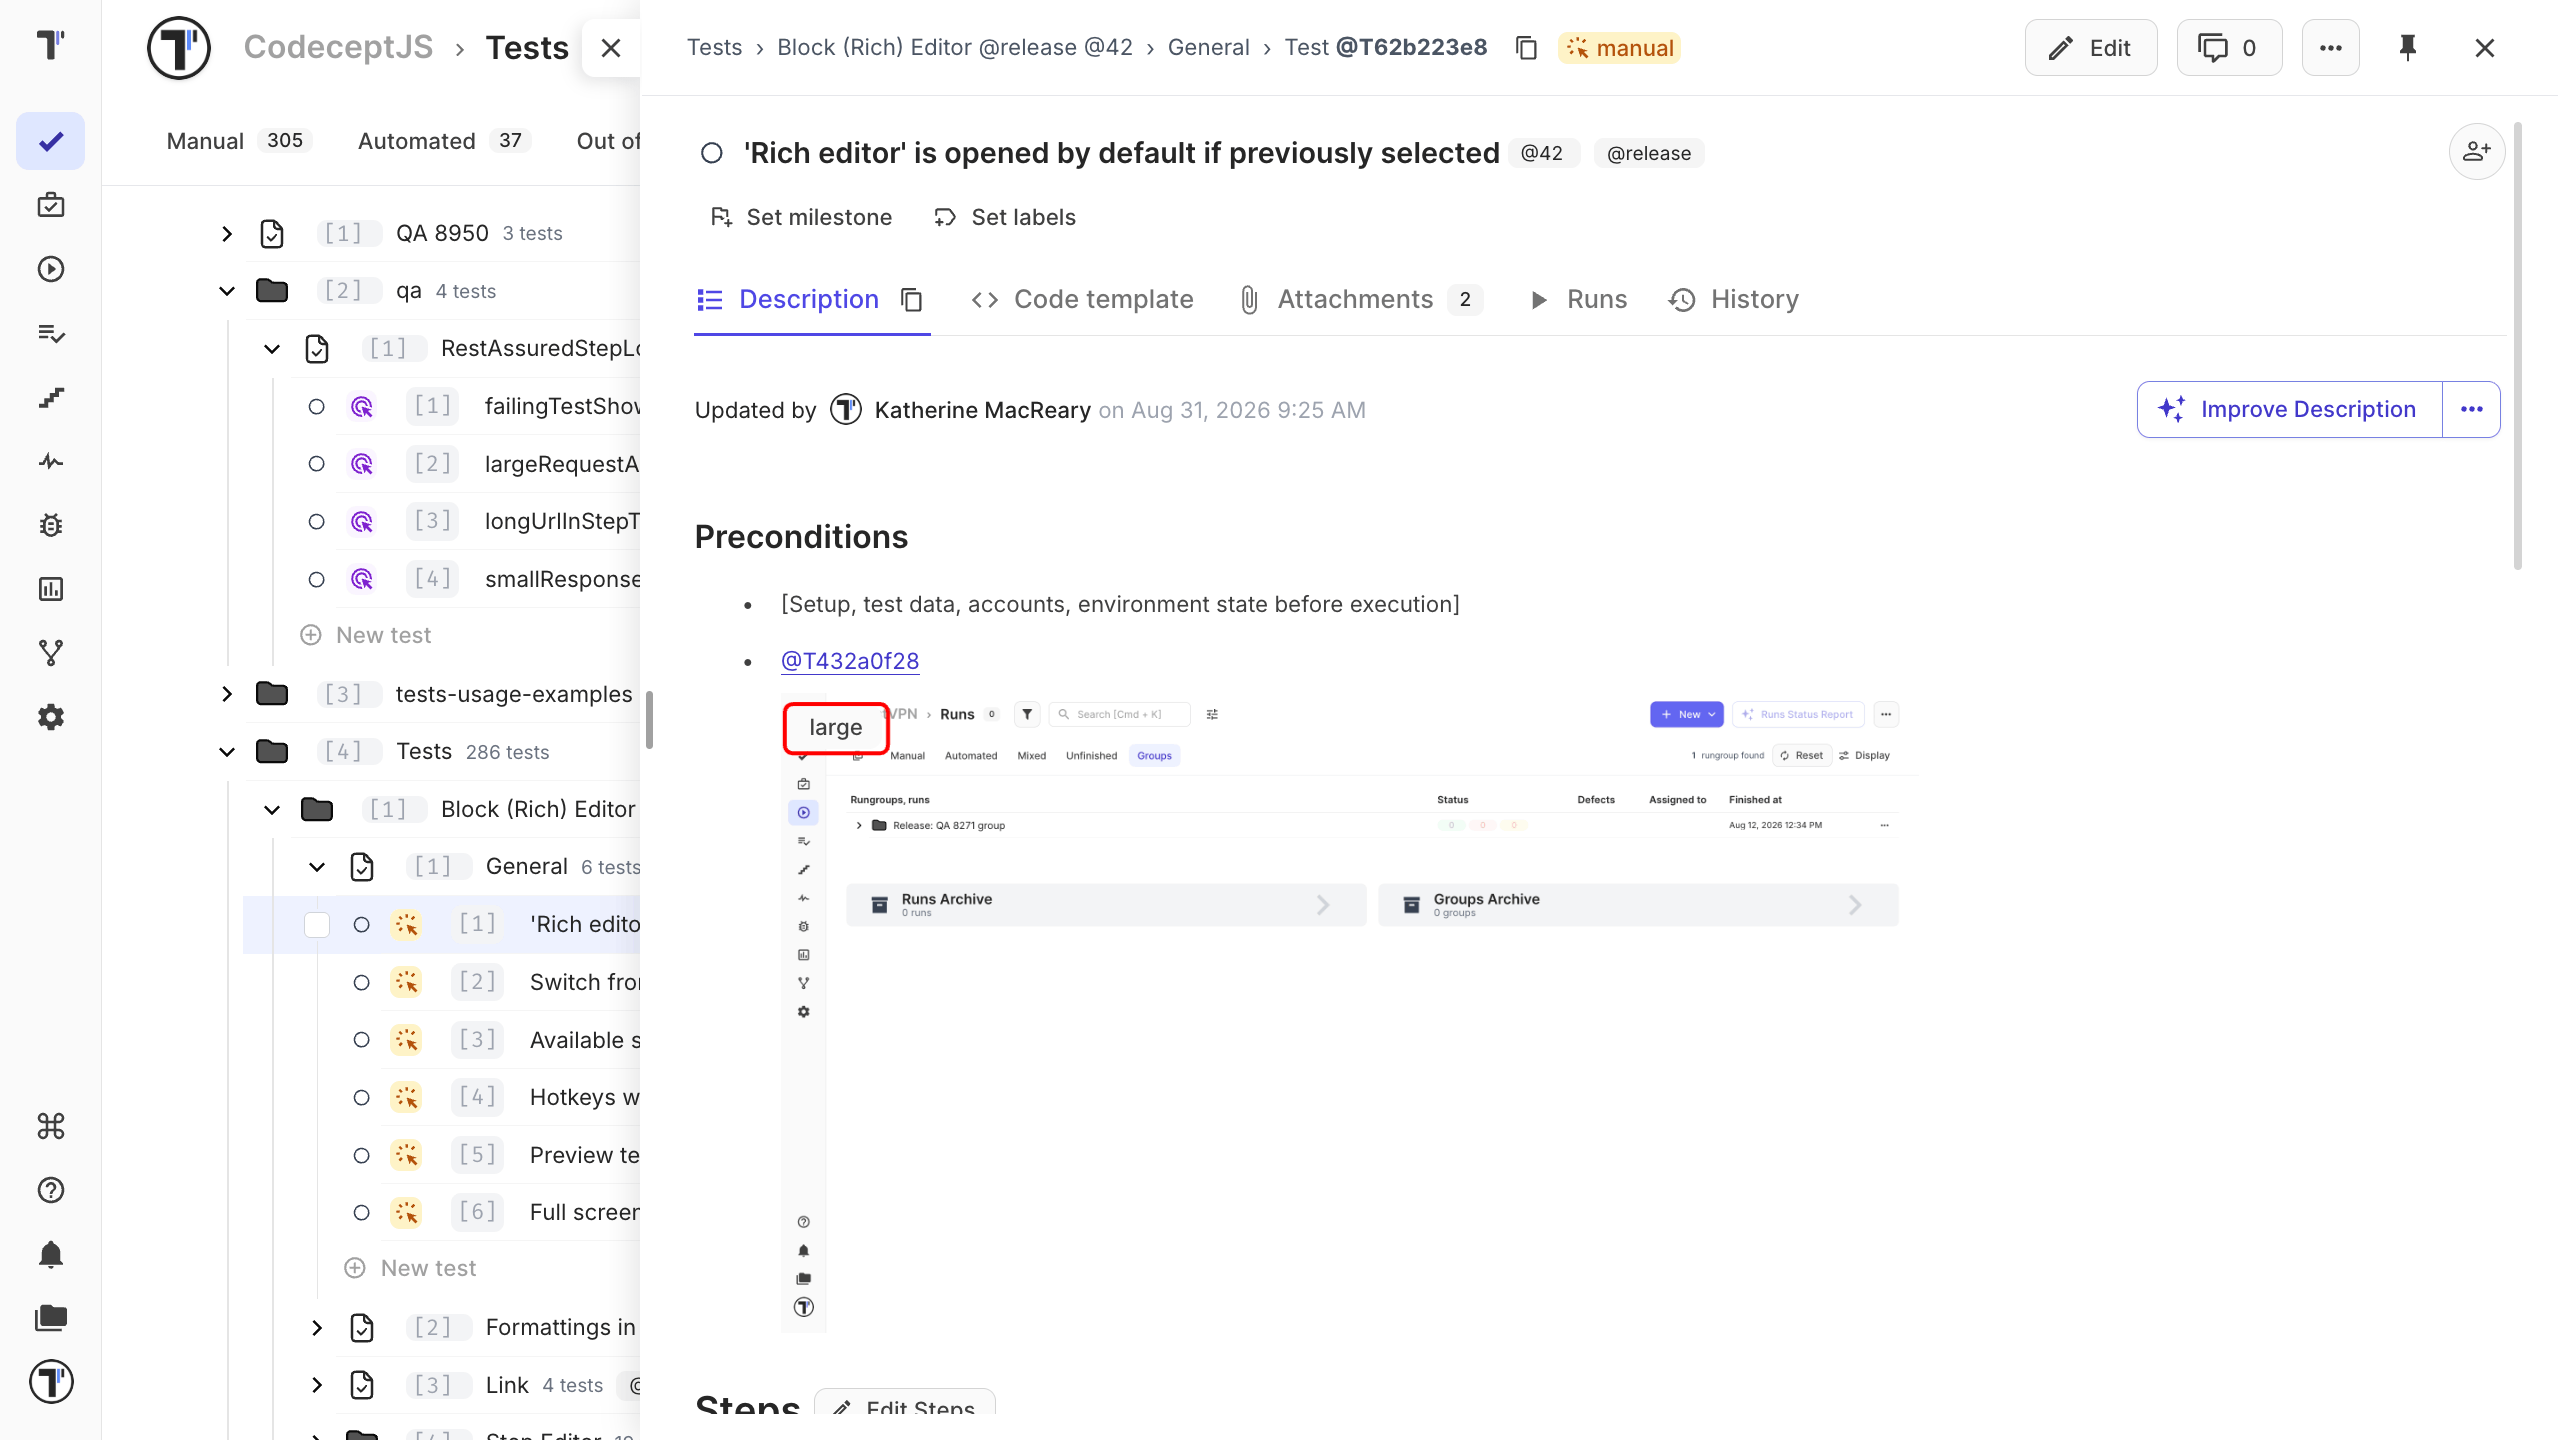
Add a Drawing
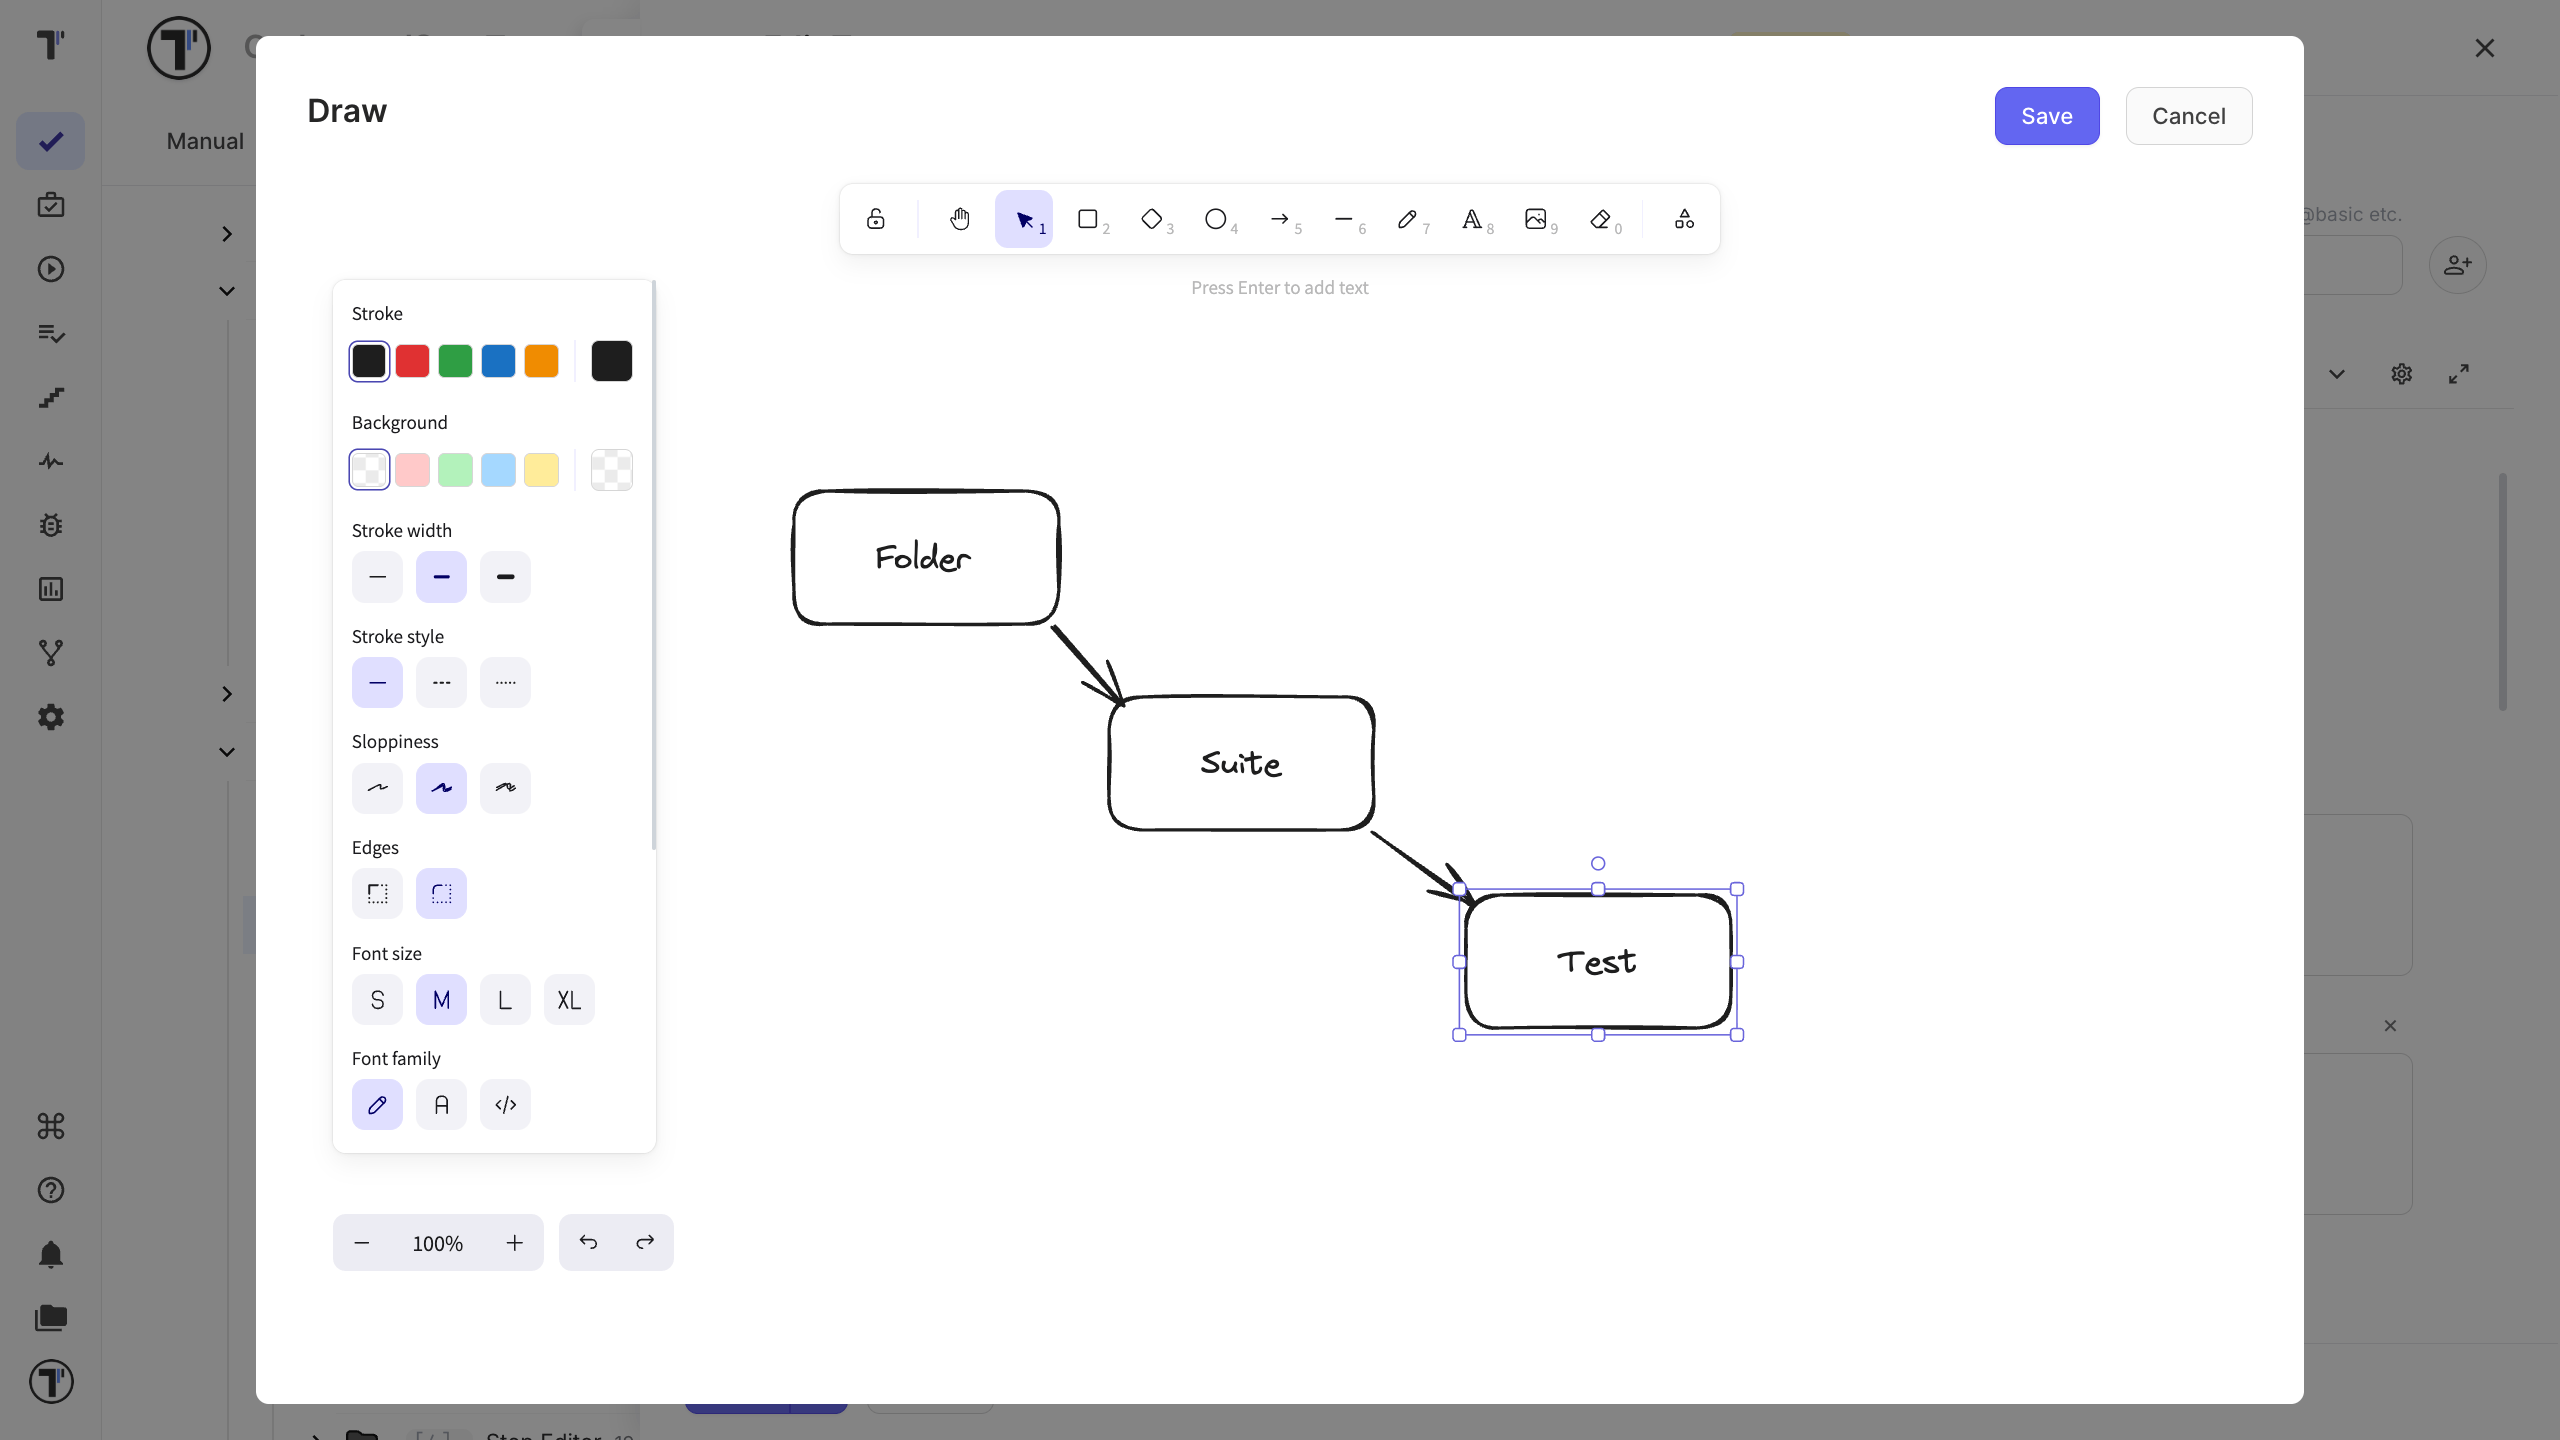
Section titled “Add a Drawing”Use a drawing to highlight an area of a screen or explain an interaction.
- Open the test and click Edit.
- Click Draw.
- Add the elements you need.
- Adjust their styles.
- Click Save.
Preview an Attachment
Section titled “Preview an Attachment”You can open supported files in Testomat.io without downloading them.
- Open a test, suite, or folder from the Tests page.
- Open the Attachments tab.
- Click an attachment.
- Use Fit to width/height or Full screen to change the view.
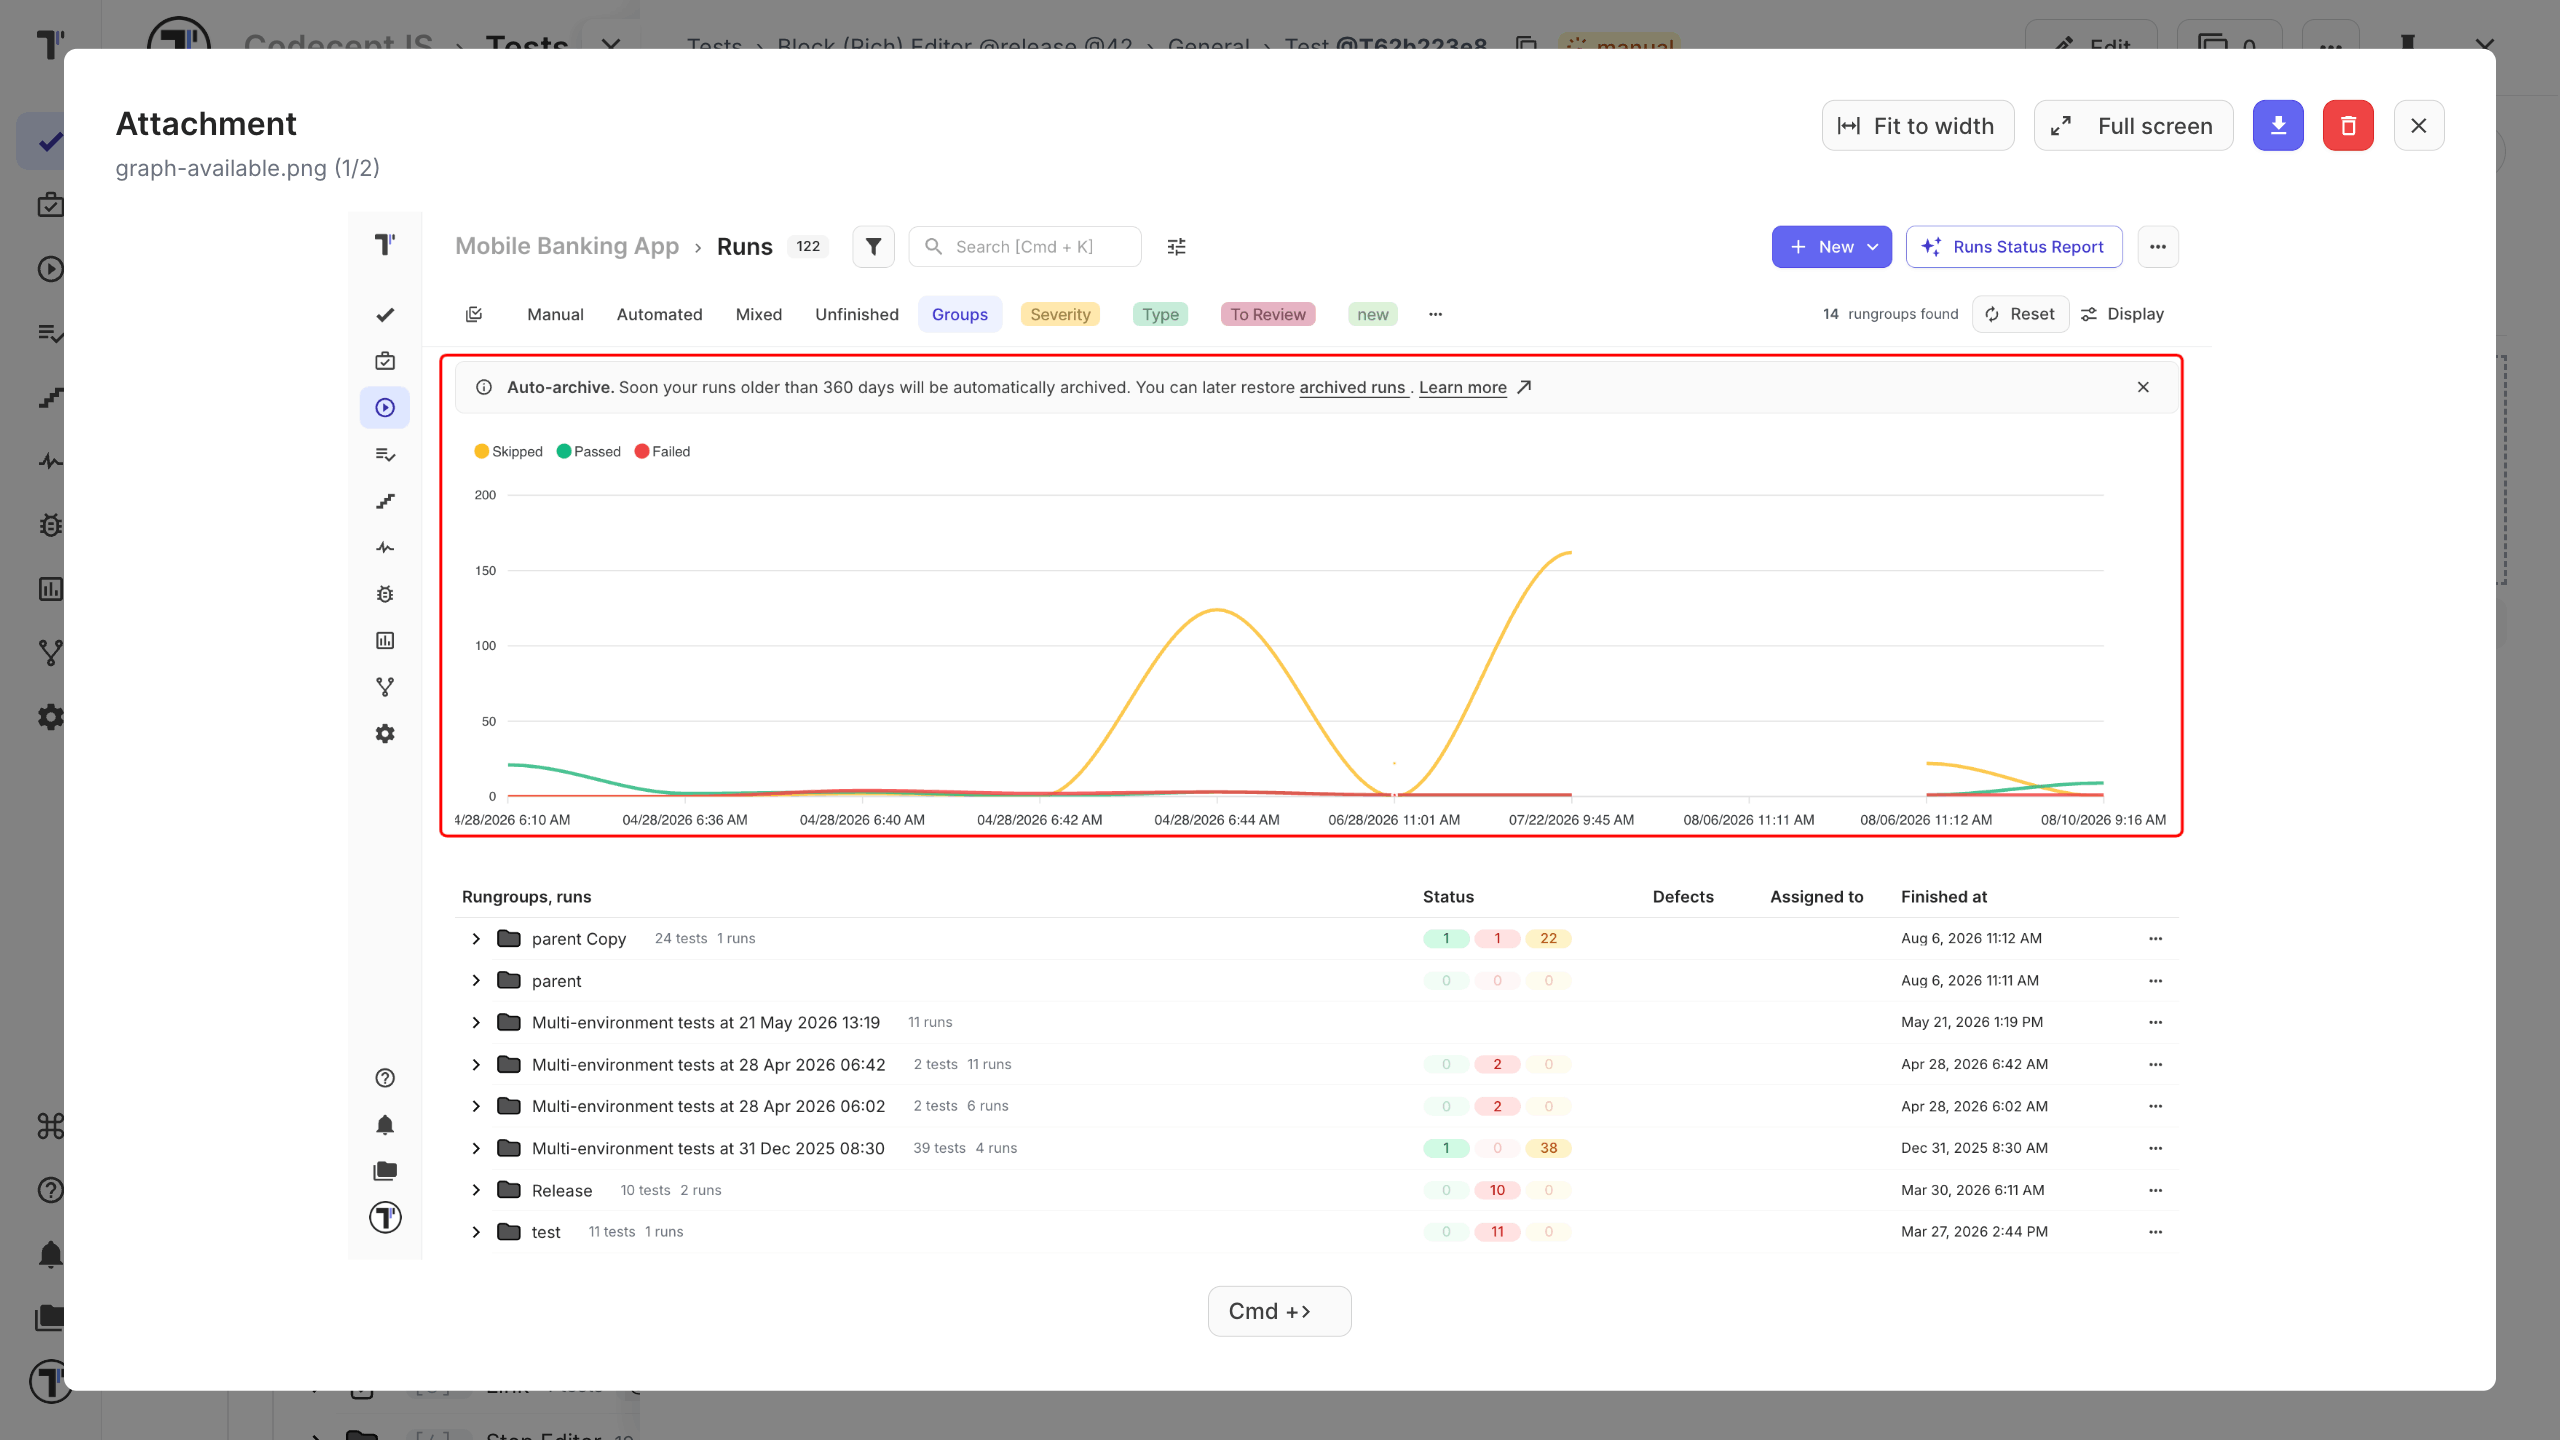
Testomat.io can preview these file types:
| Type | Formats |
|---|---|
| Code and data | .json, .xml, .html, .sql, .js, .py, .java, .svg |
| Logs and text | .txt, .log, .properties, .csv |
| Scripts | .bat, .sh |
| Documents | .pdf |
If a file type is not supported, download the file and open it on your computer.
Delete an Attachment
Section titled “Delete an Attachment”You can delete an attachment from the test view or while editing the test.
From the Test View
Section titled “From the Test View”- Open the test.
- Click Attachments.
- Click the Delete icon.
- Confirm the deletion.
From Edit Mode
Section titled “From Edit Mode”- Open the test and click Edit.
- Open the Attachments tab.
- Click the Delete icon.
- Confirm the deletion and save the test.
Restore an Attachment
Section titled “Restore an Attachment”- Open the test or suite.
- Open the Attachments tab.
- Click Restore.
- Select an attachment to restore, or click Restore All.
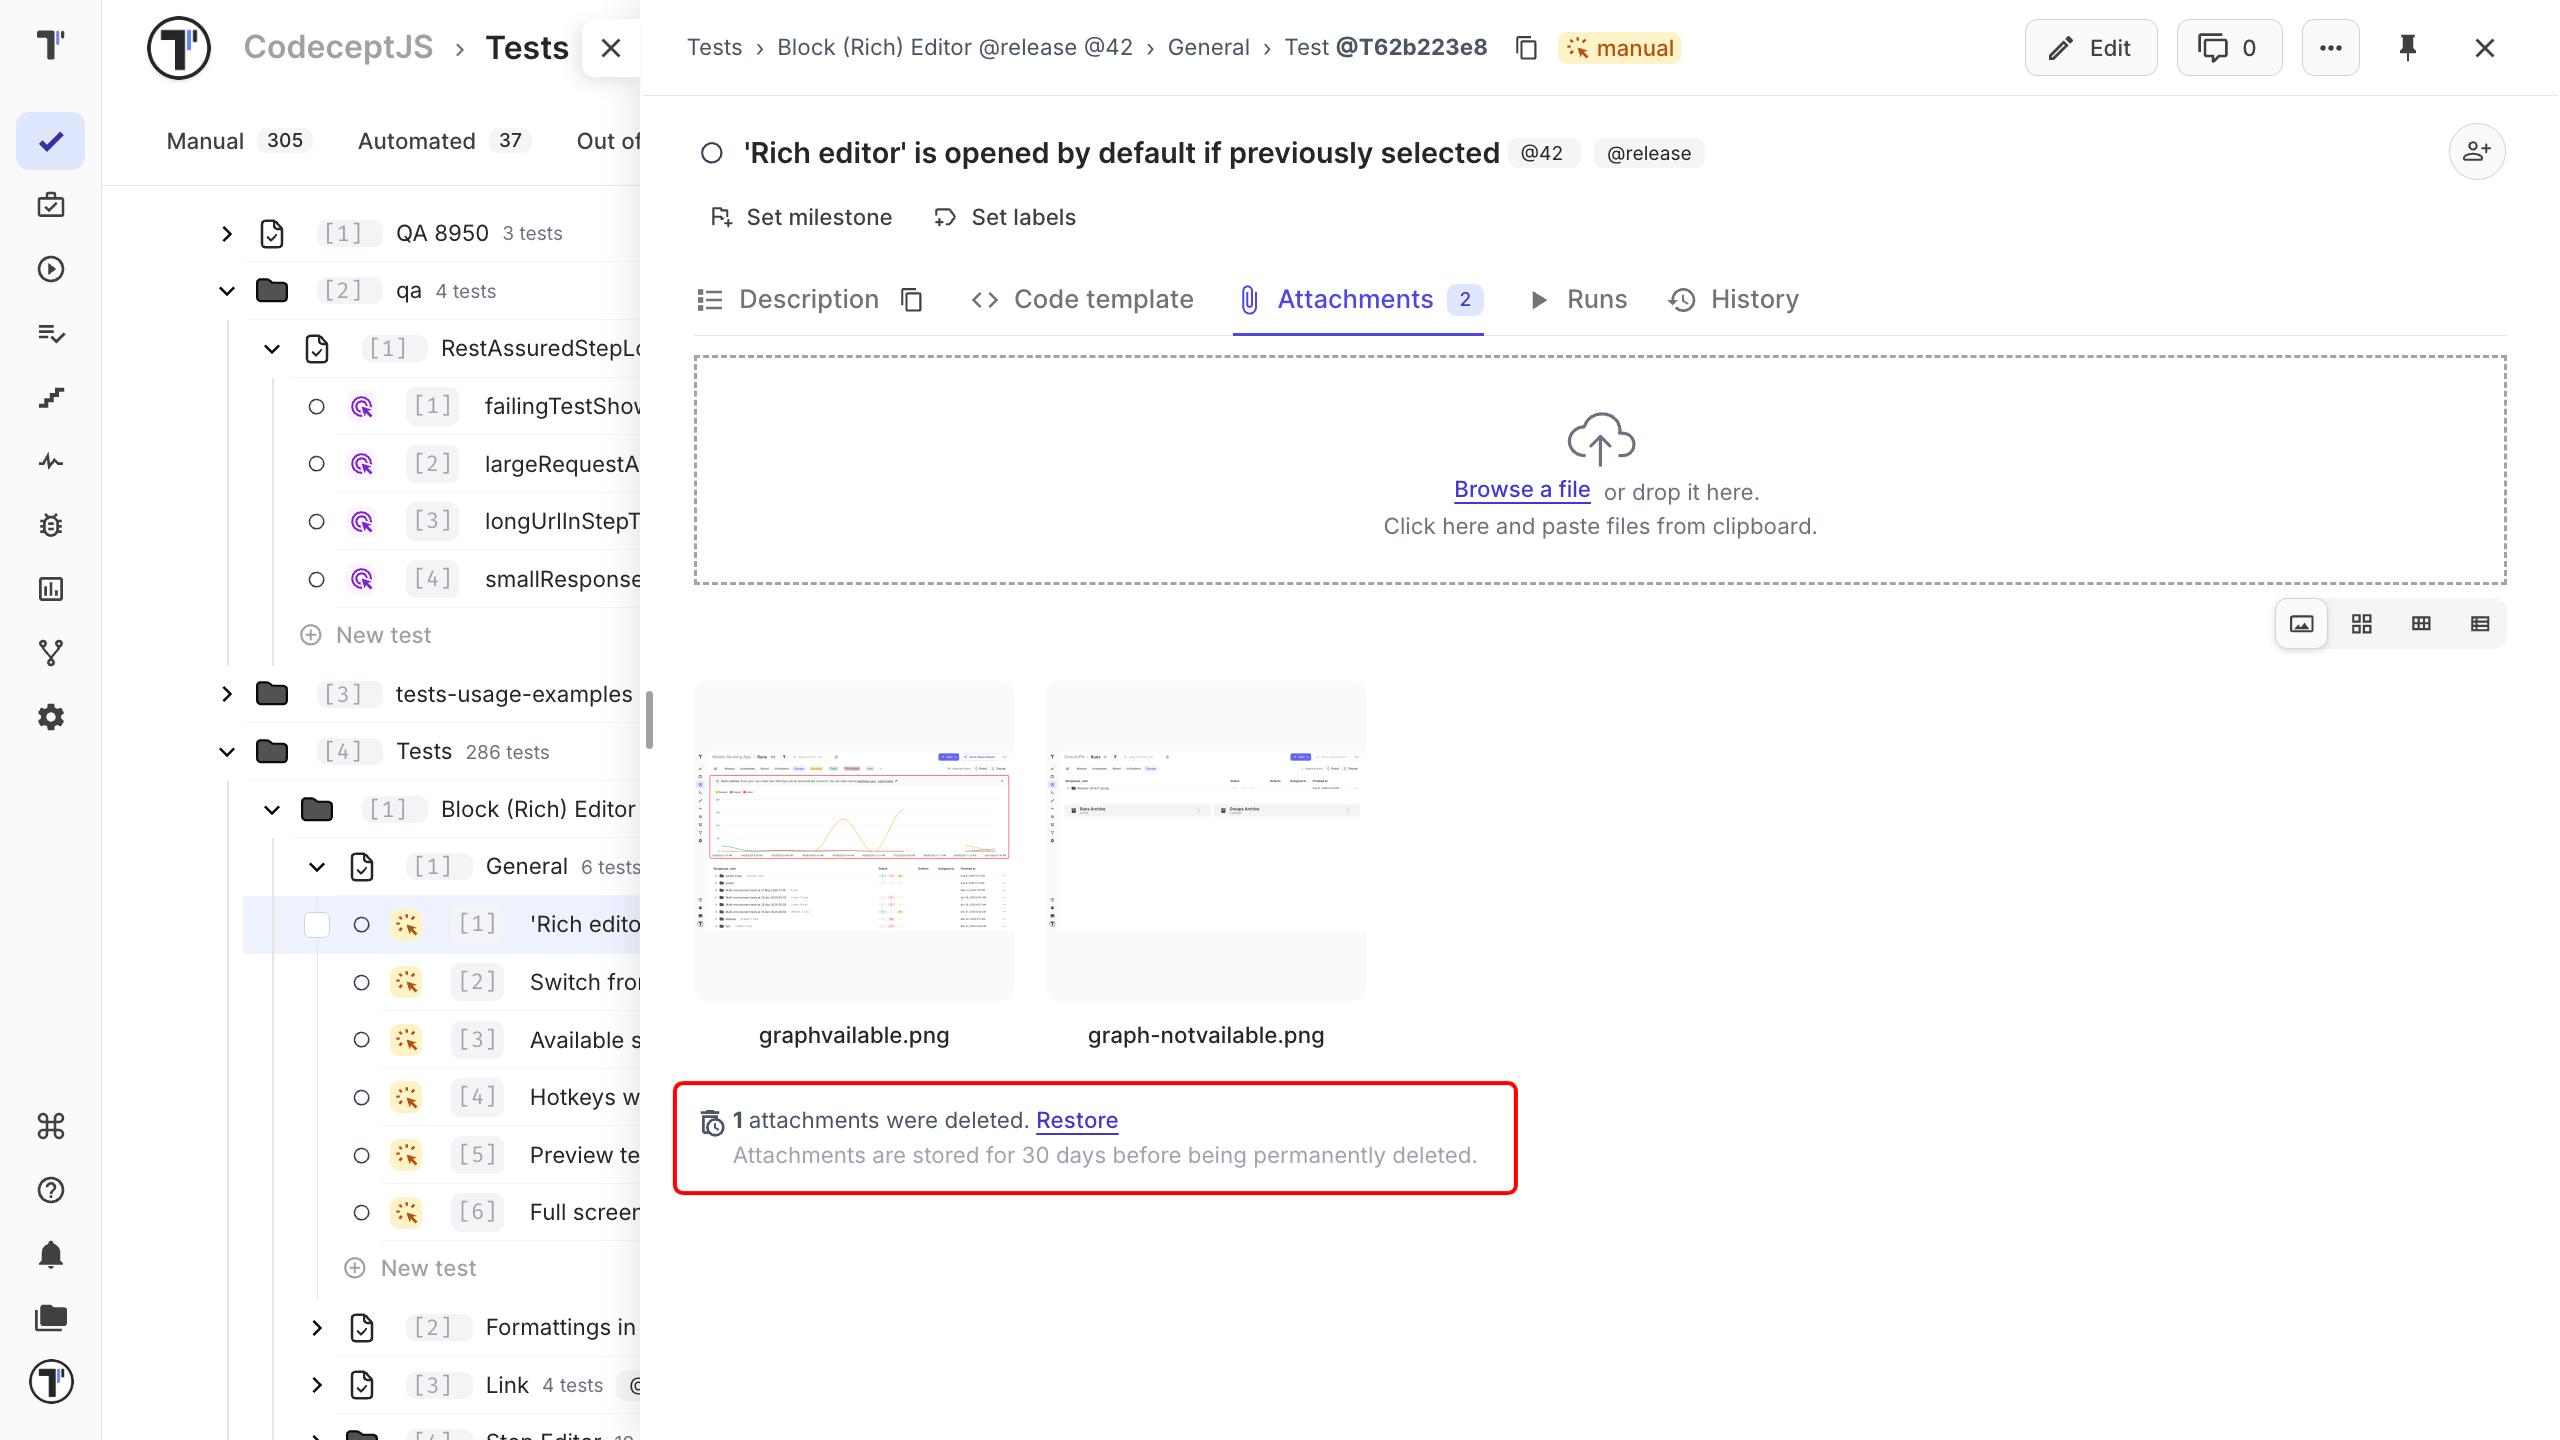
The restored files return to the Attachments tab.