

Test Priority
Set a priority when creating a test, change it later, or update several tests at once. Priority appears next to the test title and helps you quickly find the tests that need attention.
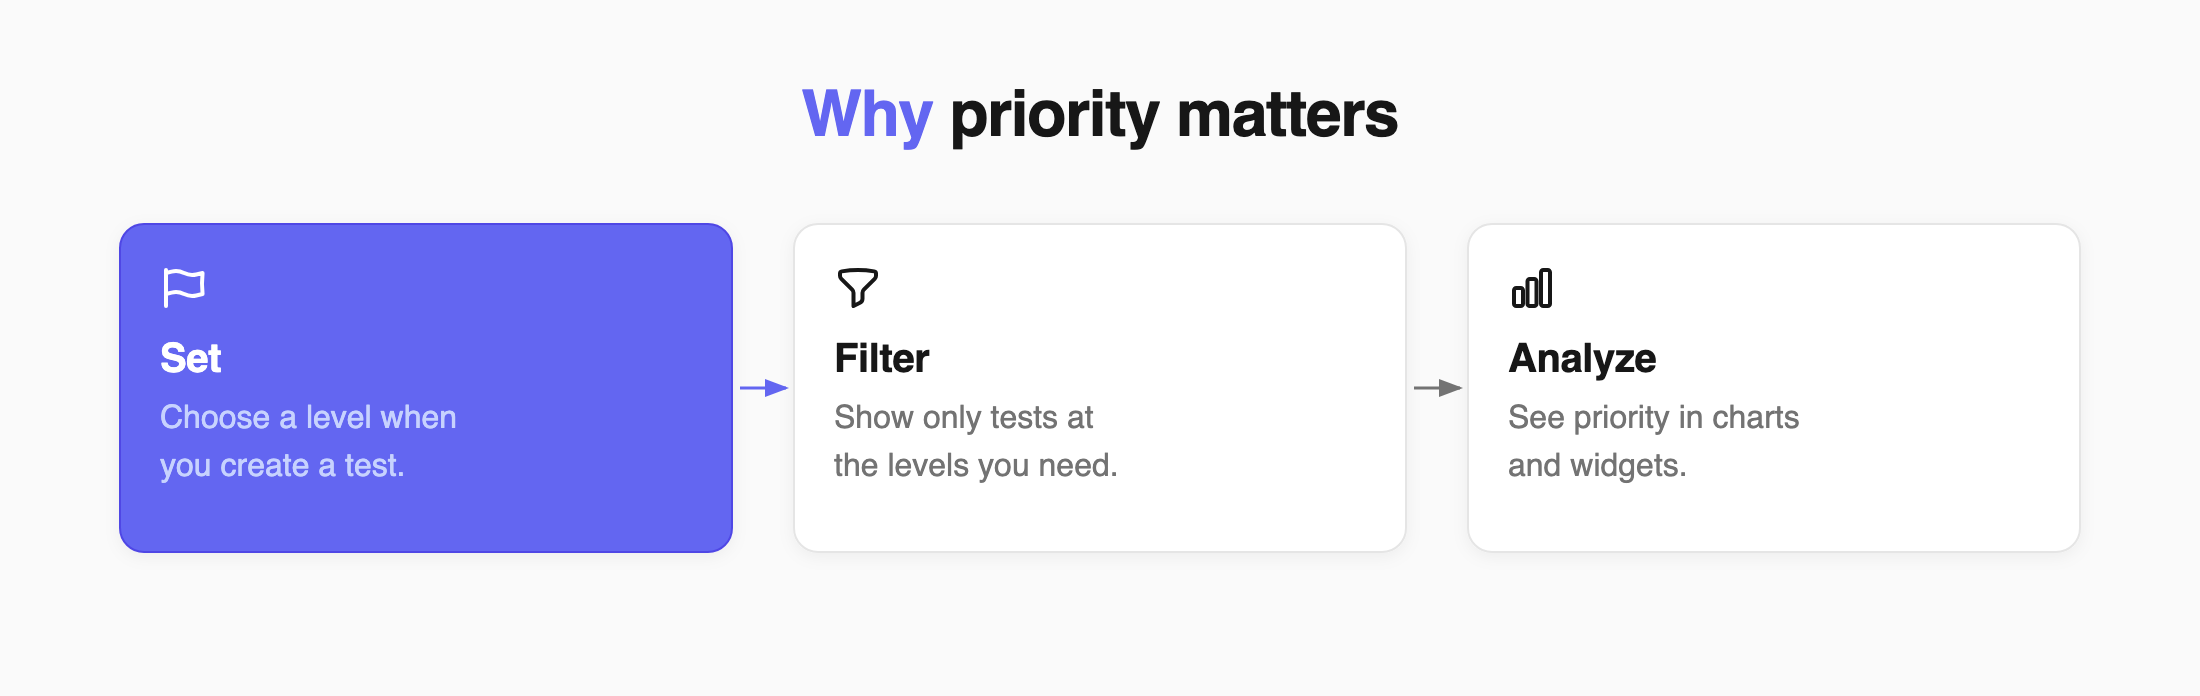
Priority Levels
Section titled “Priority Levels”Choose the level that best describes the importance of the test.
| Level | Use it for |
|---|---|
| low | Minor checks that rarely affect a release. |
| normal | Most tests. This is the default. |
| high | Tests that need extra attention. |
| important | Tests that are important for a feature or workflow. |
| critical | Tests that can block a release or other important work. |
Your team can use these levels in the way that works best for your project. For example, you might use critical for release blockers, important for feature blockers, and high for tests that always run in regression.
Each priority has its own icon, so you can recognize it quickly in the test list and tree.
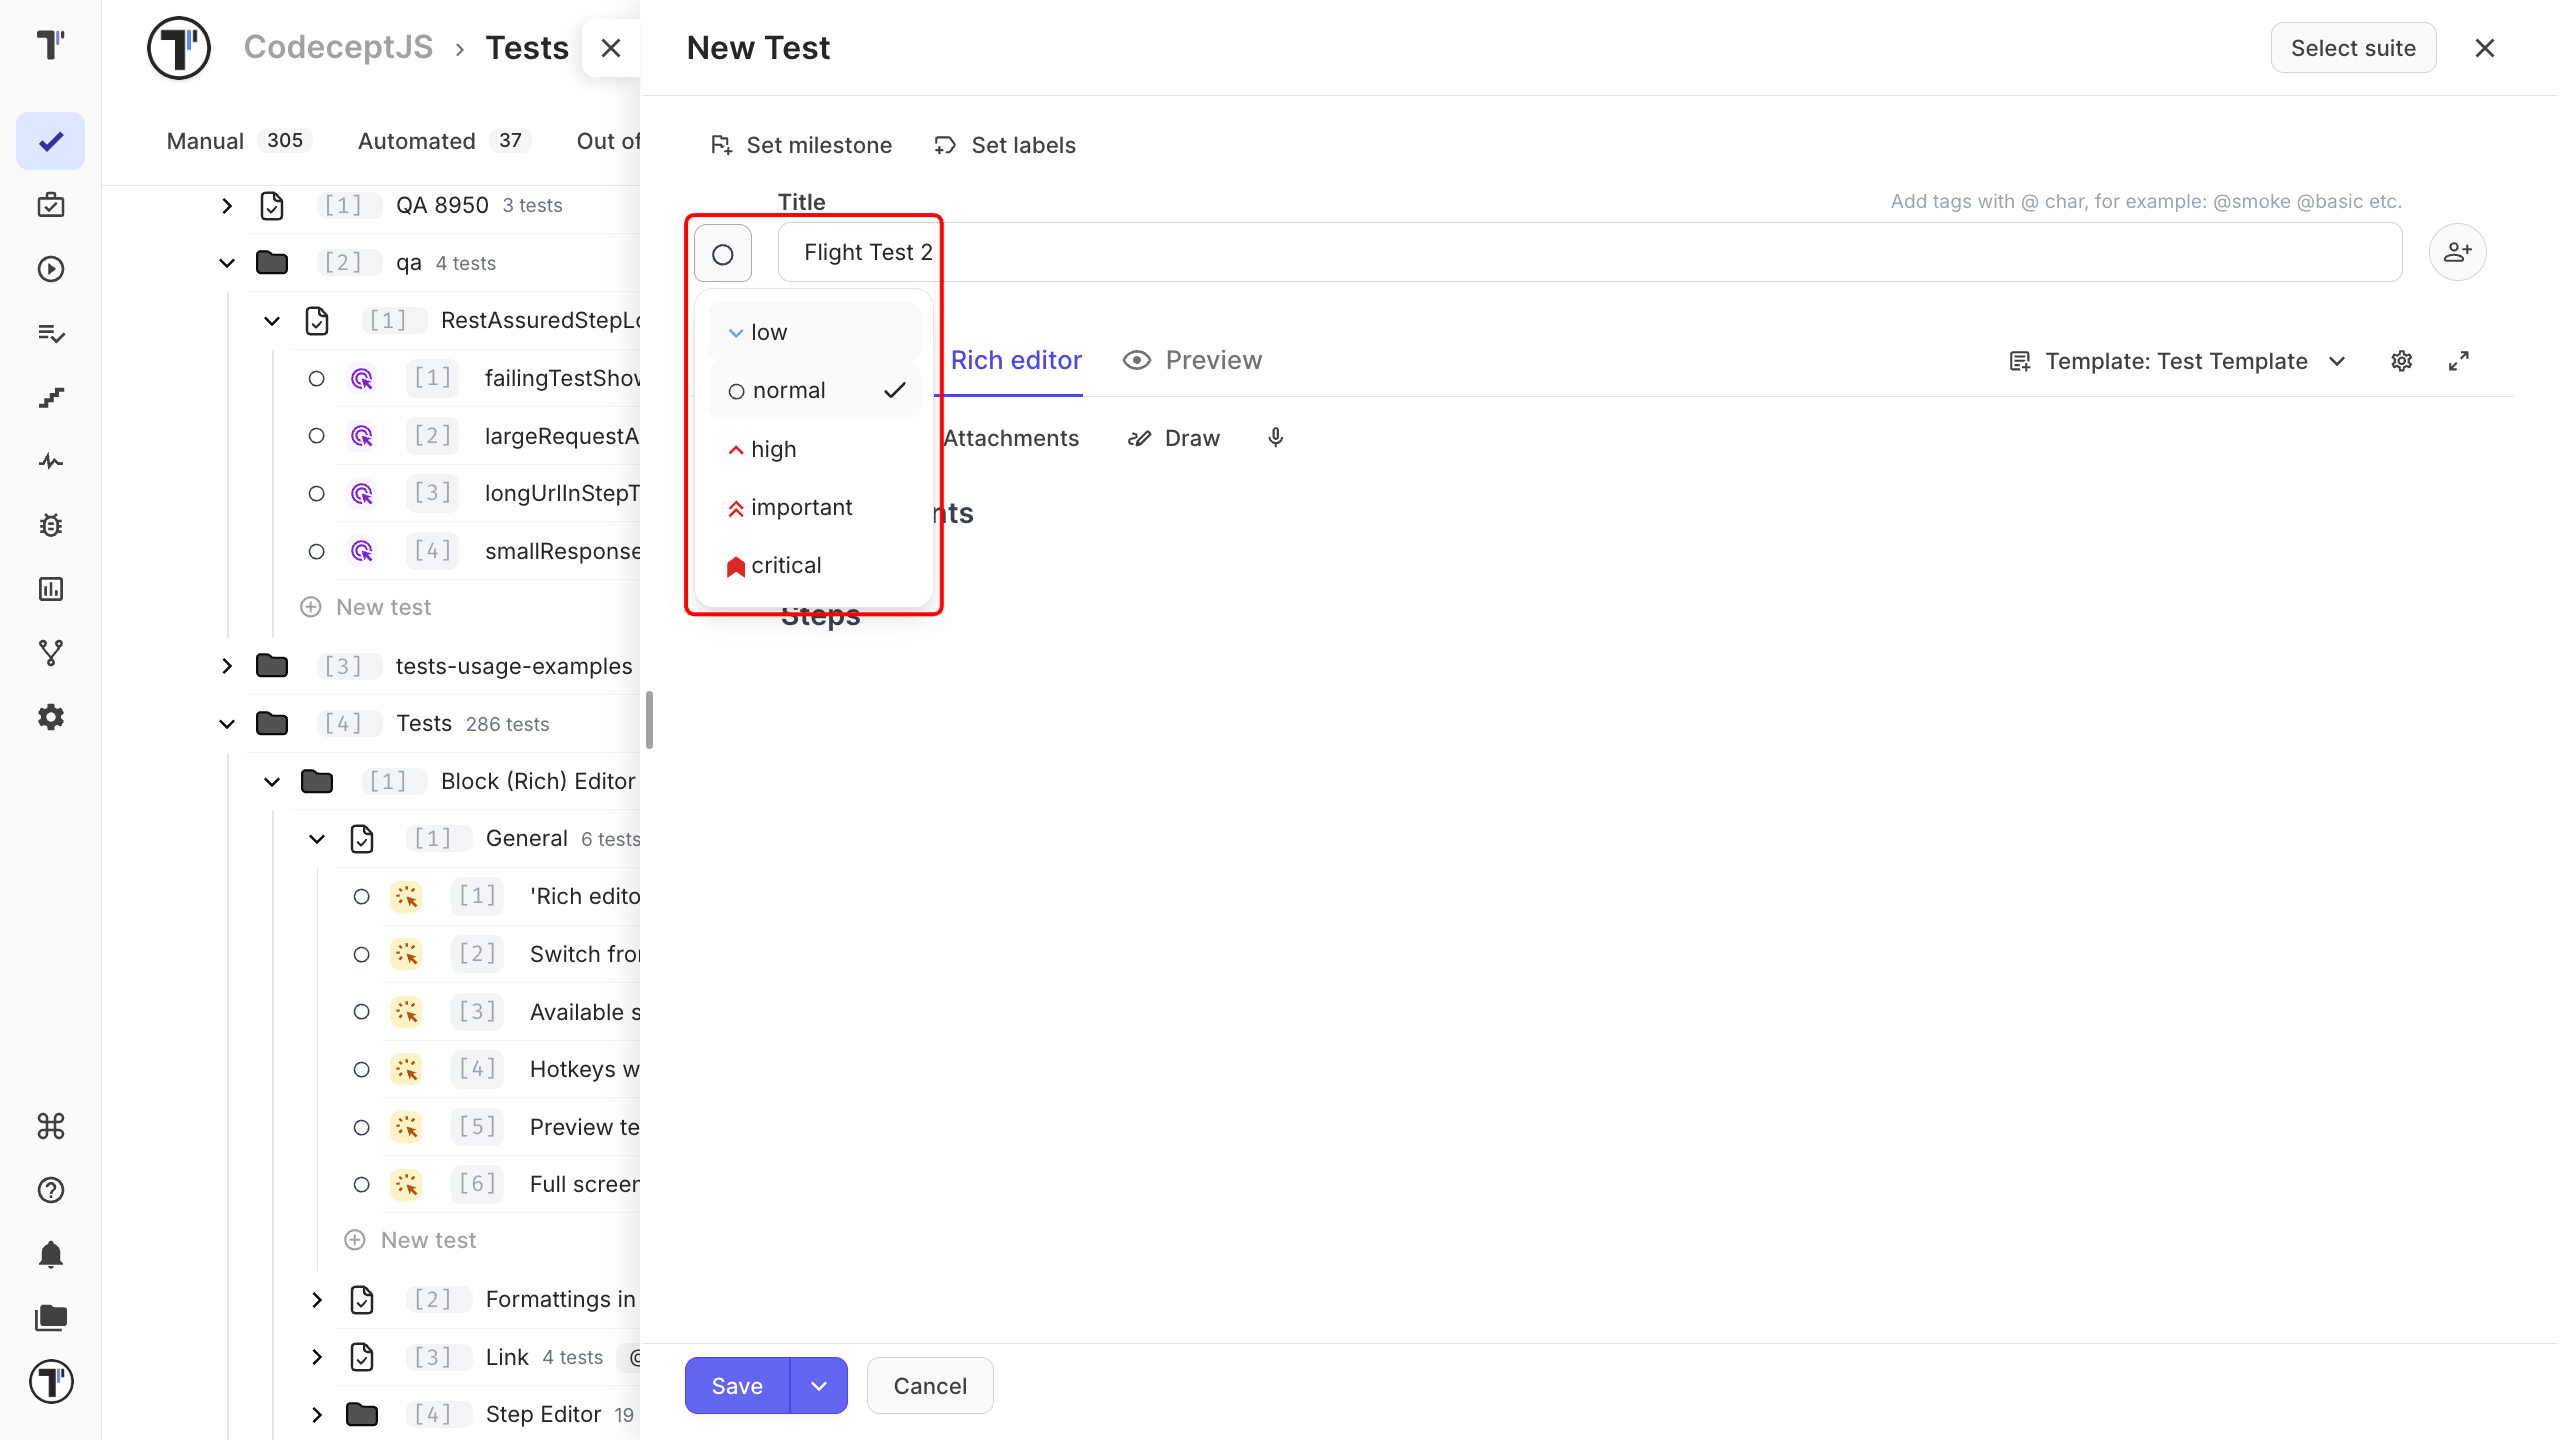
Set Priority When Creating a Test
Section titled “Set Priority When Creating a Test”Choose the priority while creating the test.
- Go to the Tests page.
- Click + New and then New test.
- Enter the test title.
- Click the priority icon to the left of the title field.
- Select a priority.
- Click Save.
Change Priority
Section titled “Change Priority”You can change the priority of an existing test at any time.
- Open the test on the Tests page.
- Click the priority icon to the left of the title field.
- Select a new priority.
- Close the test.
The new priority applies immediately. You don’t need to save the test.
Change Priority for Multiple Tests
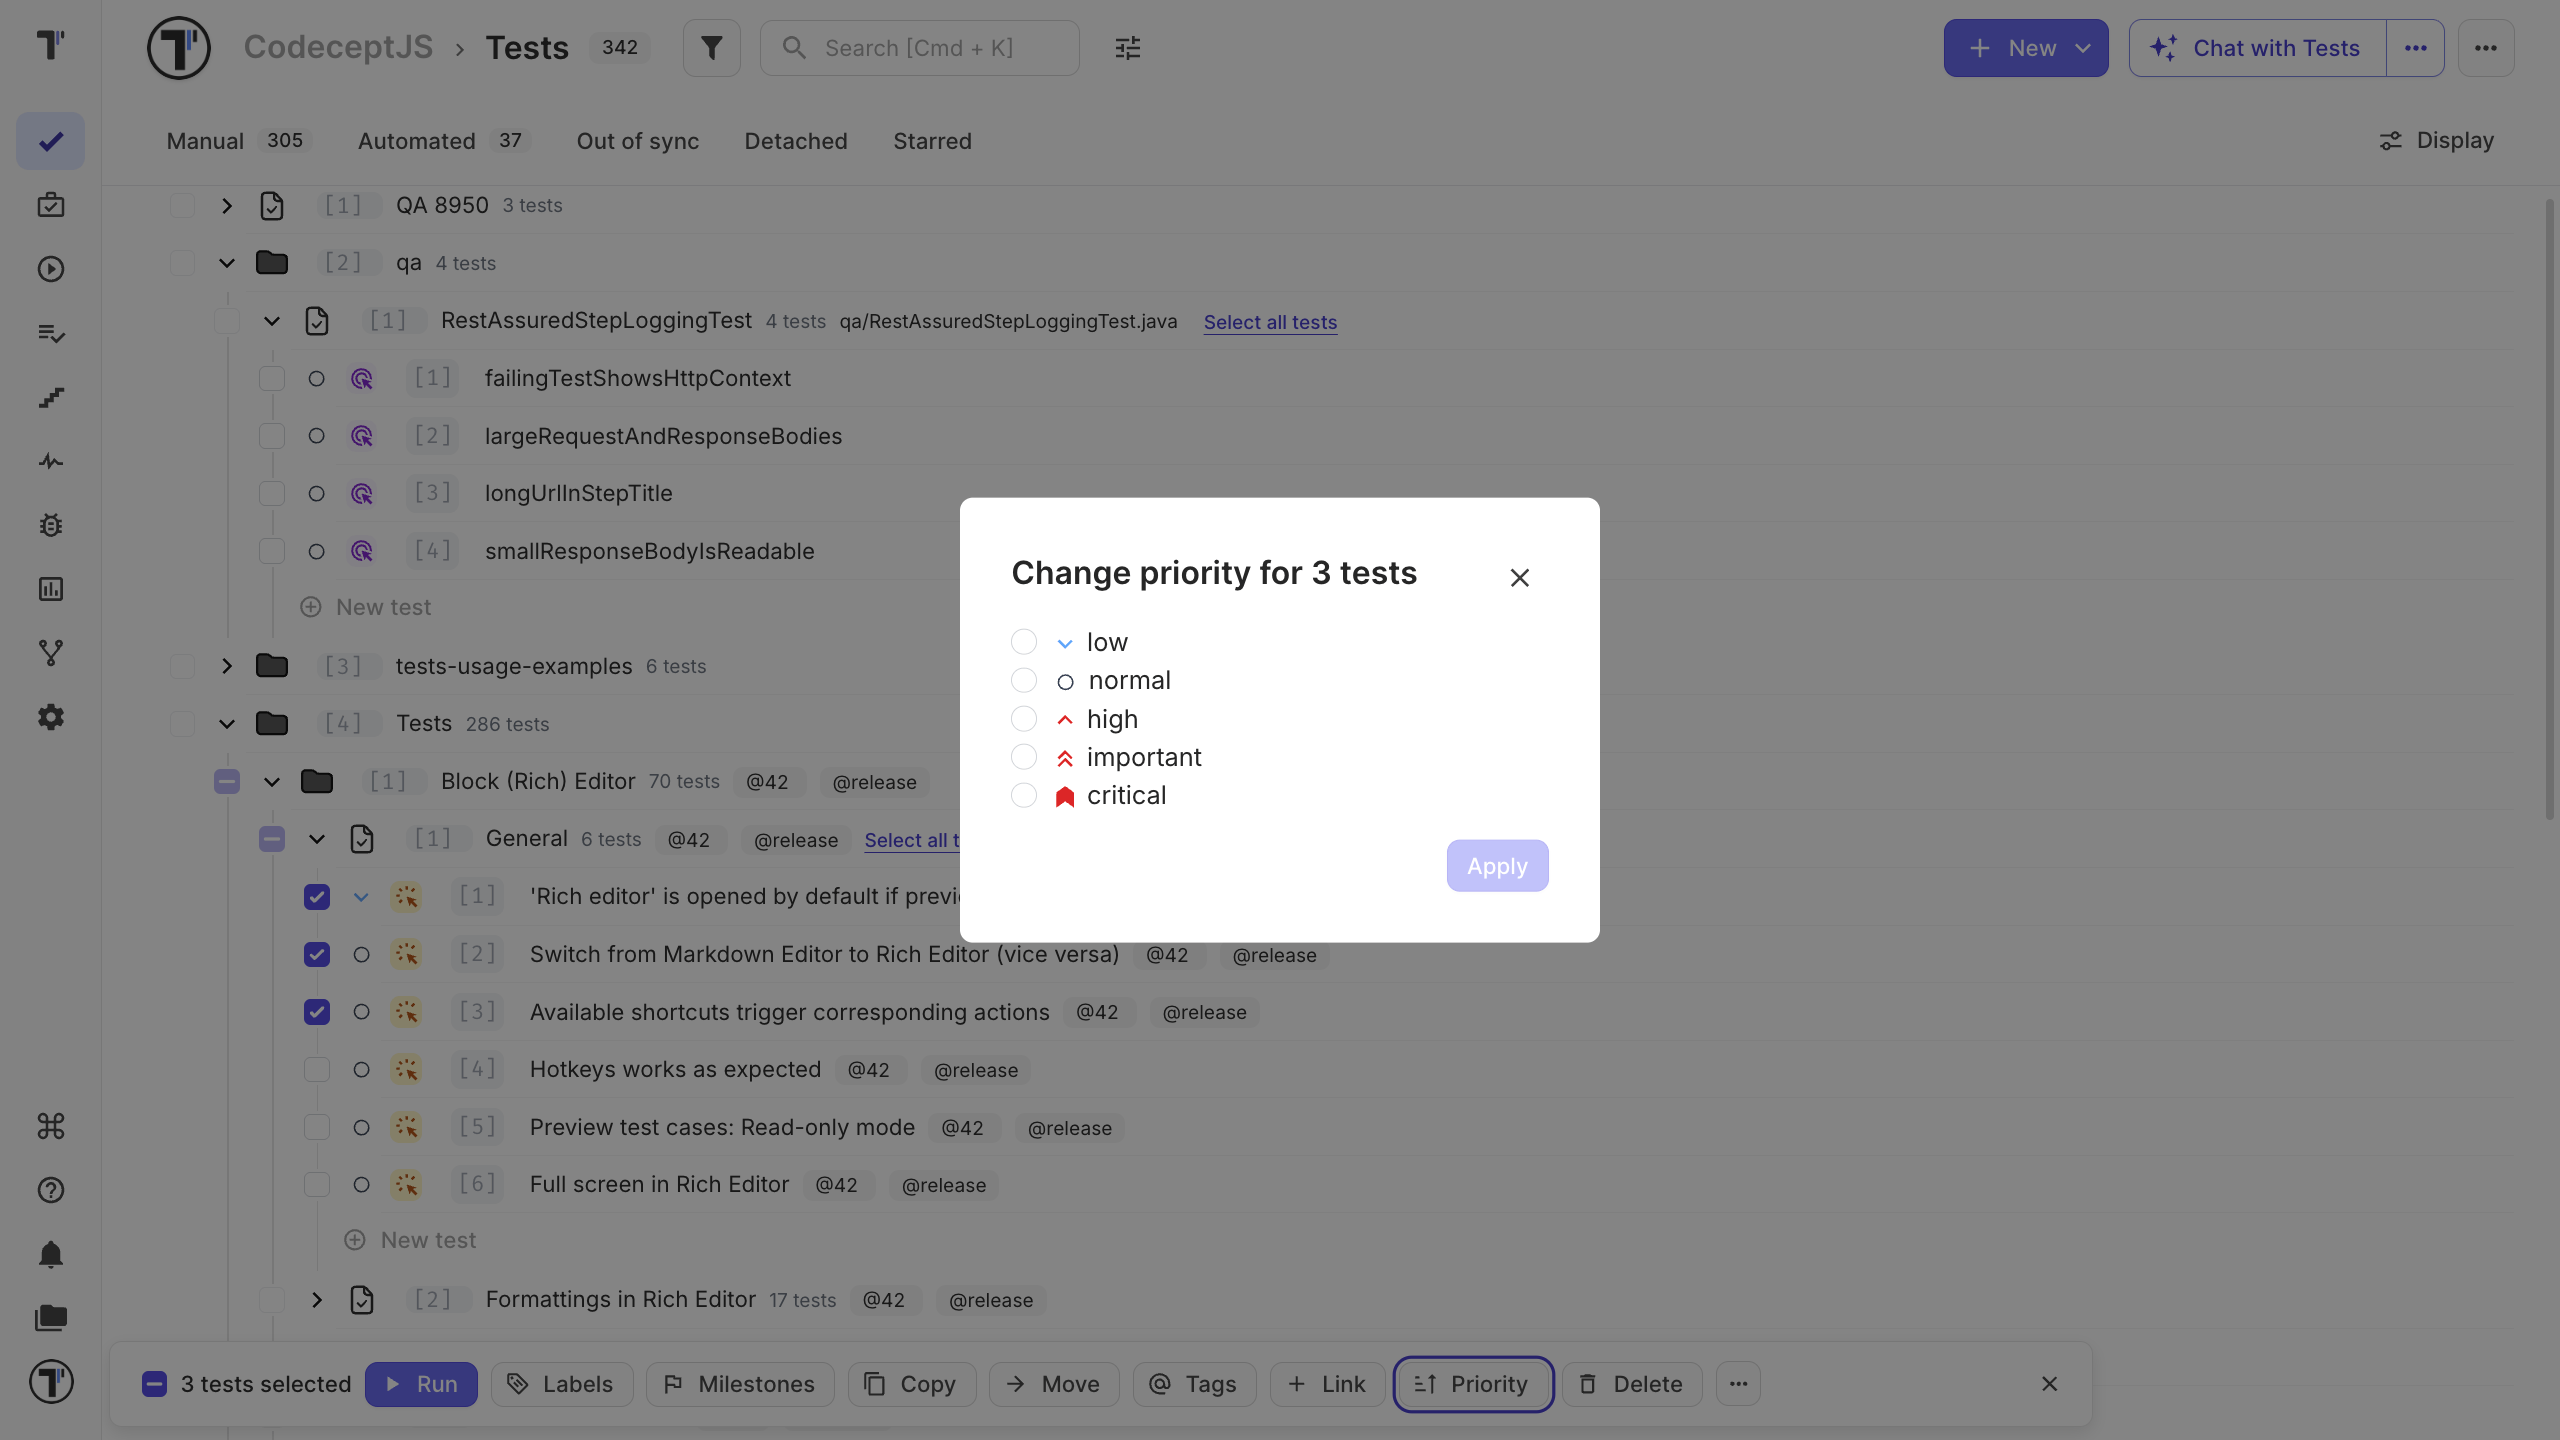
Section titled “Change Priority for Multiple Tests”Update several tests at once instead of opening them one by one. This is useful when you need to set priorities for a whole suite or a group of tests.
- Go to the Tests page.
- Turn on multi-select.
- Select the tests you want to update.
- Click Priority at the bottom of the page.
- Select a priority.
- Click Apply.
Filter Tests by Priority
Section titled “Filter Tests by Priority”Use the priority filter to quickly find tests with a specific priority.
- Go to the Tests page.
- Click the filter icon next to the search field.
- In Priority, select one or more levels.
- Click Apply.
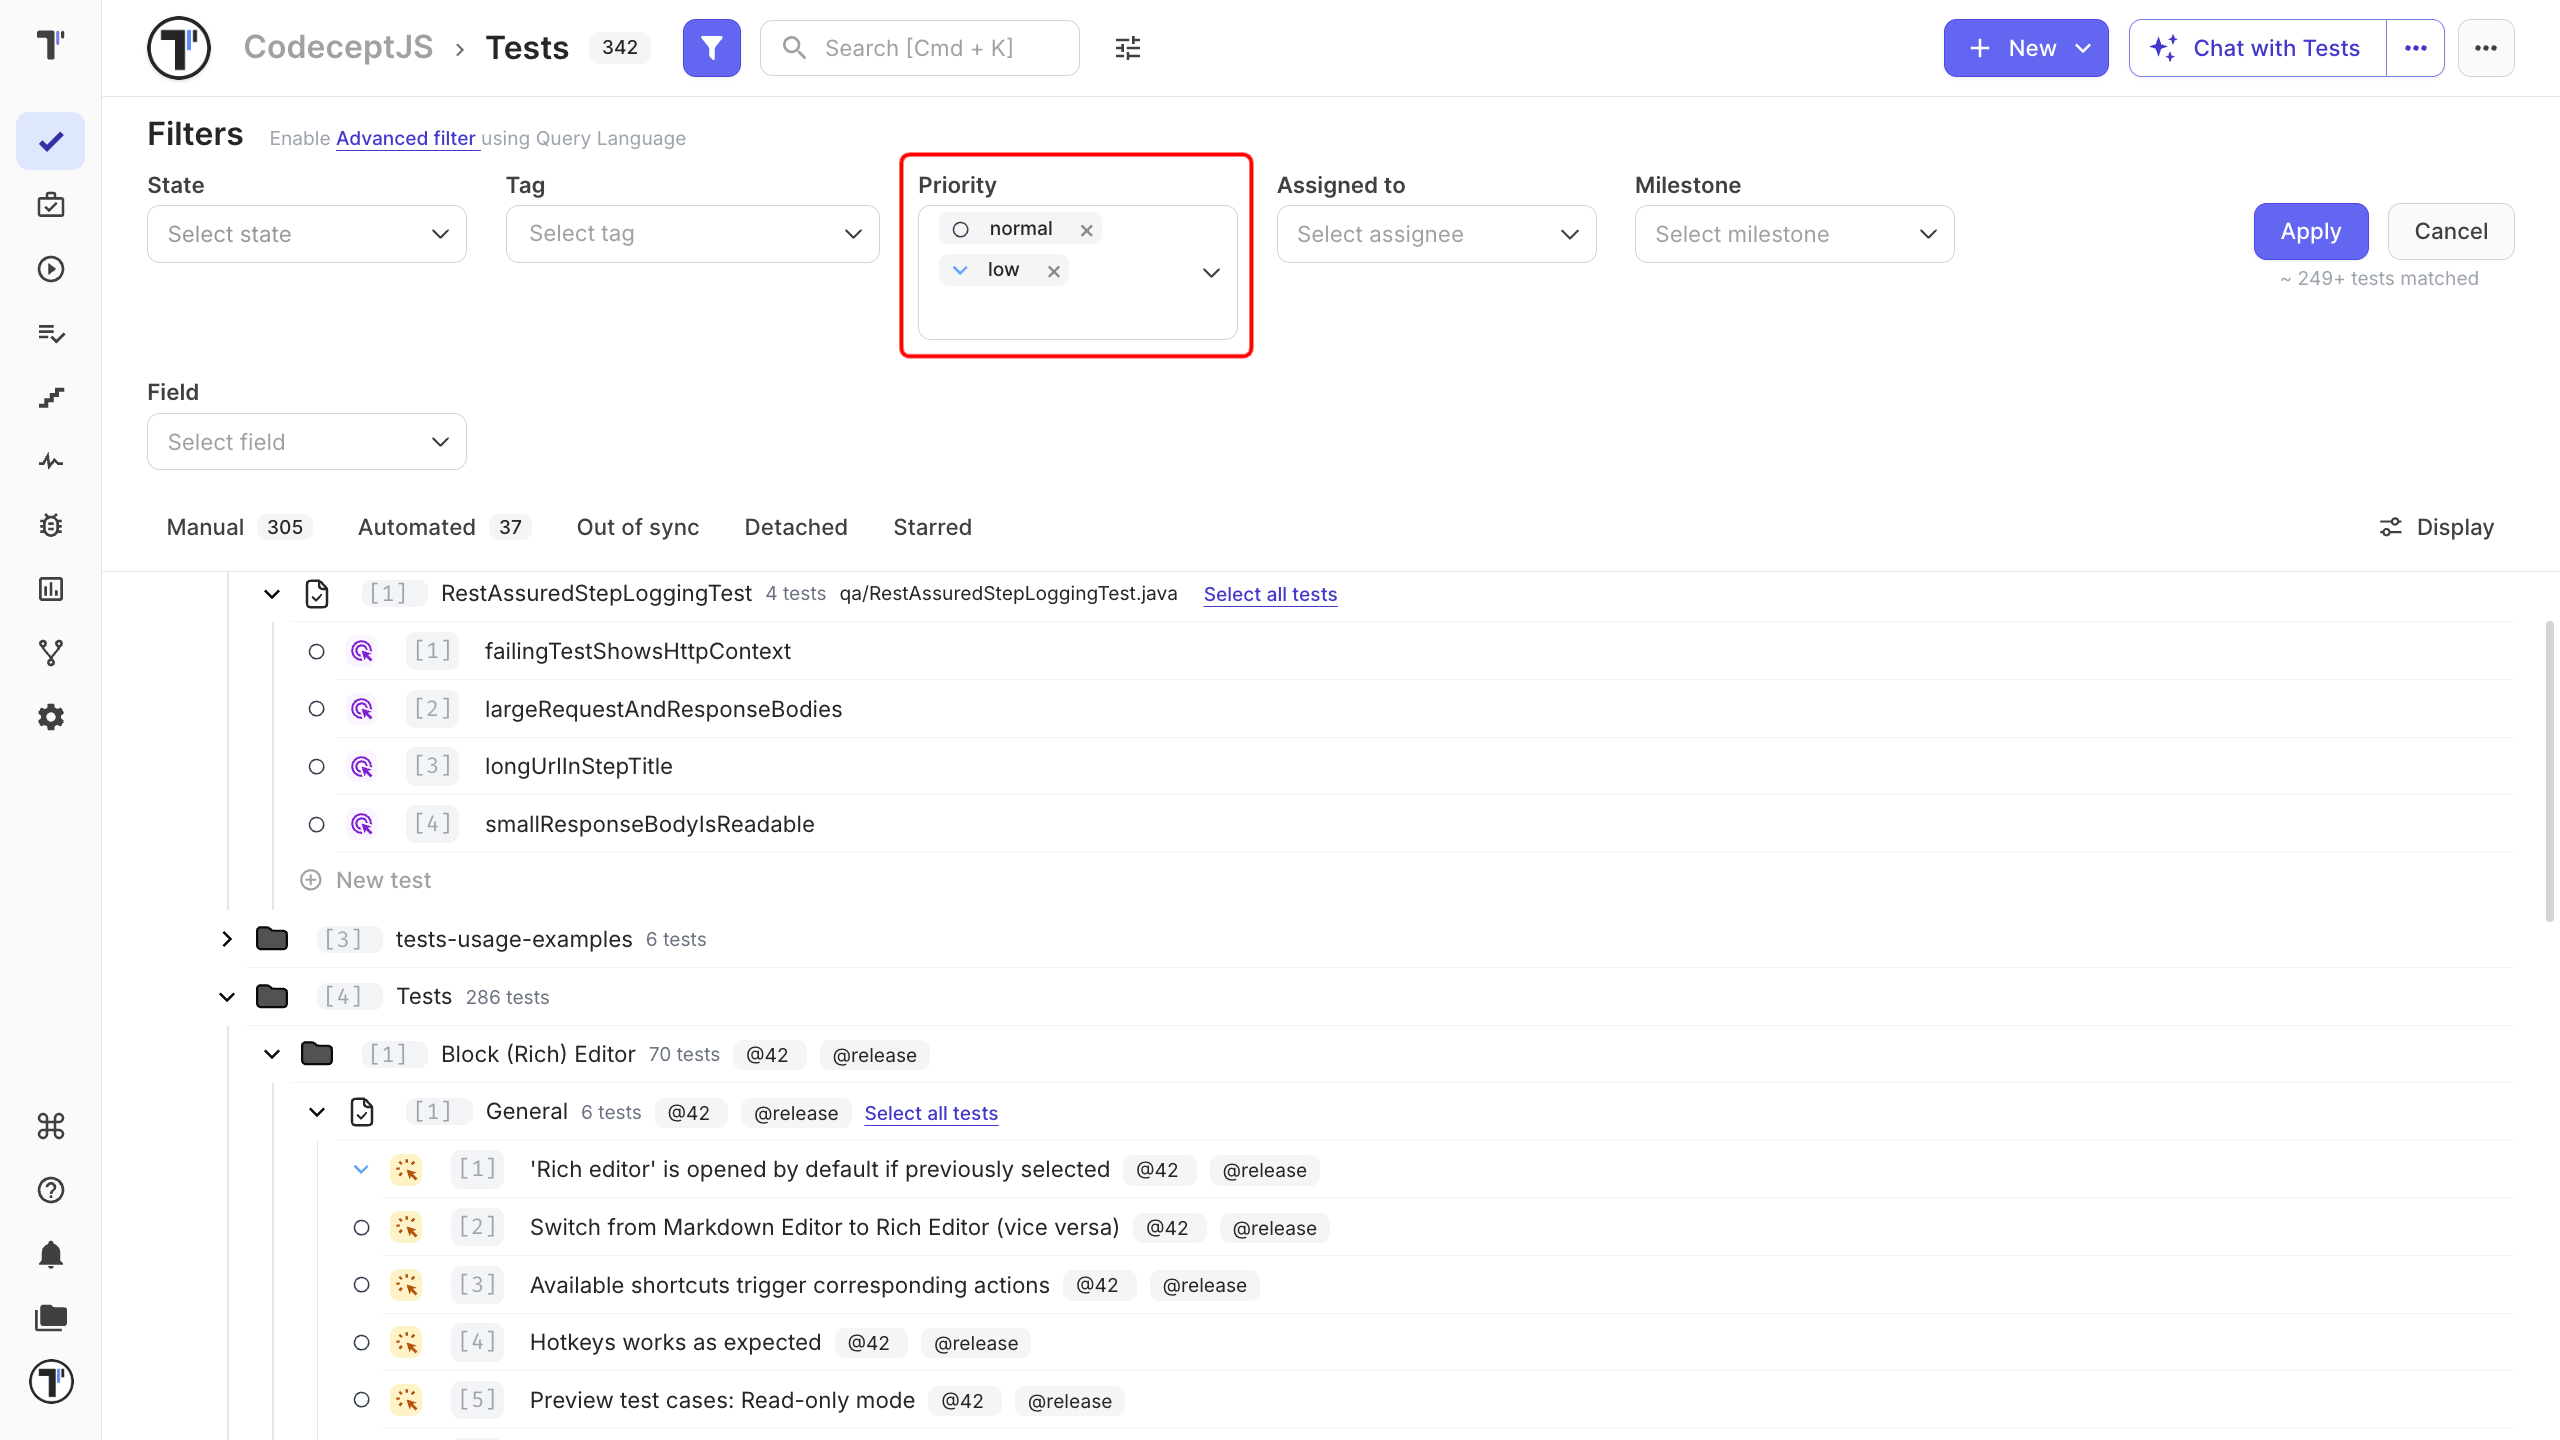
You can combine the priority filter with other filters, such as tags, state, or assignee.
Use Priority in Analytics
Section titled “Use Priority in Analytics”Priority is also available in project and company analytics.
Project Analytics
Section titled “Project Analytics”- Open Analytics in your project.
- Click the Filters icon.
- Select the priority levels you want to see.
- Add any other filters you need.
- Click Apply.
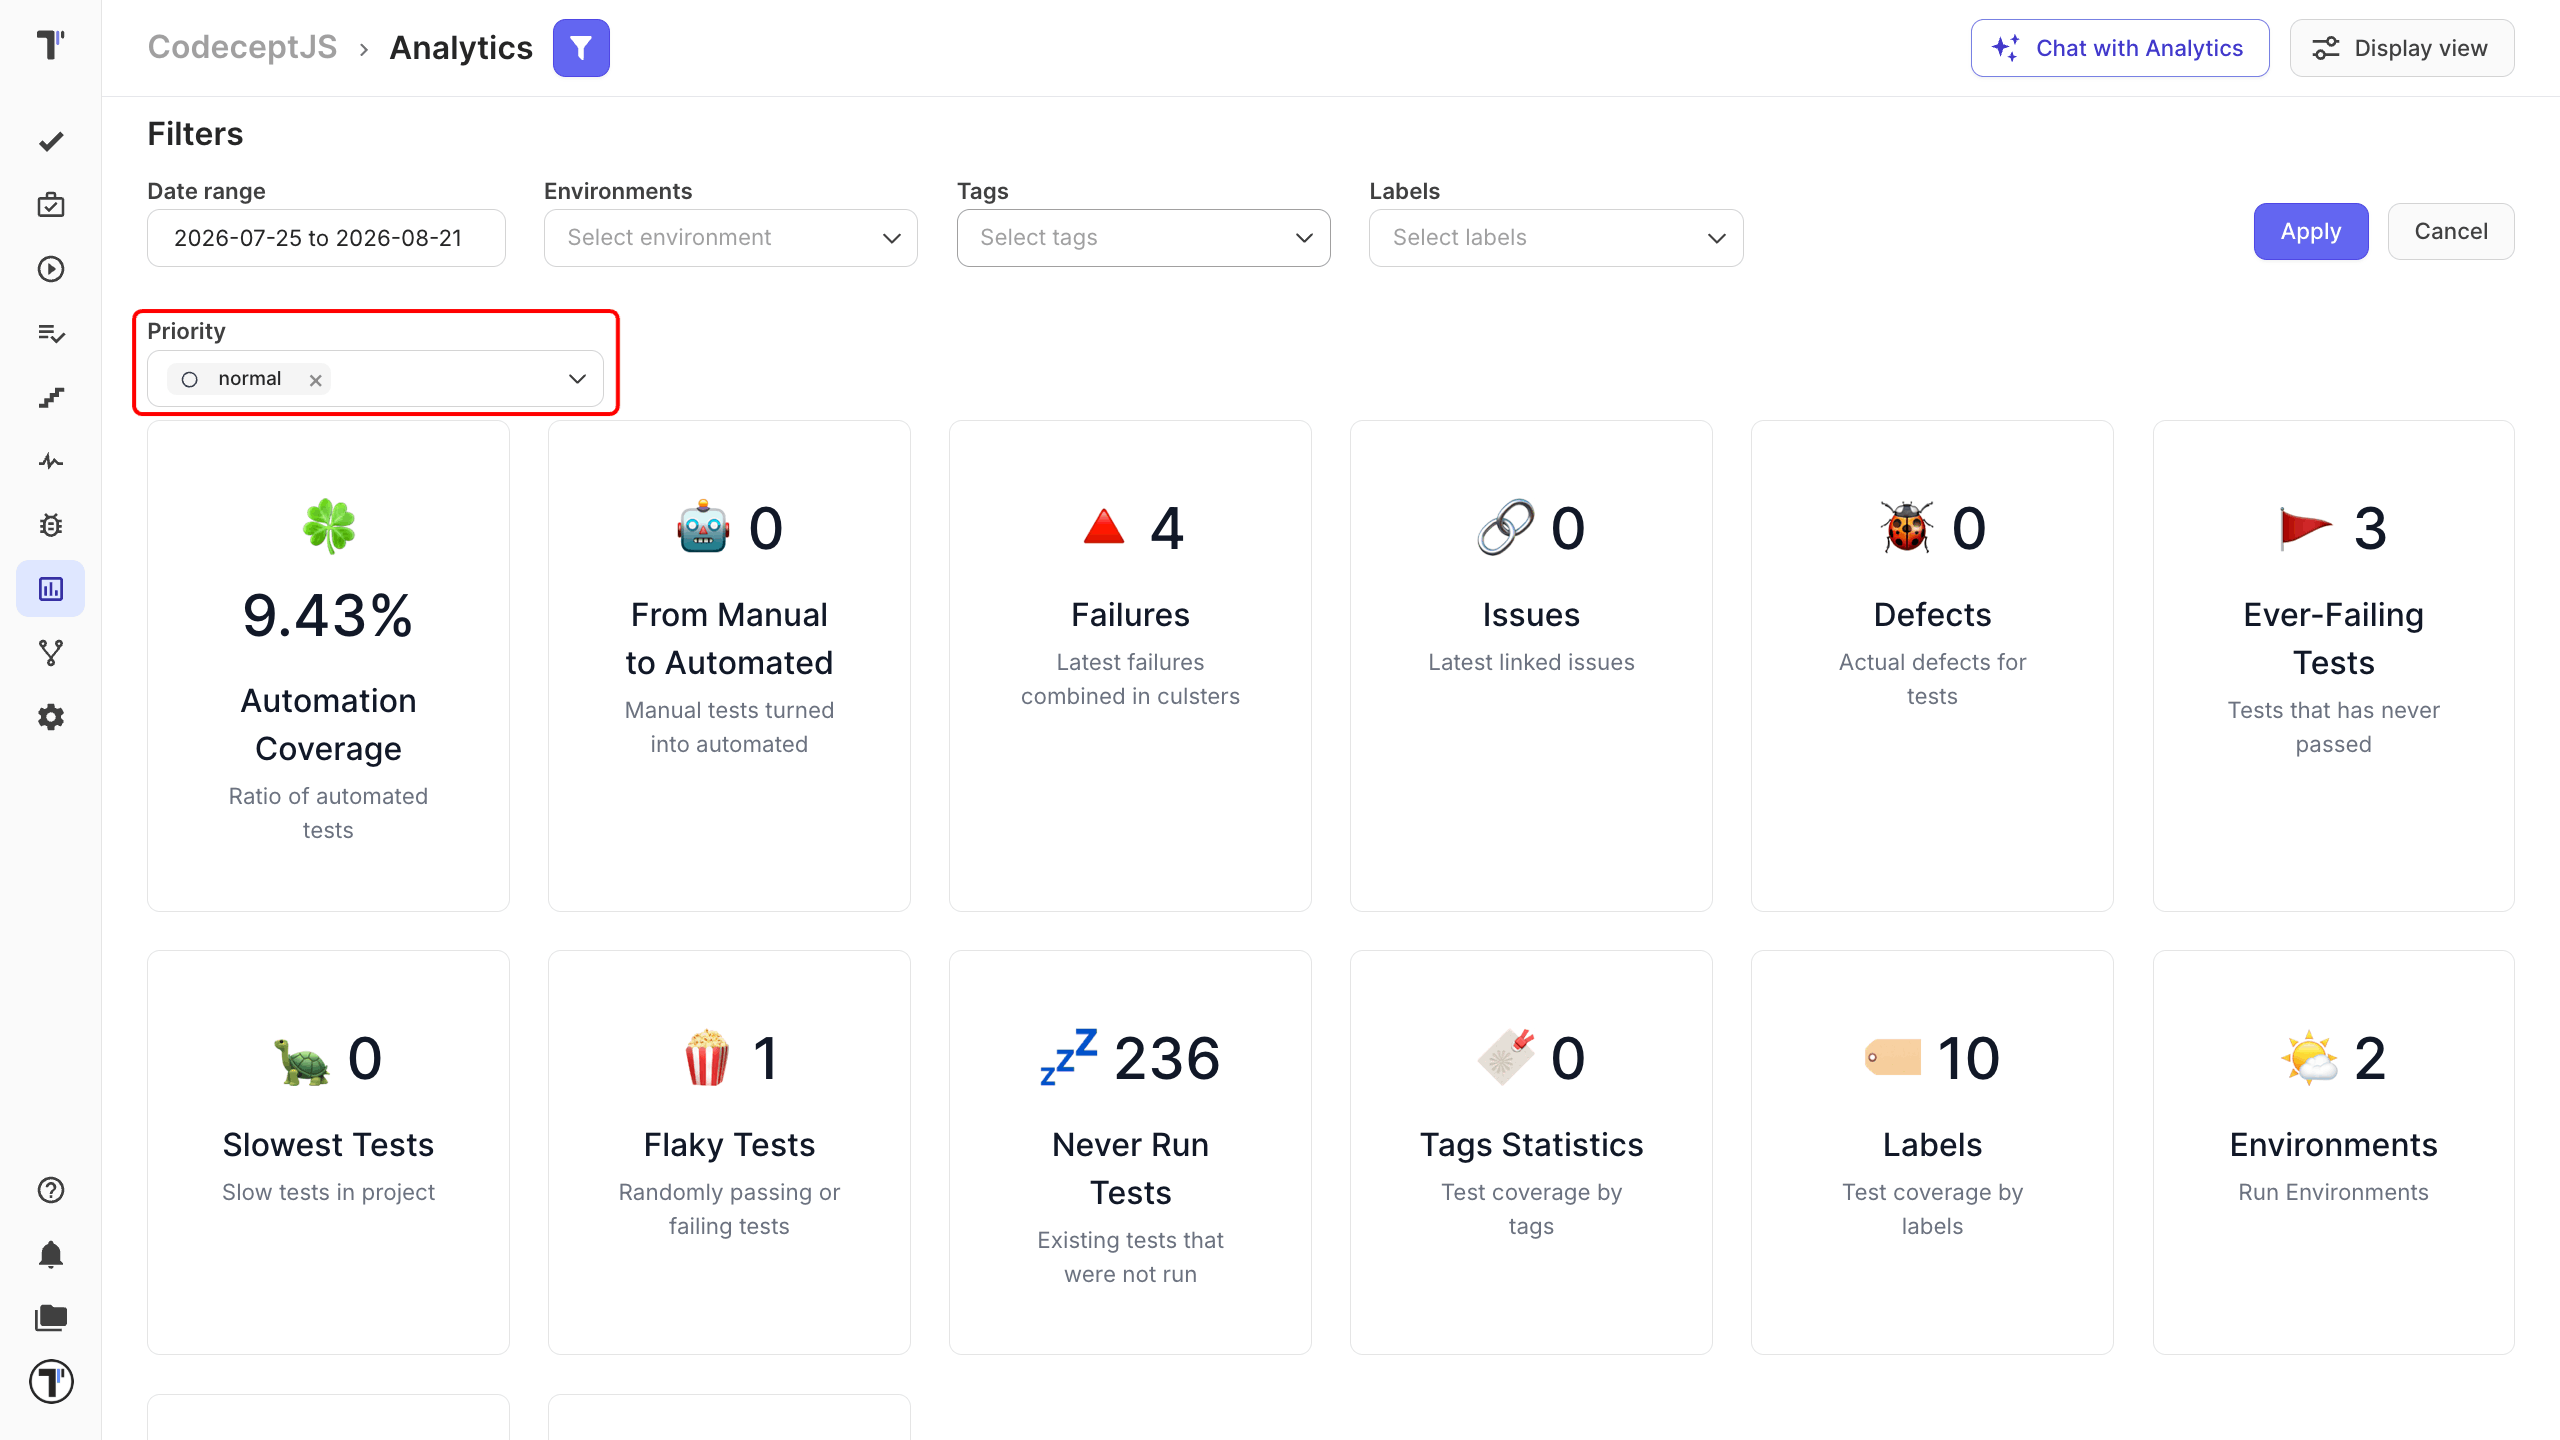
The charts update to show data for the selected priorities.
Company Analytics
Section titled “Company Analytics”Open Analytics from the global workspace navigation to see priority data across your projects. For more information, see Analytics Board.
Priority Widgets
Section titled “Priority Widgets”You can also add priority-based widgets to an analytics dashboard.
| Widget | What it shows |
|---|---|
| Failed Runs By Priority | Failed runs grouped by priority over time. |
| Latest Failed Runs By Priority | Failed runs from the latest test runs, grouped by priority. |
| Latest Run Results By Priority And Status | Passed, failed, and skipped results for the latest runs, grouped by priority. |
| Priority By Date | Run and failure trends for each priority over a selected period. |
| Run Results By Priority And Status | Run results across your test history, grouped by priority. |
For more information, see Analytics Dashboards (Widgets).