
Create a Test
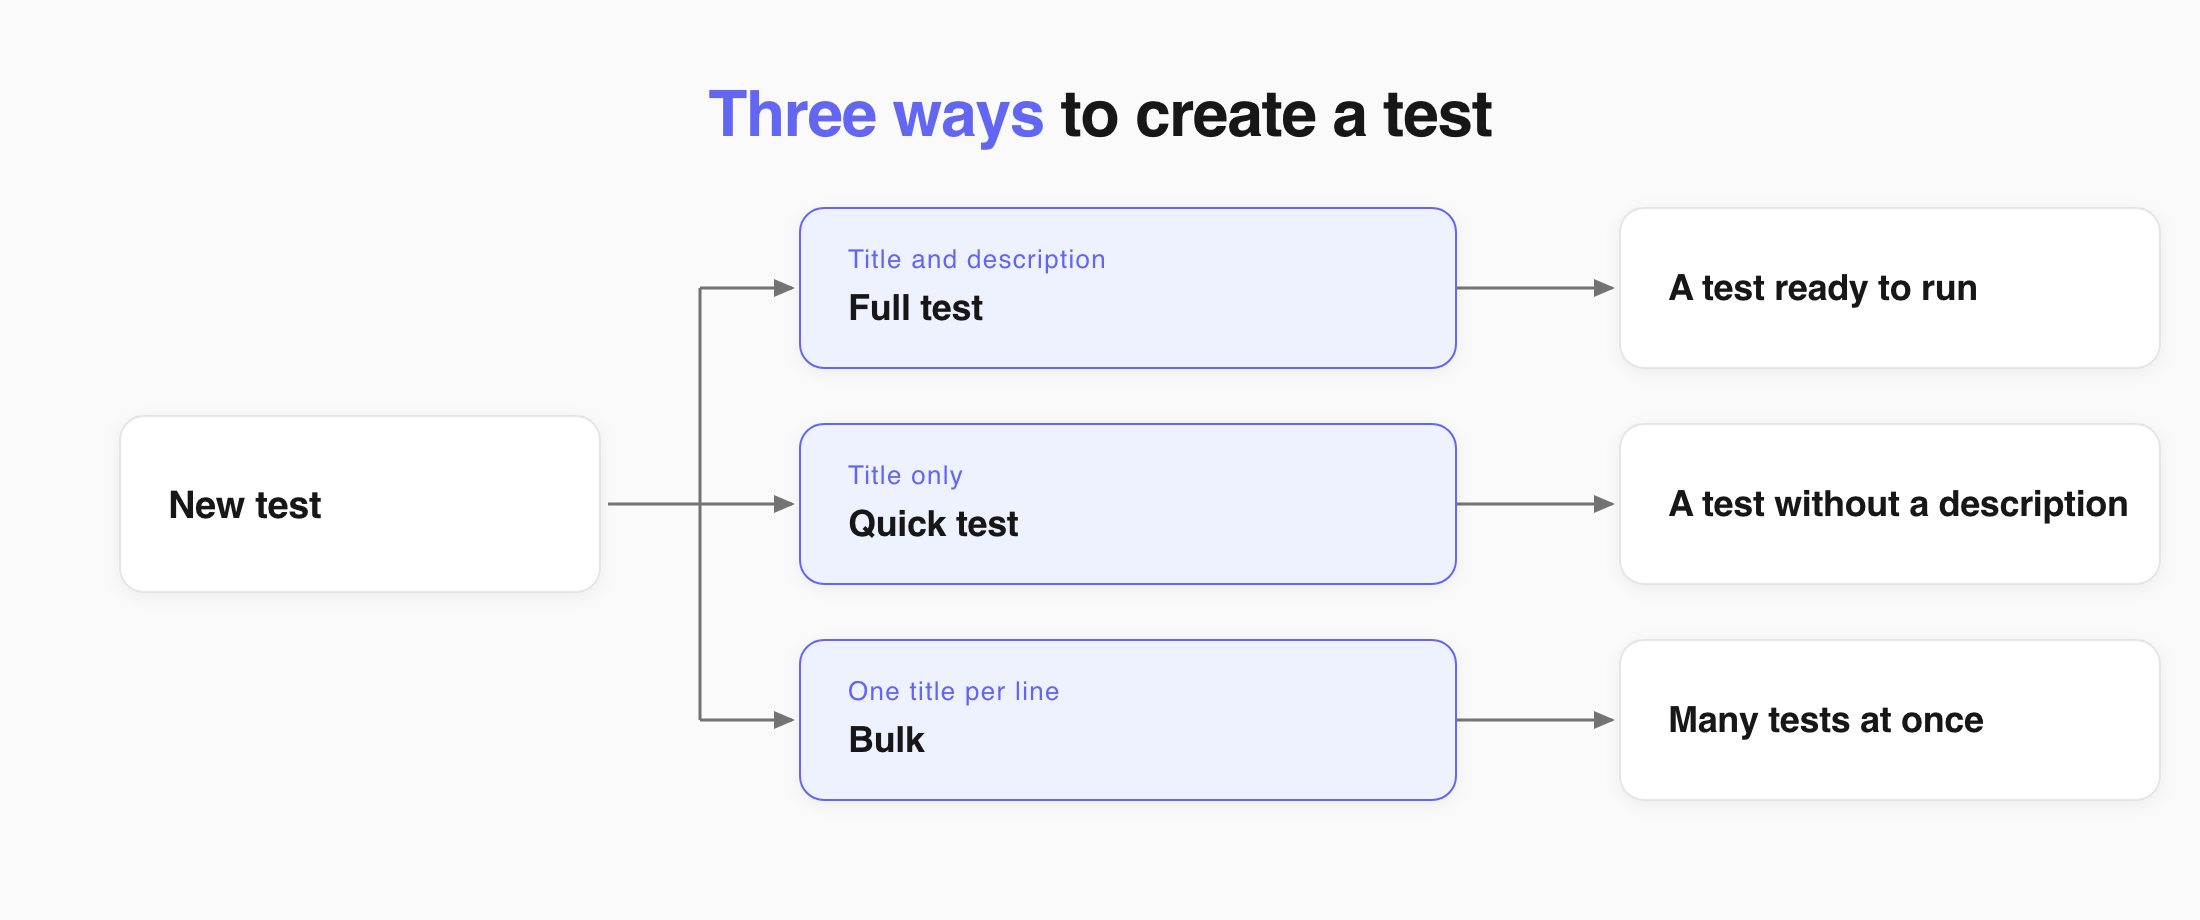
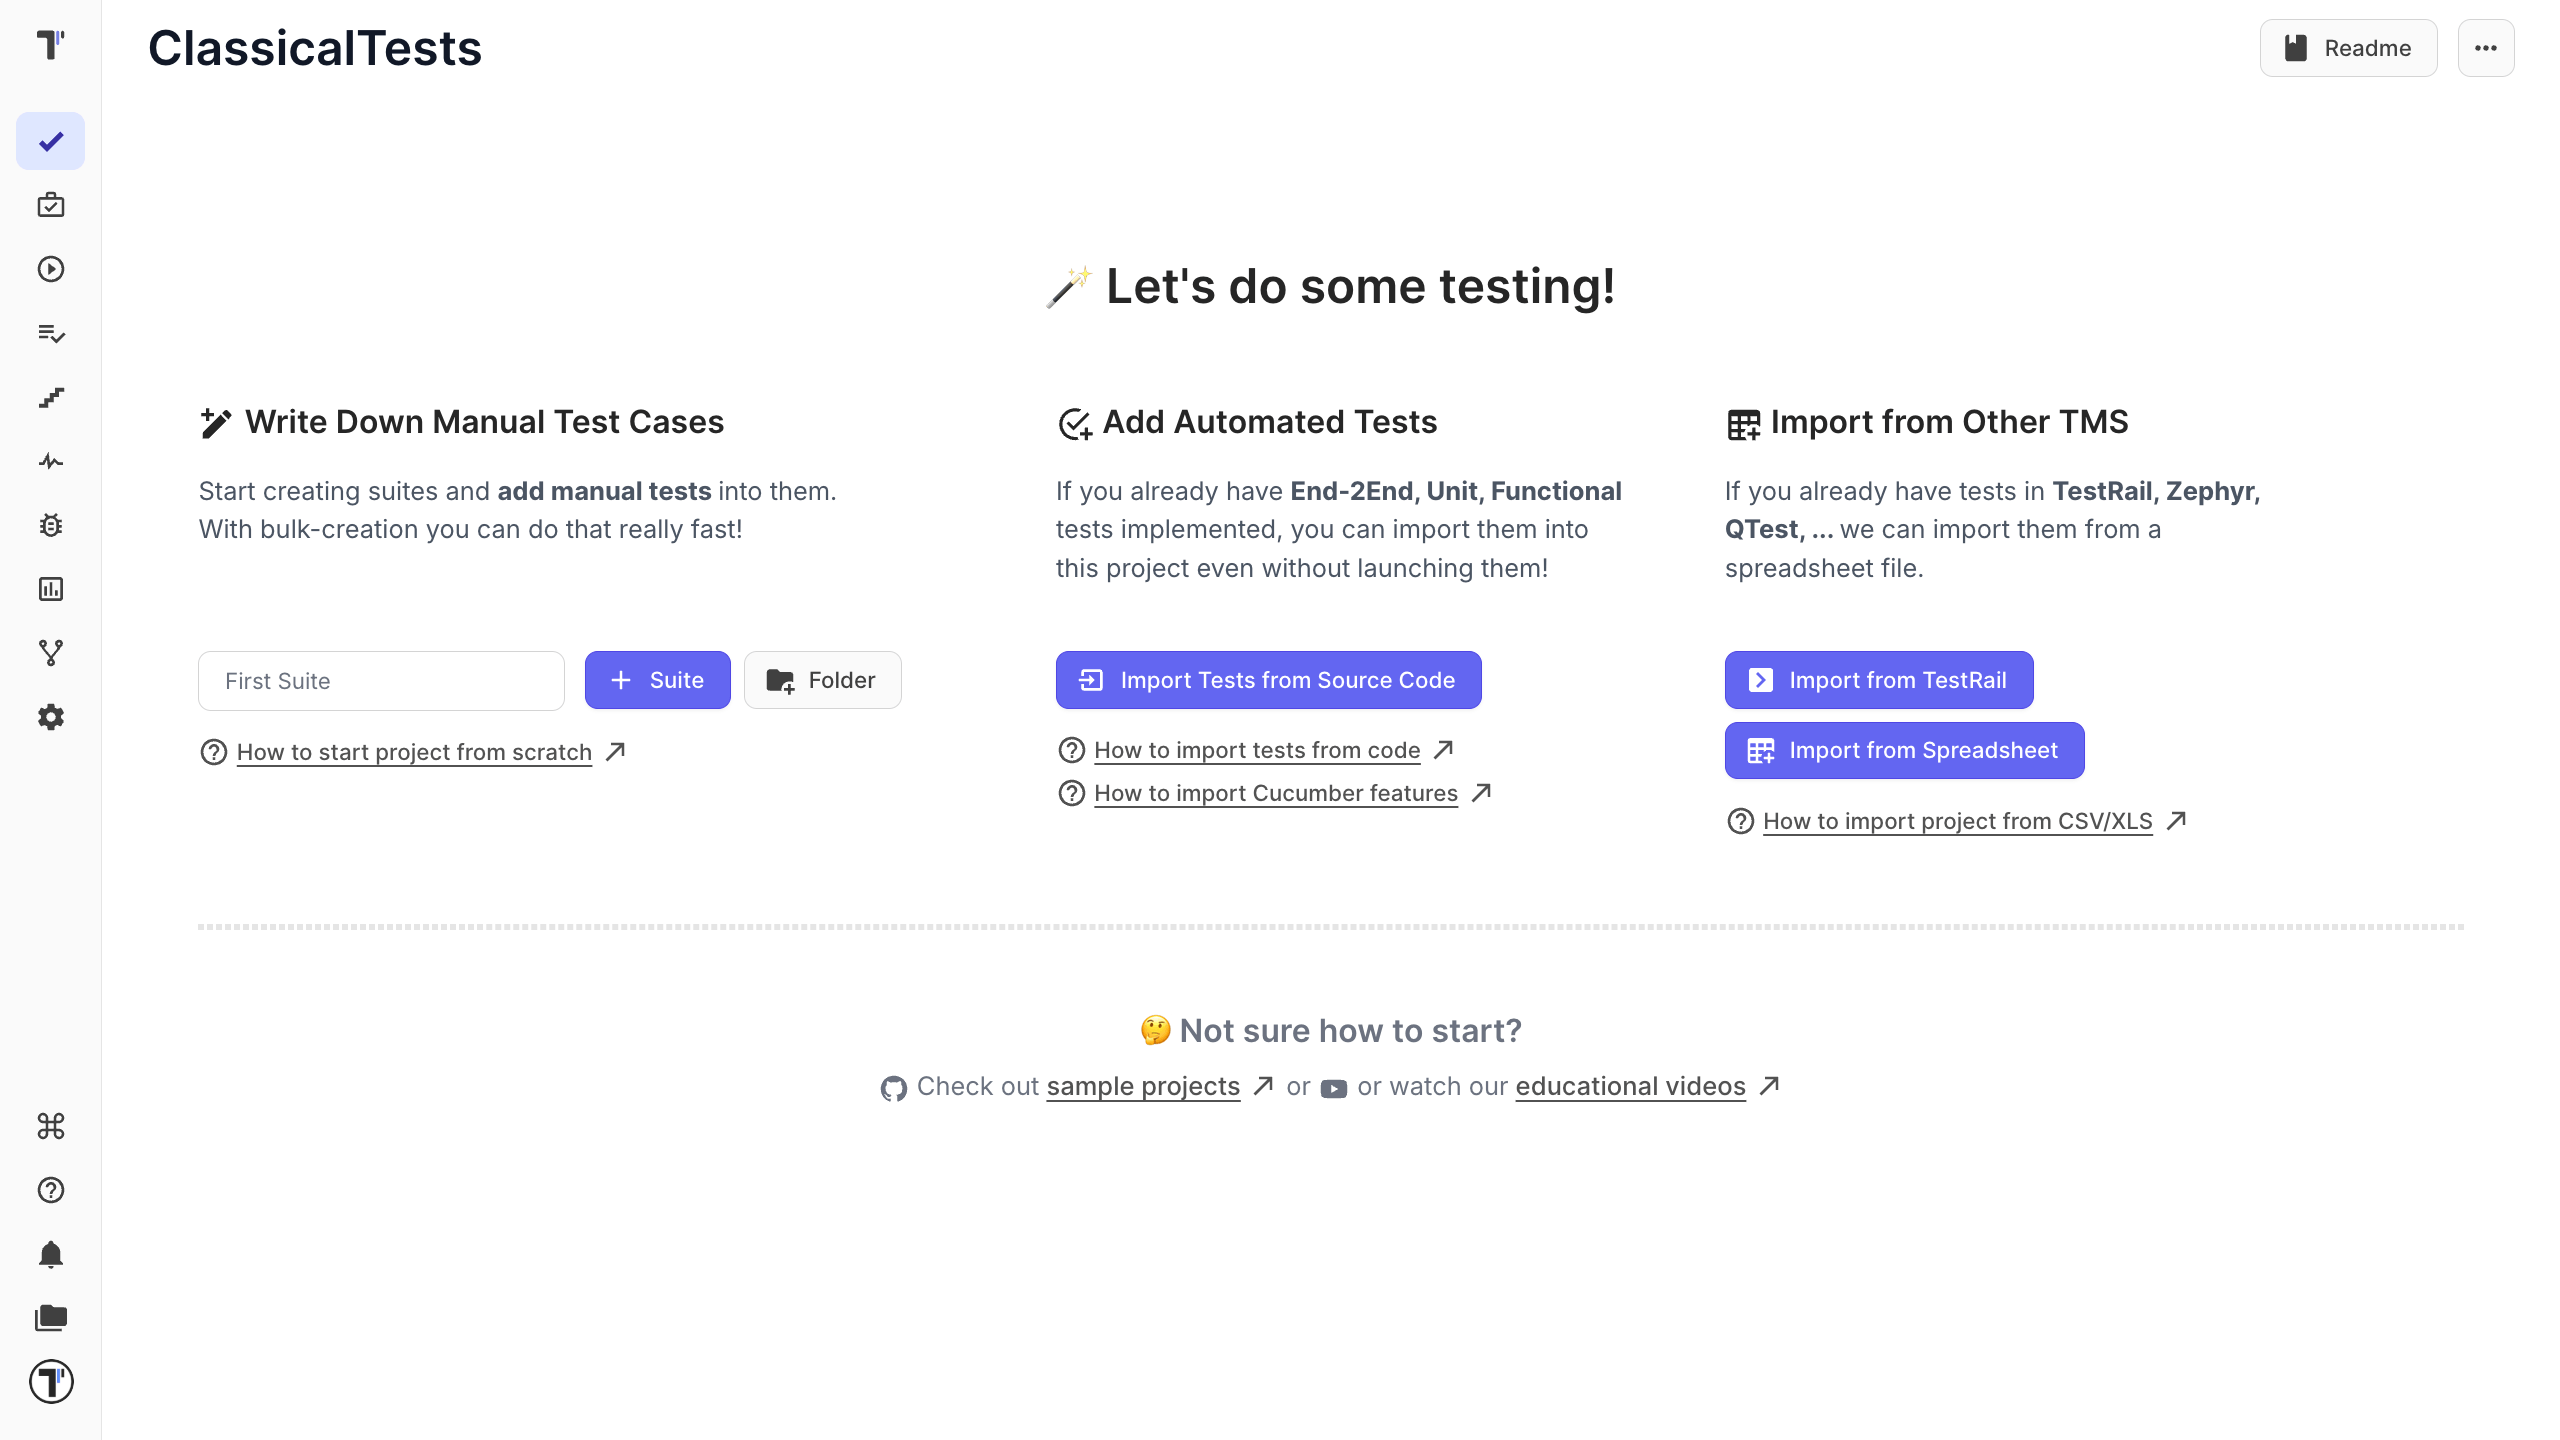
When you start a new project, choose Create a new suite to add tests manually. To add tests tou haw 3 possibilities:
- write the test and its description,
- create test with the title only,
- create several tests in a bulk.
You can also import automated tests from source code or a CSV file. See Import tests.
Add a New Test
Section titled “Add a New Test”- Go to the Tests page.
- Open a suite or create one.
- Click New Test.
- Enter the test title.
- Add the preconditions, steps, and expected results.
- Click Save.
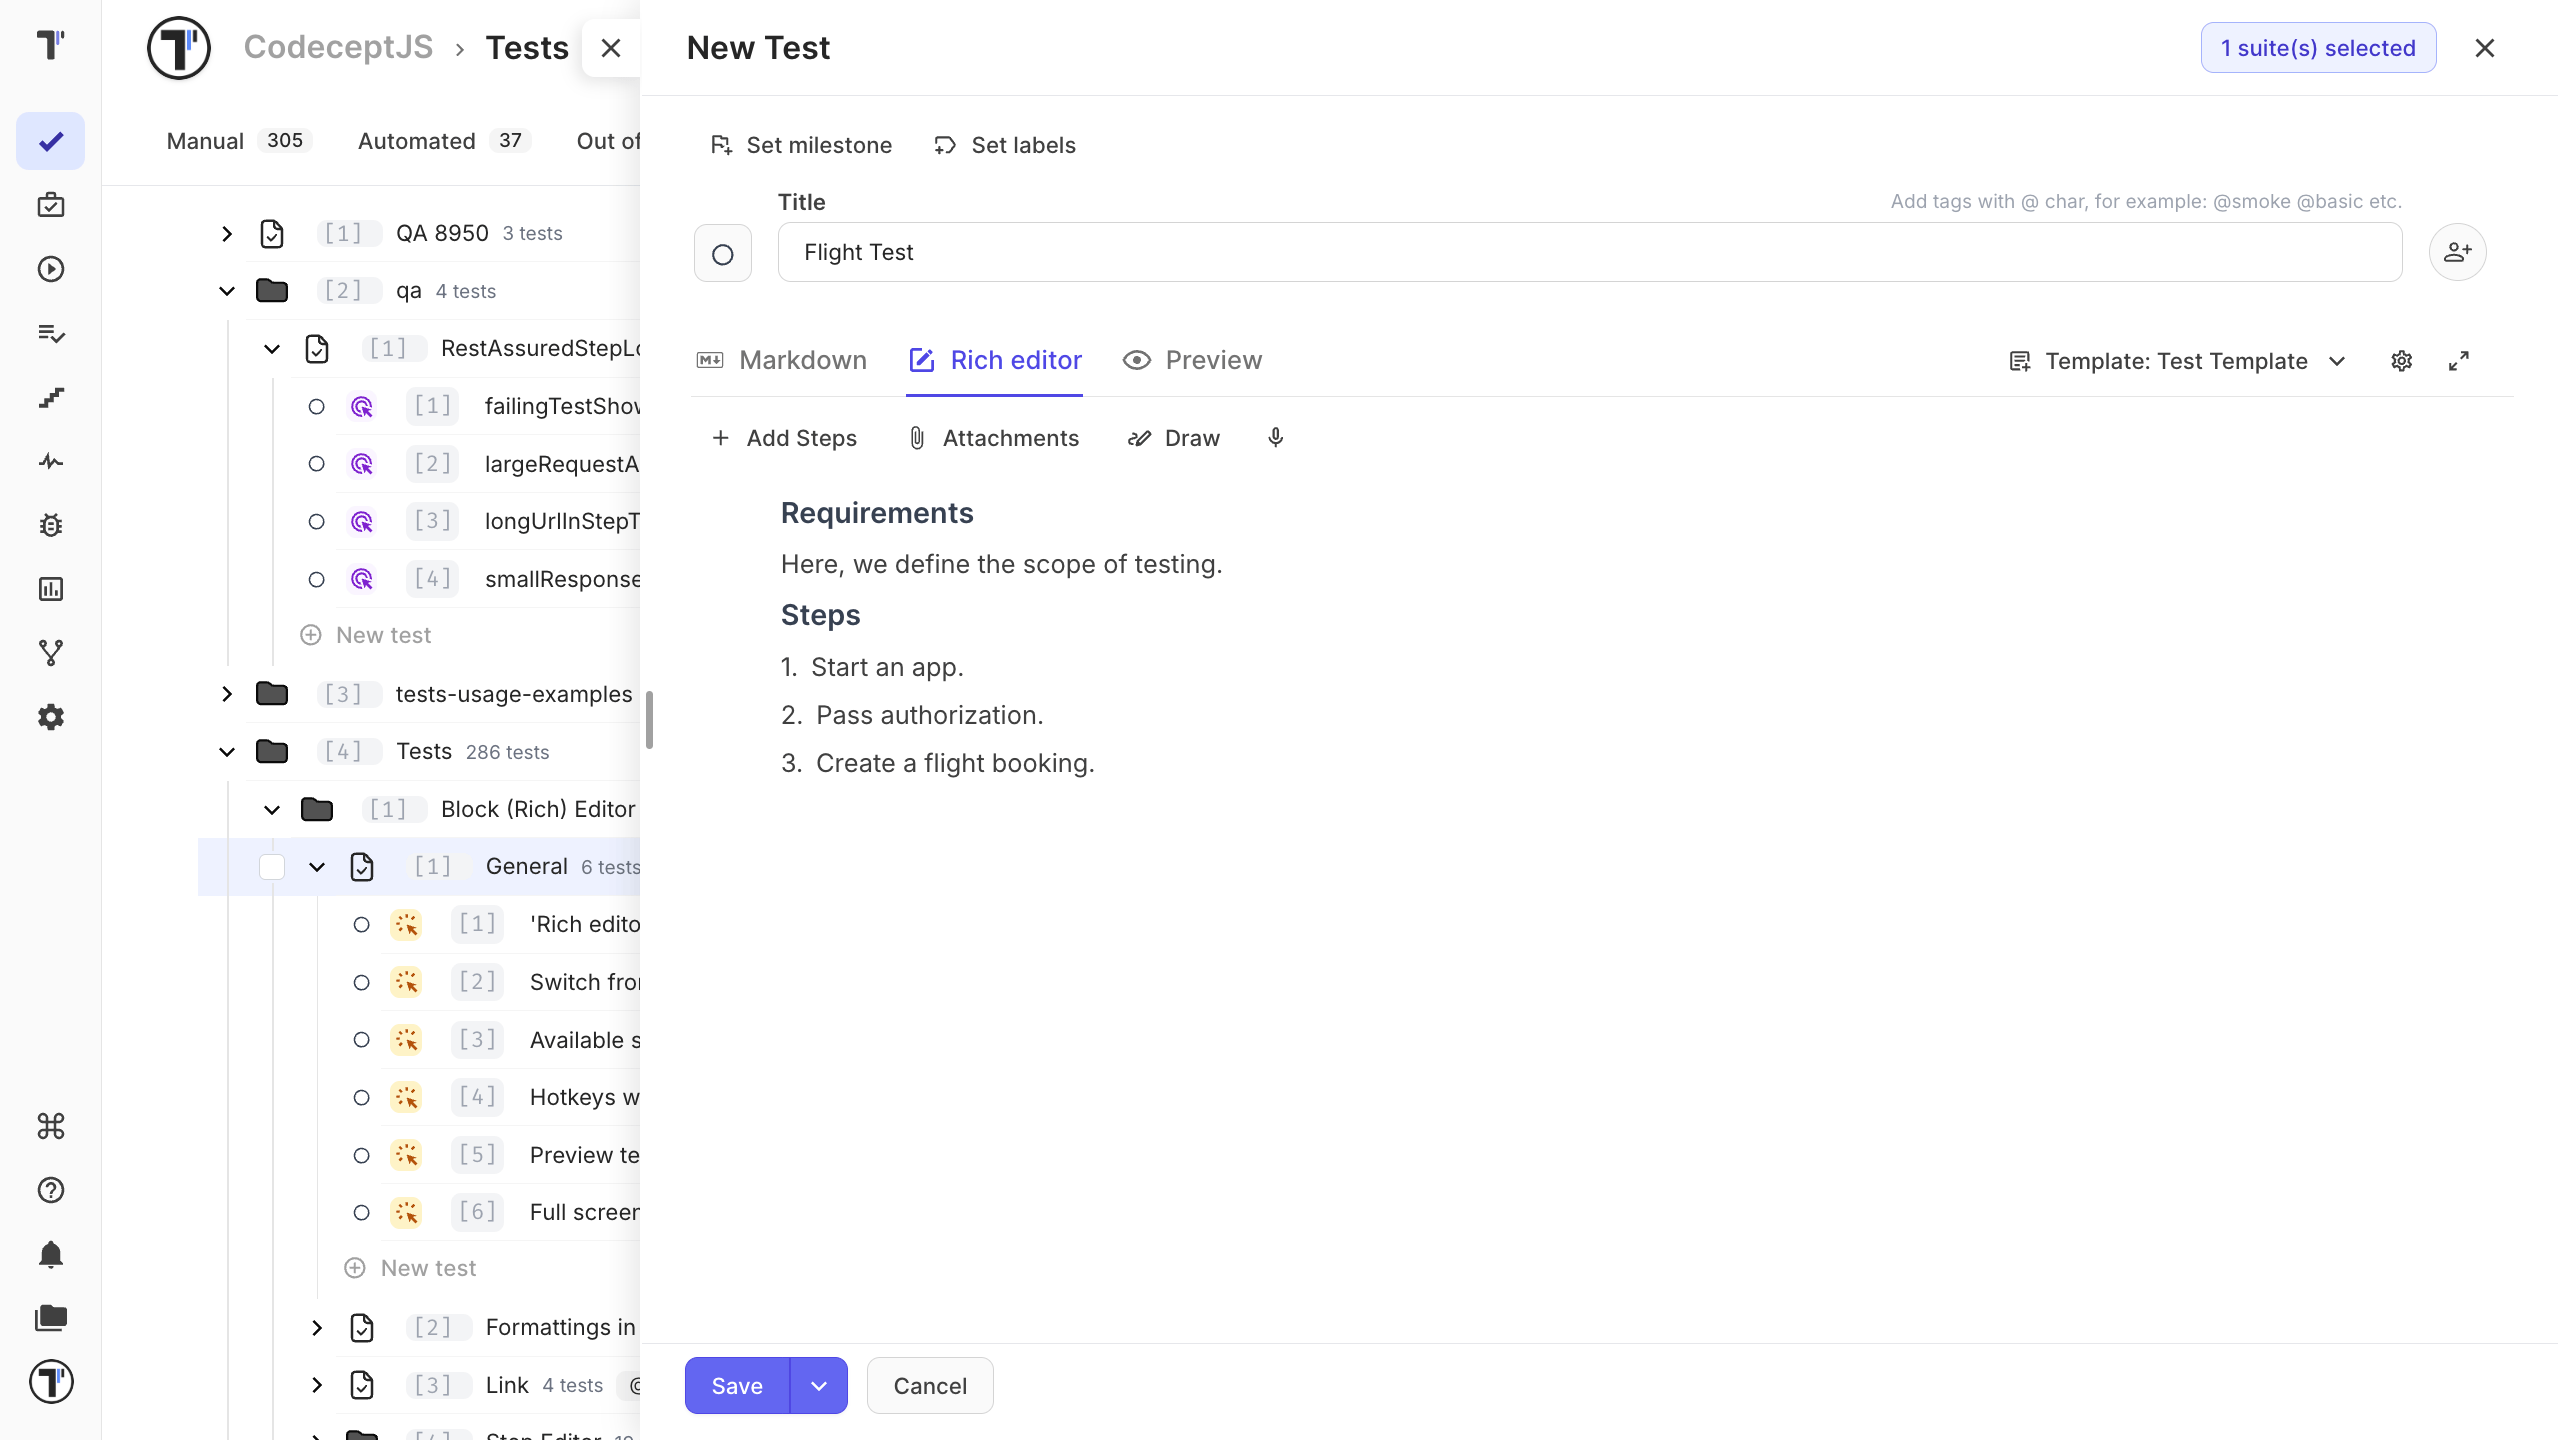
The test appears in the tree in its suite. New tests are marked manual.
See Steps Database for examples of how to structure the test.
Quick Test Creation
Section titled “Quick Test Creation”Enter only the titles when you have ideas for tests and want to add them quickly to the list. You can add the description, steps, and other details later.
- Open a suite.
- Enter the test title.
- Click Create.
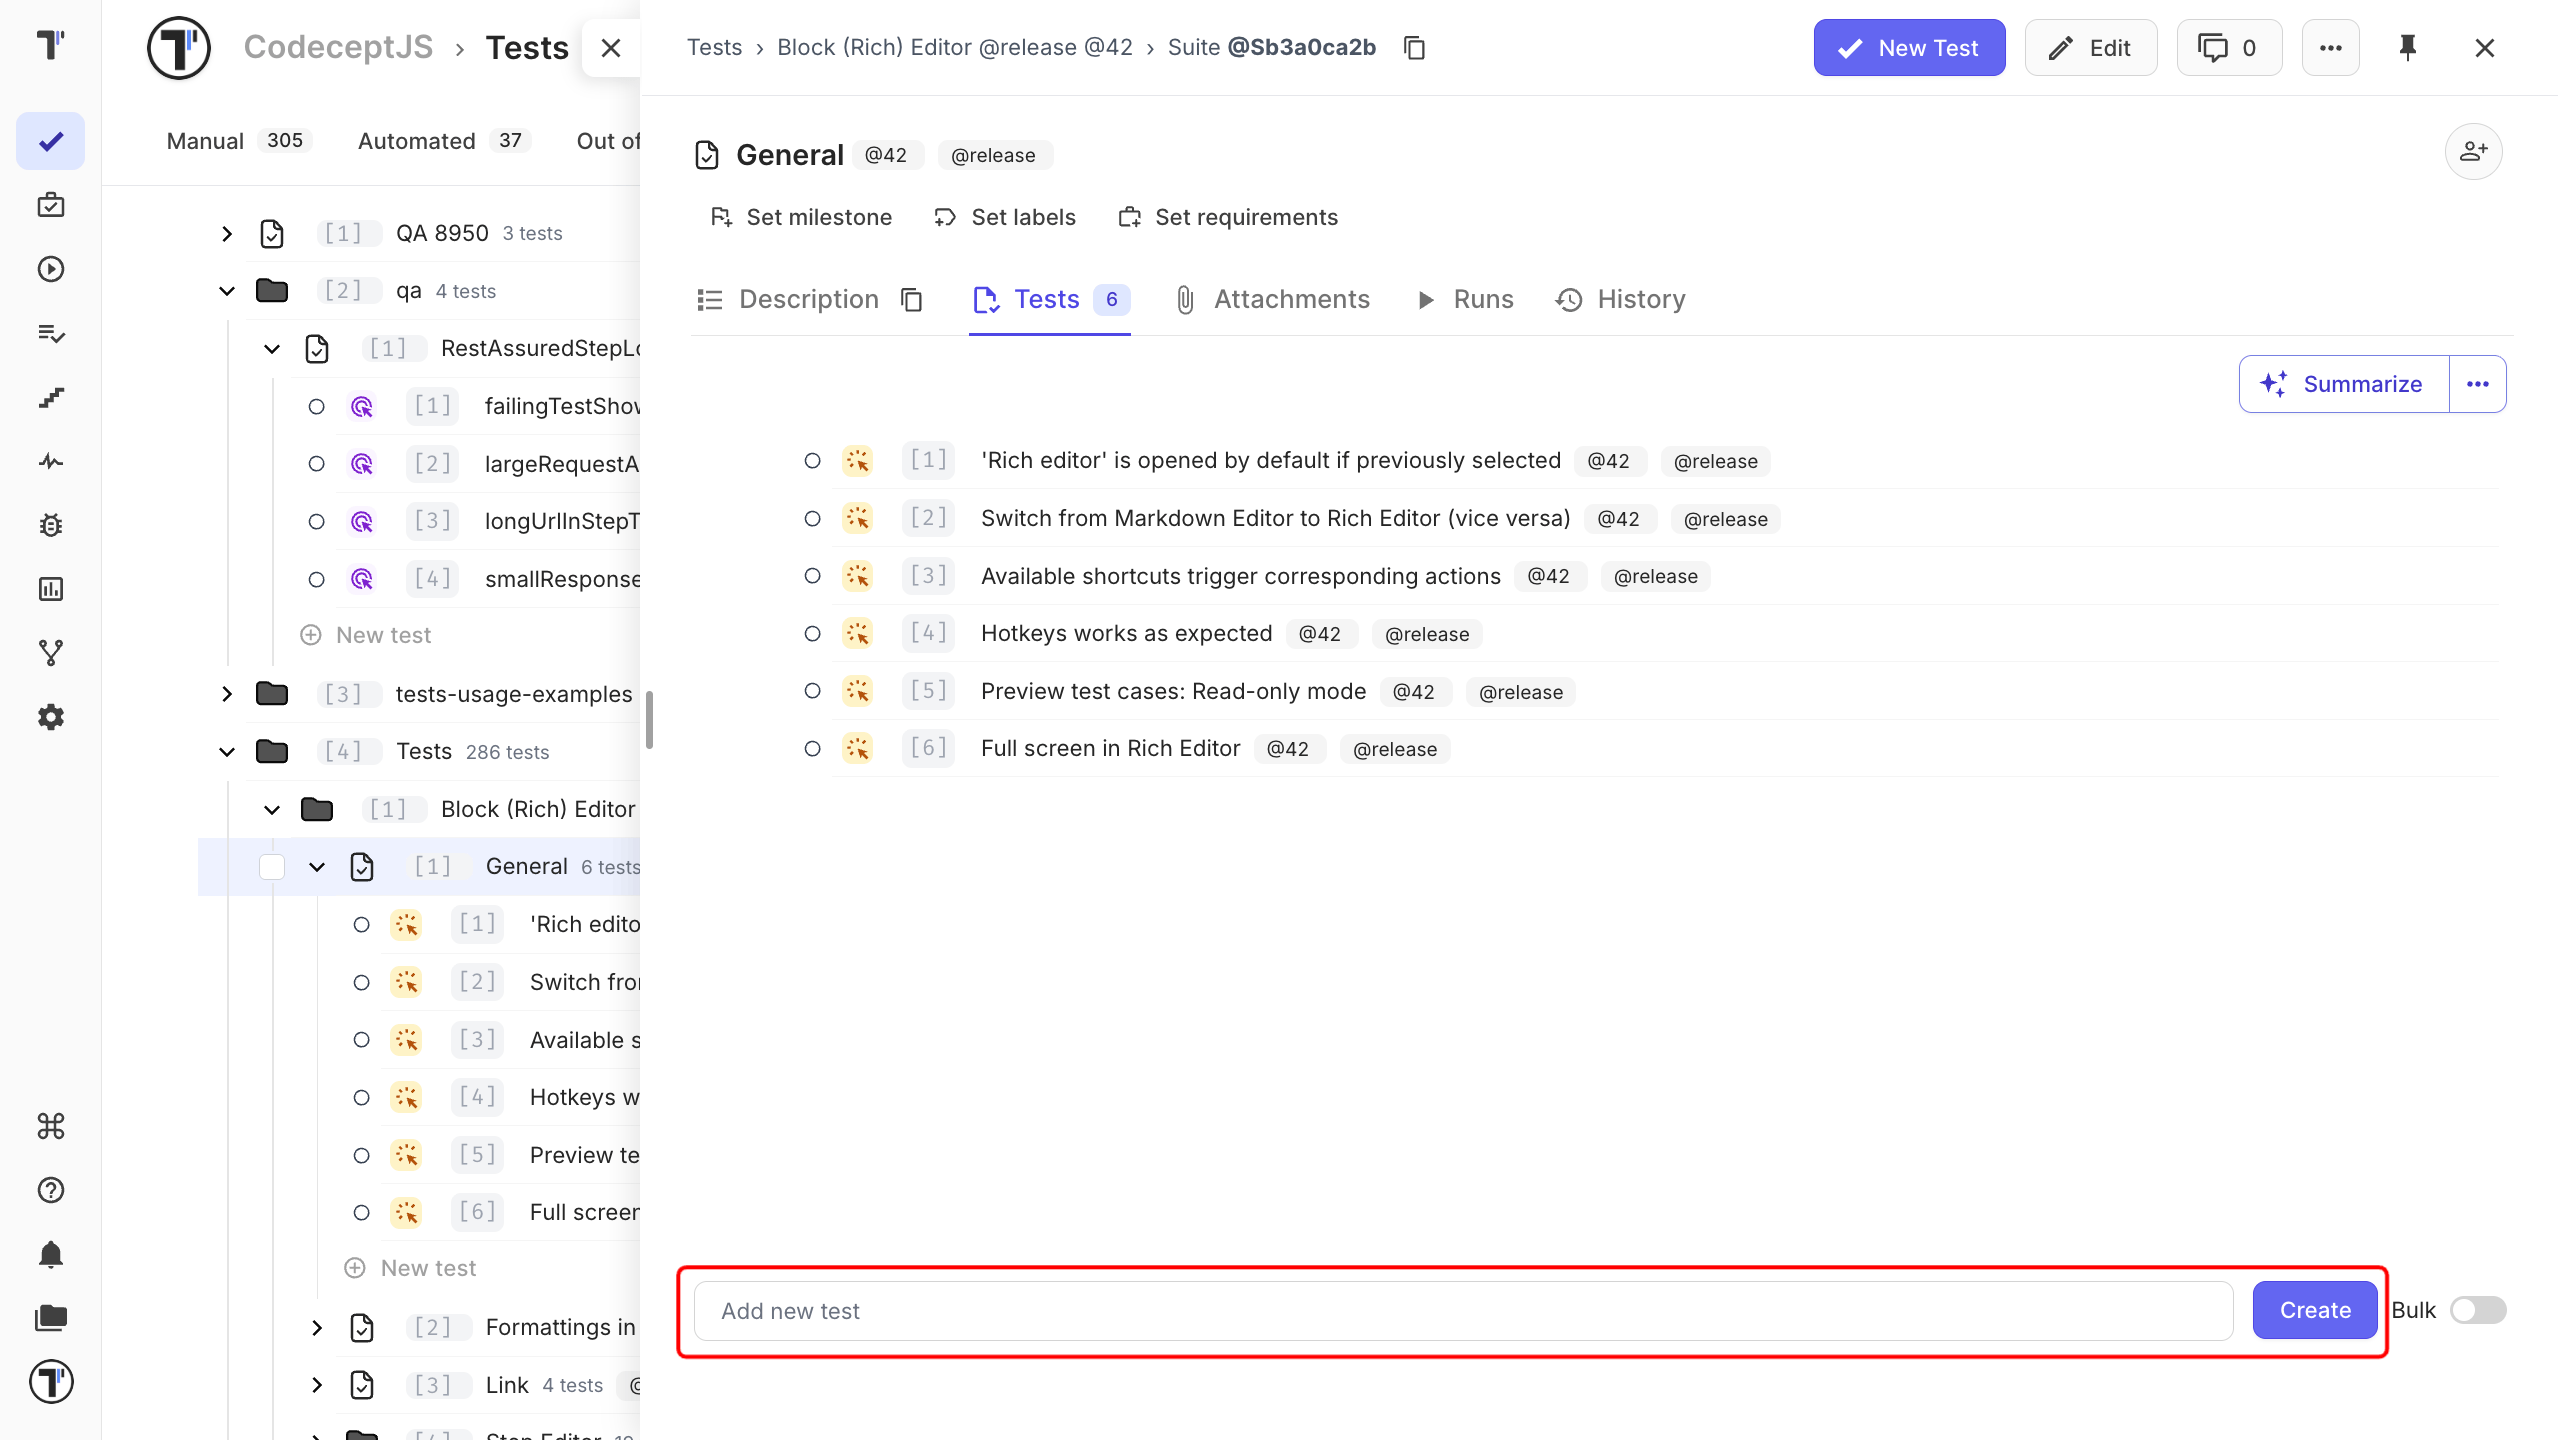
Open test to add the details.
Create Tests in a Bulk
Section titled “Create Tests in a Bulk”- Open a suite or create one.
- Turn on the Bulk toggle.
- Enter one test title per line.
- Click Create.
Each written title in a line becomes a separate test in the suite. It is similar to the Quick Test Creation but a bit in other way. This is useful when you want to create the tests first and add description later.
You can also use keyboard shortcuts to create and edit tests and suites.
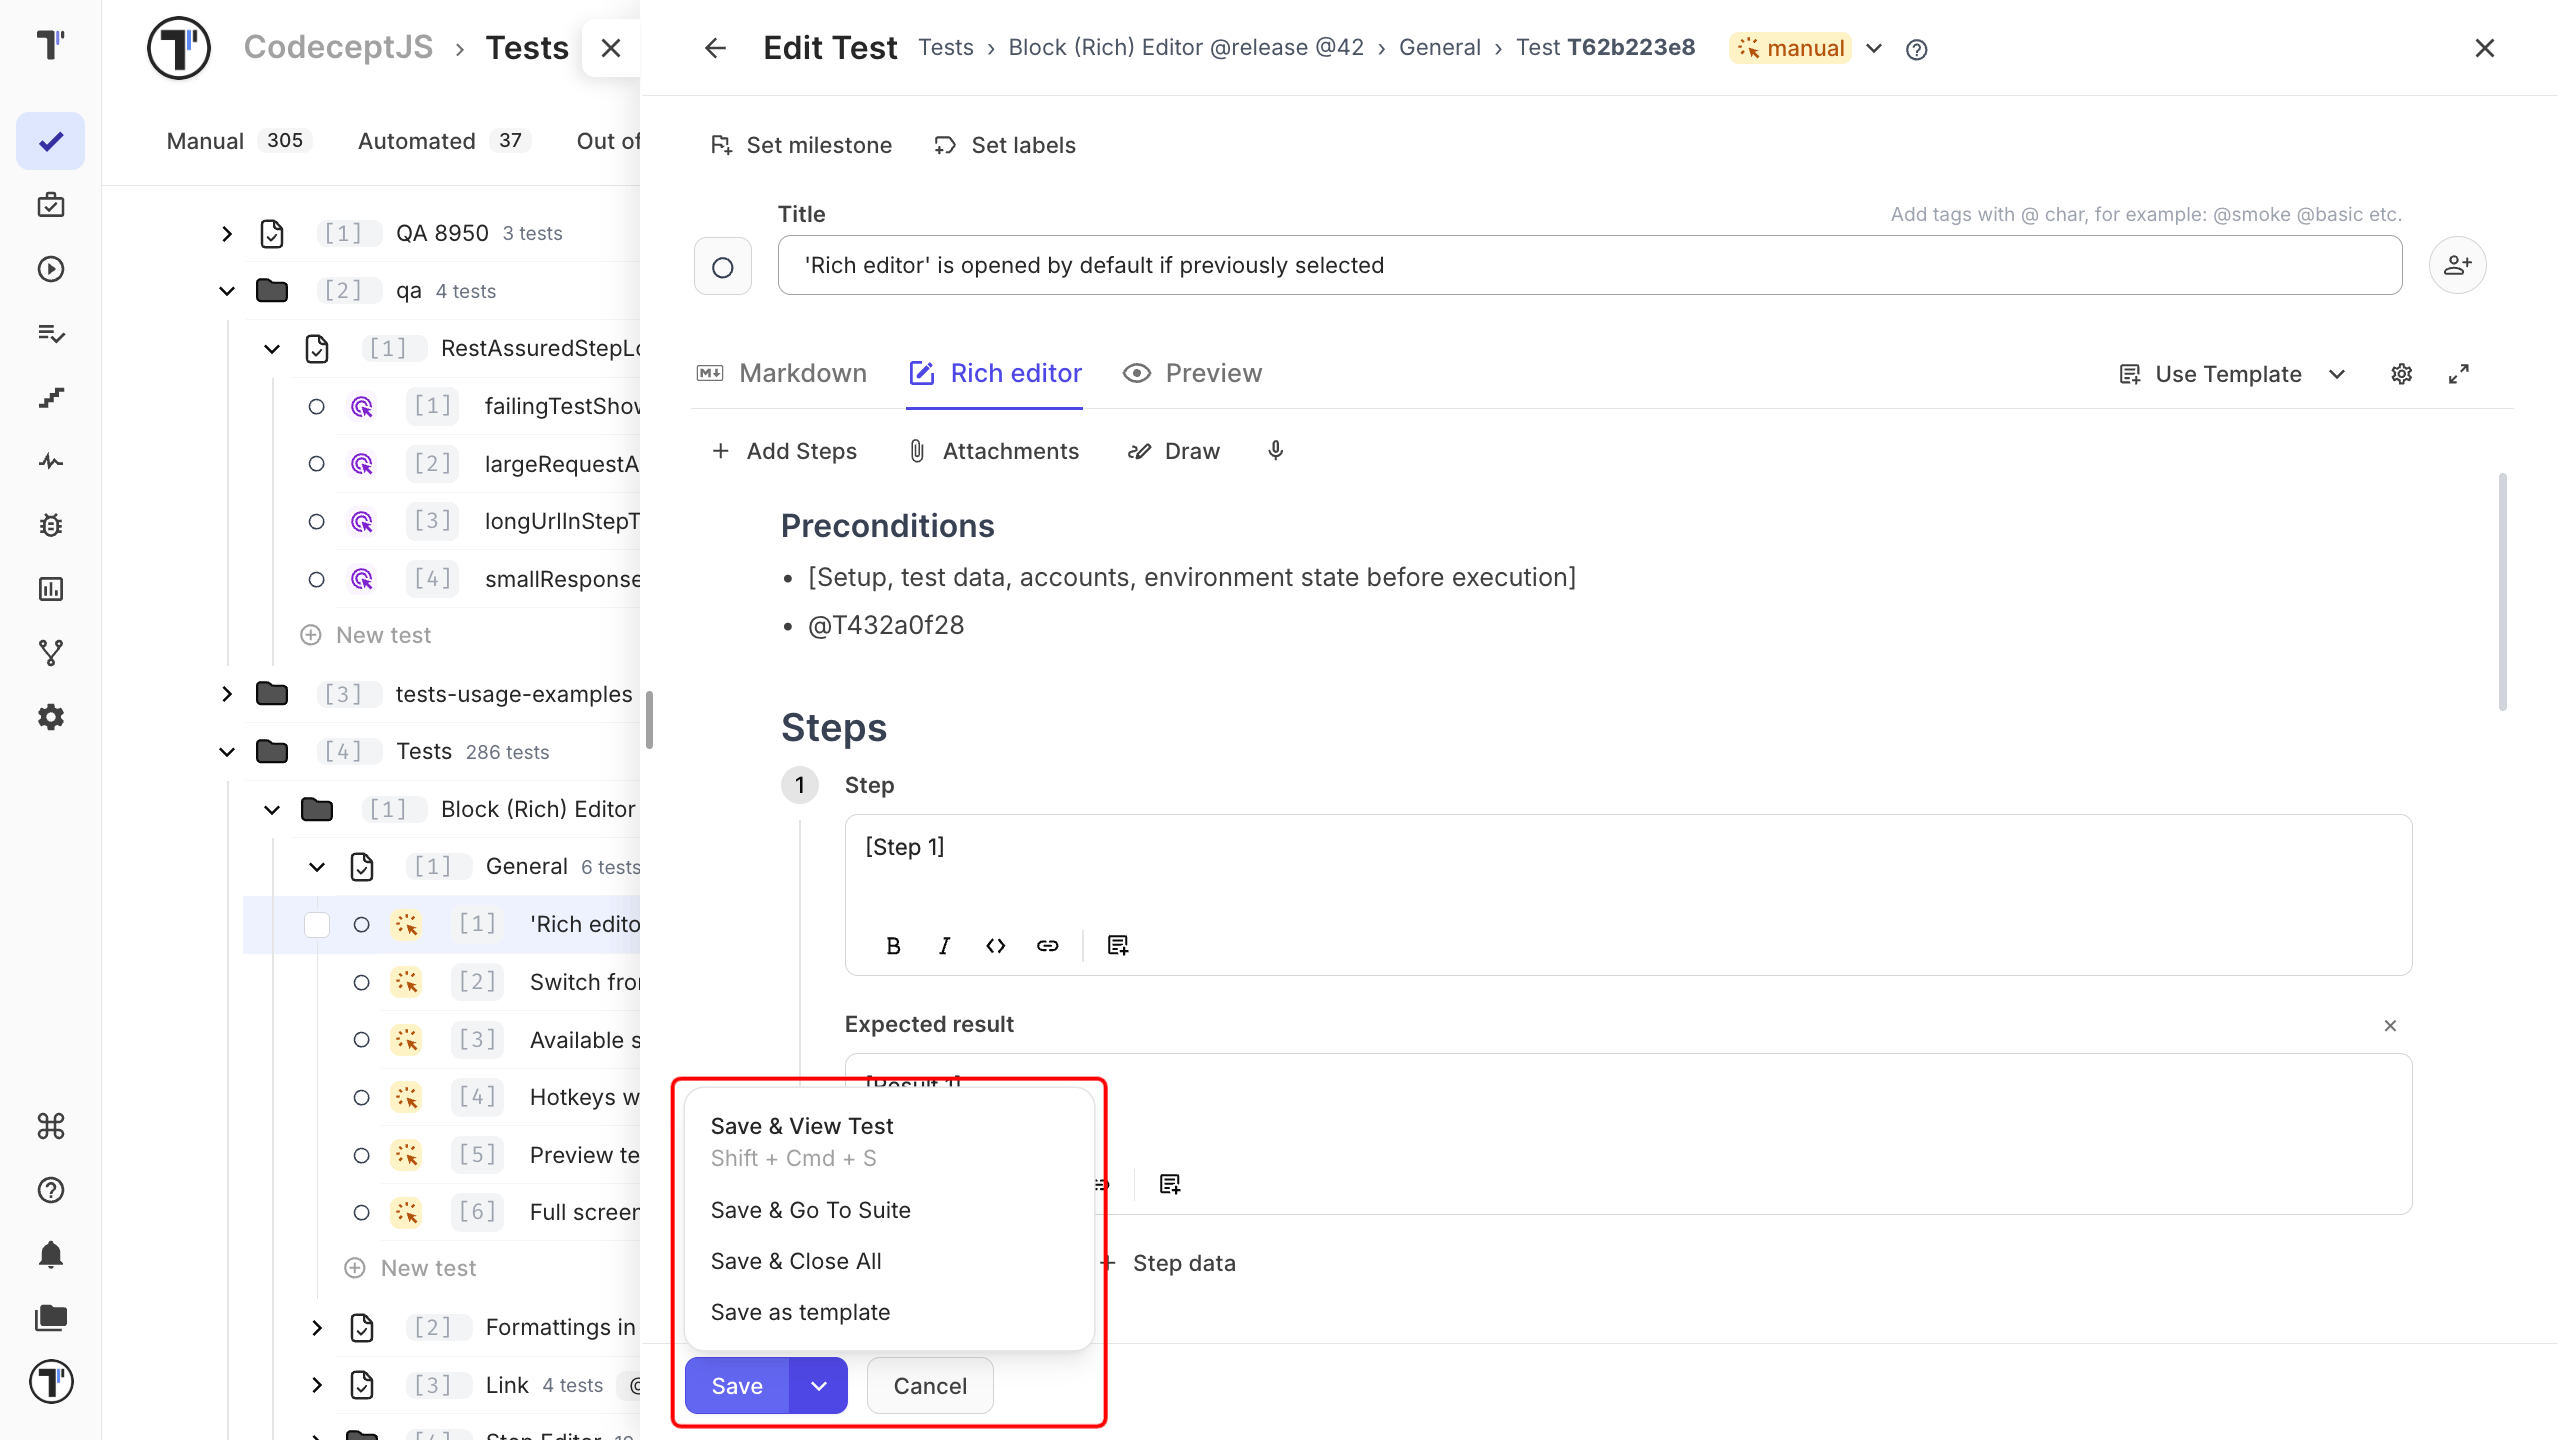
Save a Test
Section titled “Save a Test”All four save options save your changes. Choose one based on what you want to do next.
| Option | Result |
|---|---|
| Save | Saves the test and keeps it open. |
| Save + View Test | Saves the test and opens it in view mode. |
| Save + Go To Suite | Saves the test and returns to the suite. |
| Save + Close All | Saves the test and closes all open tests and suites. |